(In-Stock) QK80 Mk2 Limited Edition
Limited Edition Special edition, limited quantity
Products ready for delivery (free shipping)
- Pre-assembled and ready to use, including switches and keycaps.
- Can connect in 3 modes
- HOTSWAP remove, change switches without soldering
- Battery 8000mAh
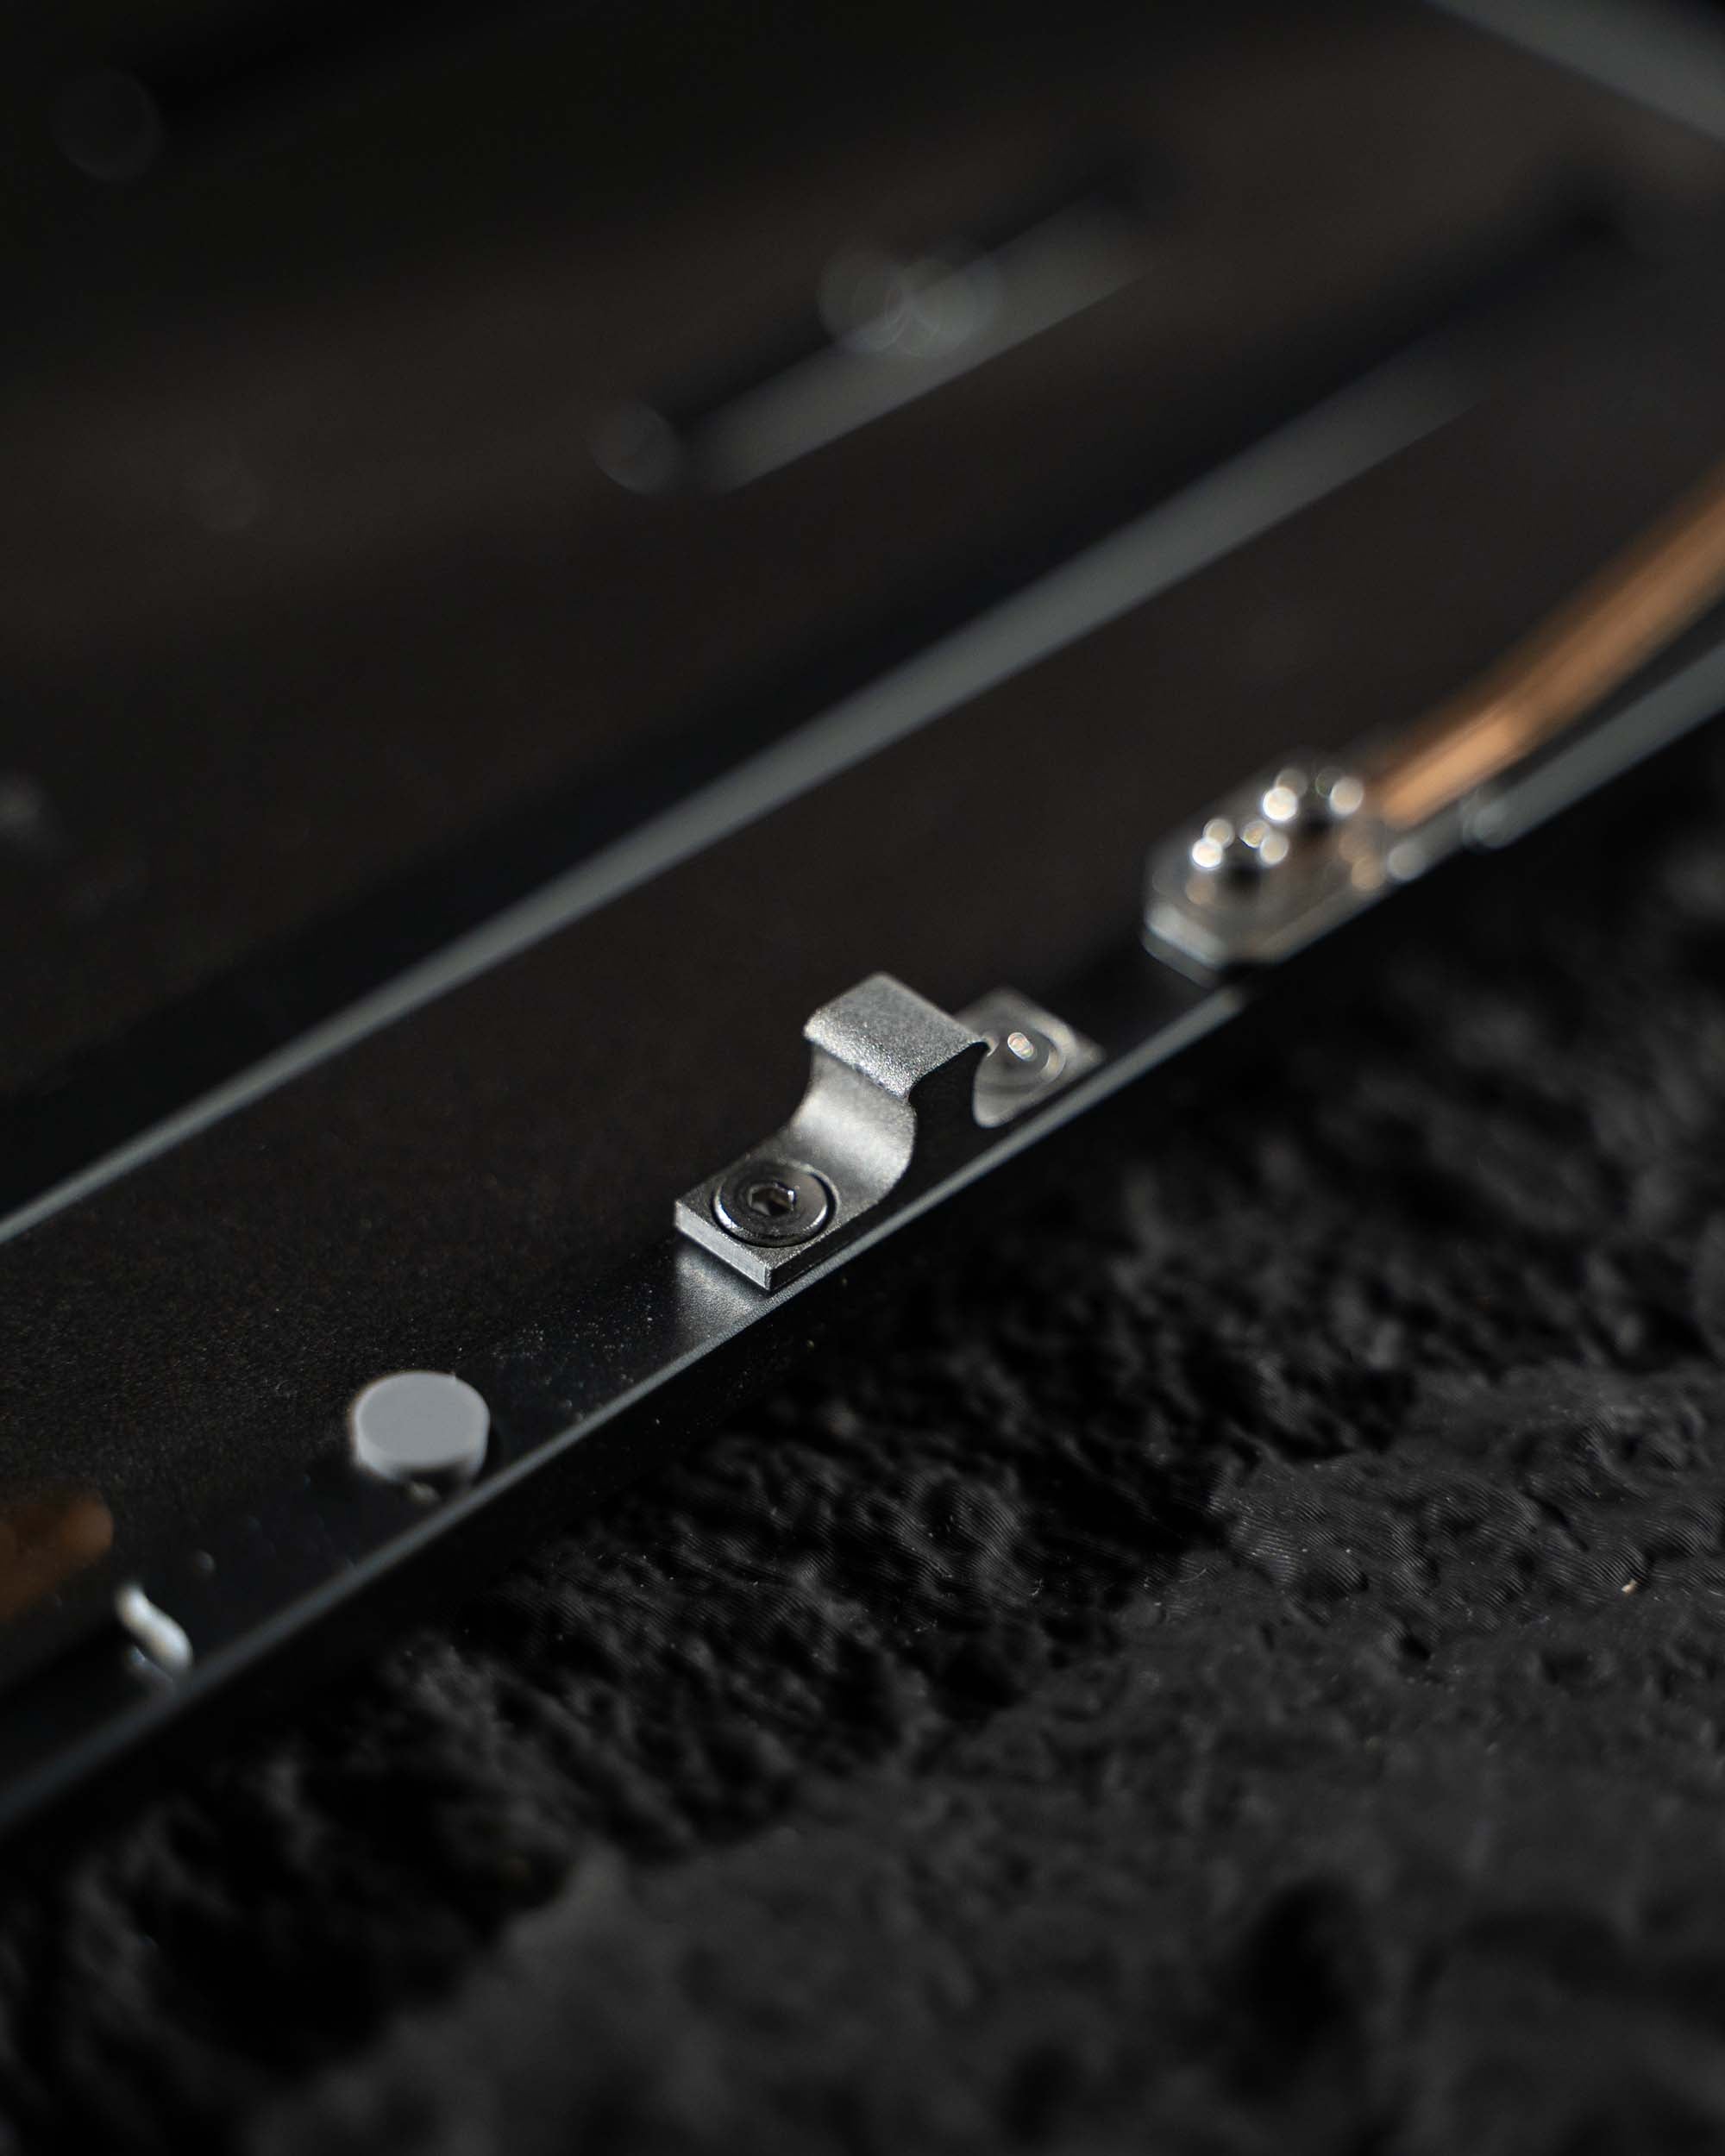
- Ball Catch Quick Release System
- Dual Screen for display
- Leaf Spring Gasket
- Typing angle: 7 degrees
- Front height: 19mm
- Size: 137mm * 362mm
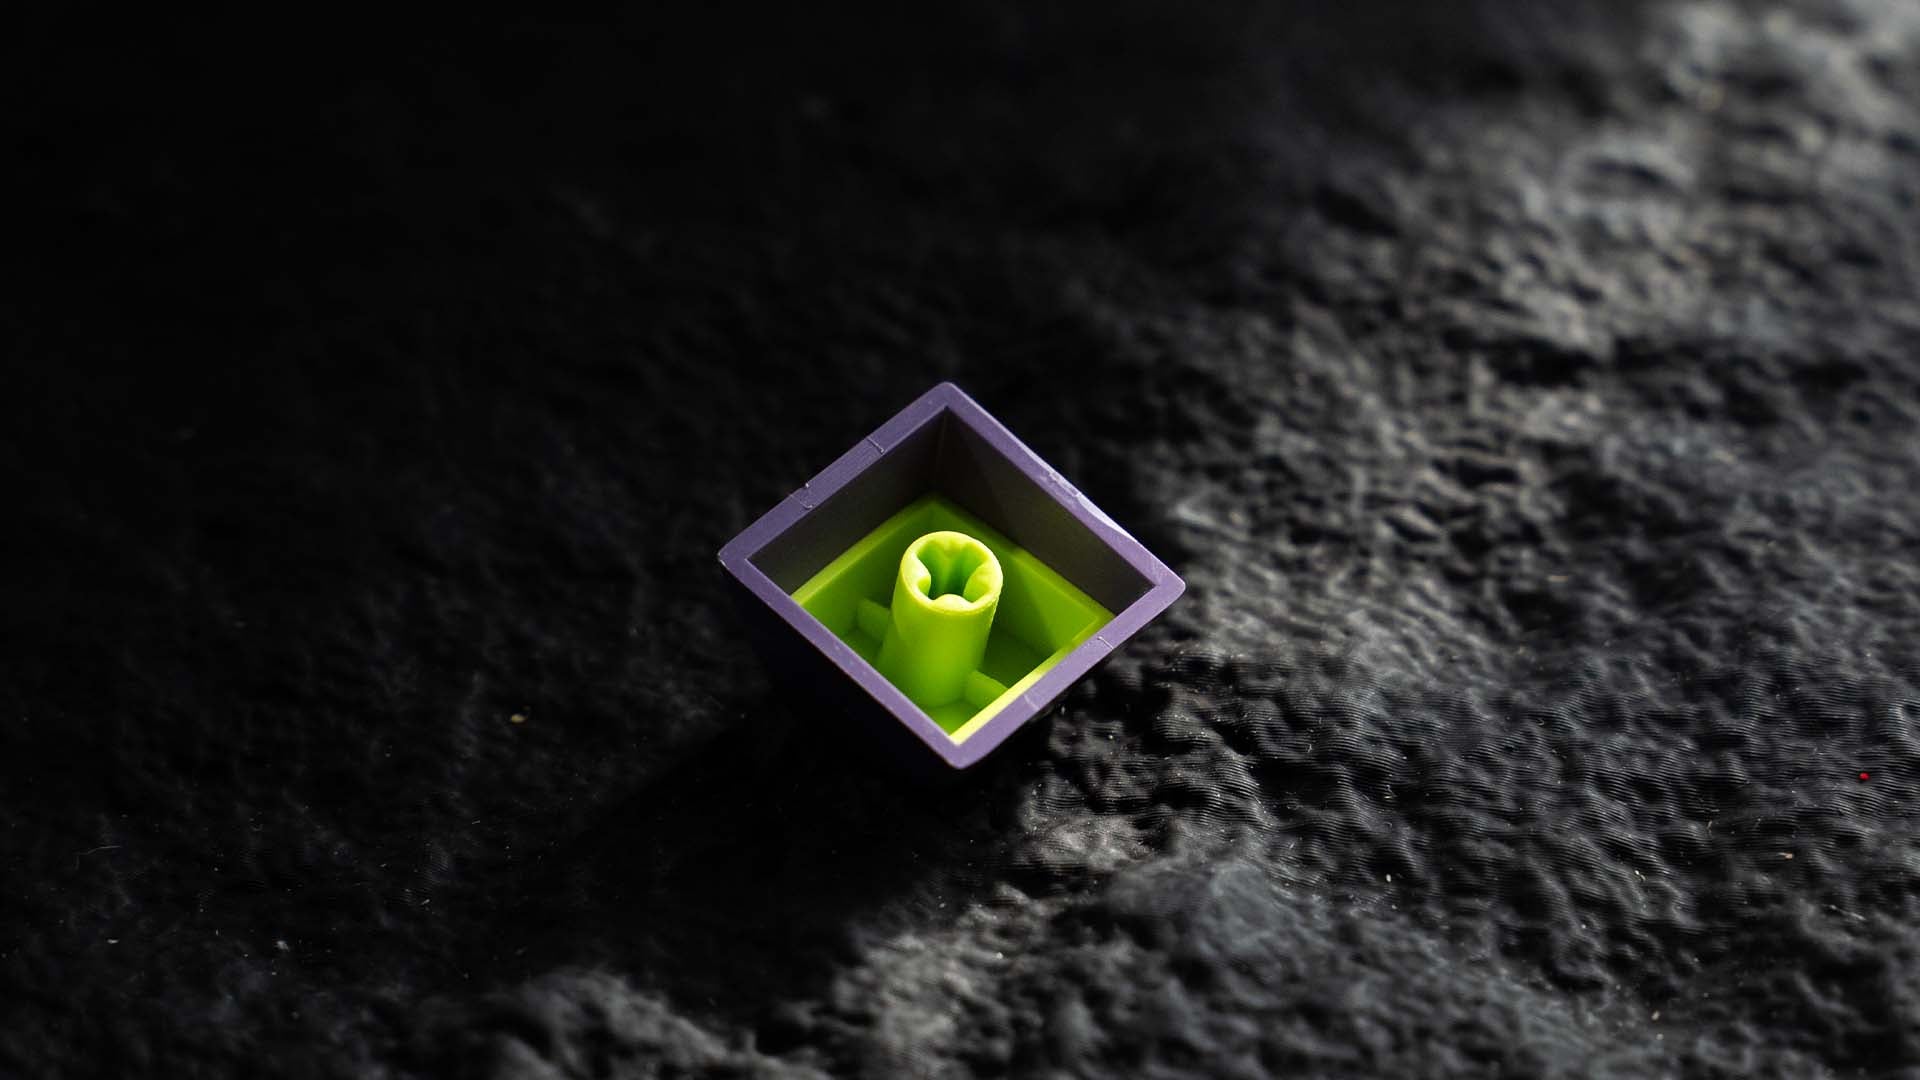
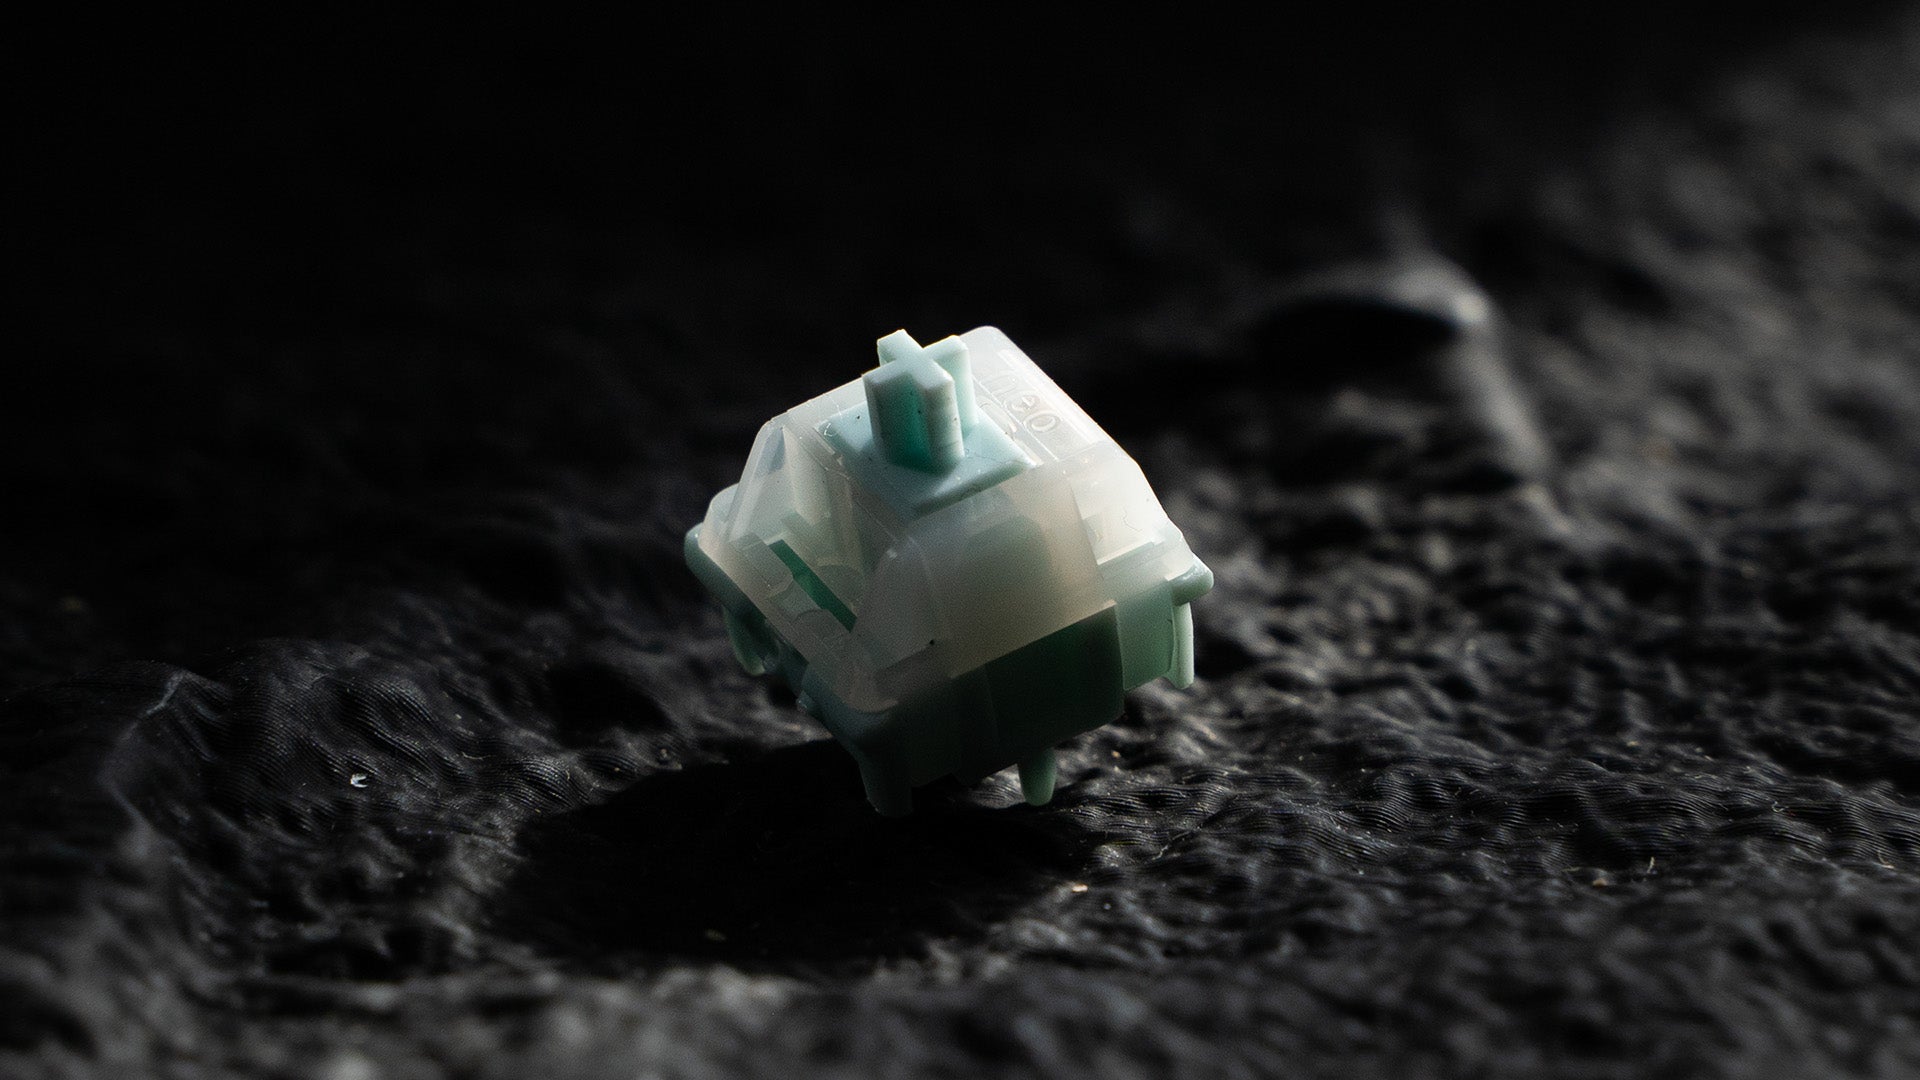
The HMX AZURE switch produces a Clack tone, not too sharp, has a bouncy feel, is easy to press, and does not require much force.

Pairs well with
Order EXTRA PART here
![[In stock] QK80 Mk2 Badge](http://keyprokb.com/cdn/shop/files/QK80Mk2Badge_1.jpg?v=1744014088&width=2000)
![[In stock] QK80 Mk2 Badge](http://keyprokb.com/cdn/shop/files/QK80Mk2Badge_3.jpg?v=1744014088&width=2000)
![[In stock] QK80 Mk2 Badge](http://keyprokb.com/cdn/shop/files/QK80Mk2Badge_4.jpg?v=1744014088&width=2000)
![[In stock] QK80 Mk2 Badge](http://keyprokb.com/cdn/shop/files/WK_Spray-coated_Retro_White_FR4_Flex-Cut_Plate_with_cushion_PCB_Stab_1_0001_badge1_2048x2048_copy_2_9744e2a4-6f4d-45c2-ac6e-0b5207d7ebb2.jpg?v=1744013770&width=2000)
![[In stock] QK80 Mk2 PCB](http://keyprokb.com/cdn/shop/files/1.2mm_Tri-mode_Flex-cut_Hotswap_PCB_Per-key_RGB_c3b5f6af-0b98-4d3a-9053-f93087370028.jpg?v=1744014975&width=2000)
![[In stock] QK80 Mk2 PCB](http://keyprokb.com/cdn/shop/files/1.2mm_Tri-mode_Flex-cut_Hotswap_PCB_No_RGB_bd77c247-df5e-4a15-9cc7-f2bf4852a66c.jpg?v=1744014963&width=2000)
![[In stock] QK80 Mk2 PCB](http://keyprokb.com/cdn/shop/files/1.6mm_Tri-mode_Non-flex_cut_Hotswap_PCB_No_RGB_aa3d5bb2-24b7-4d4d-9a05-eed460ce445f.jpg?v=1744014959&width=2000)
![[In stock] QK80 Mk2 Plate](http://keyprokb.com/cdn/shop/files/QK80_MK2_PLATE_PC_cbcfc9c6-755d-4c1a-9f59-195cfaedd0ed.jpg?v=1744015122&width=2000)
![[In stock] QK80 Mk2 Plate](http://keyprokb.com/cdn/shop/files/QK80_MK2_PLATE_POM_2c5df6c7-0d5d-46eb-94e4-4c2c4be2ec1a.jpg?v=1744015102&width=2000)
![[In stock] QK80 Mk2 Plate](http://keyprokb.com/cdn/shop/files/QK80_MK2_PLATE_FR4_1ab6f62e-fd49-4097-8f77-895e43049648.jpg?v=1744015104&width=2000)
![[In stock] QK80 Mk2 Plate](http://keyprokb.com/cdn/shop/files/QK80_MK2_PLATE_ALU_57c52227-06a2-486b-8542-24c19d269386.jpg?v=1744015114&width=2000)
What's in the box?
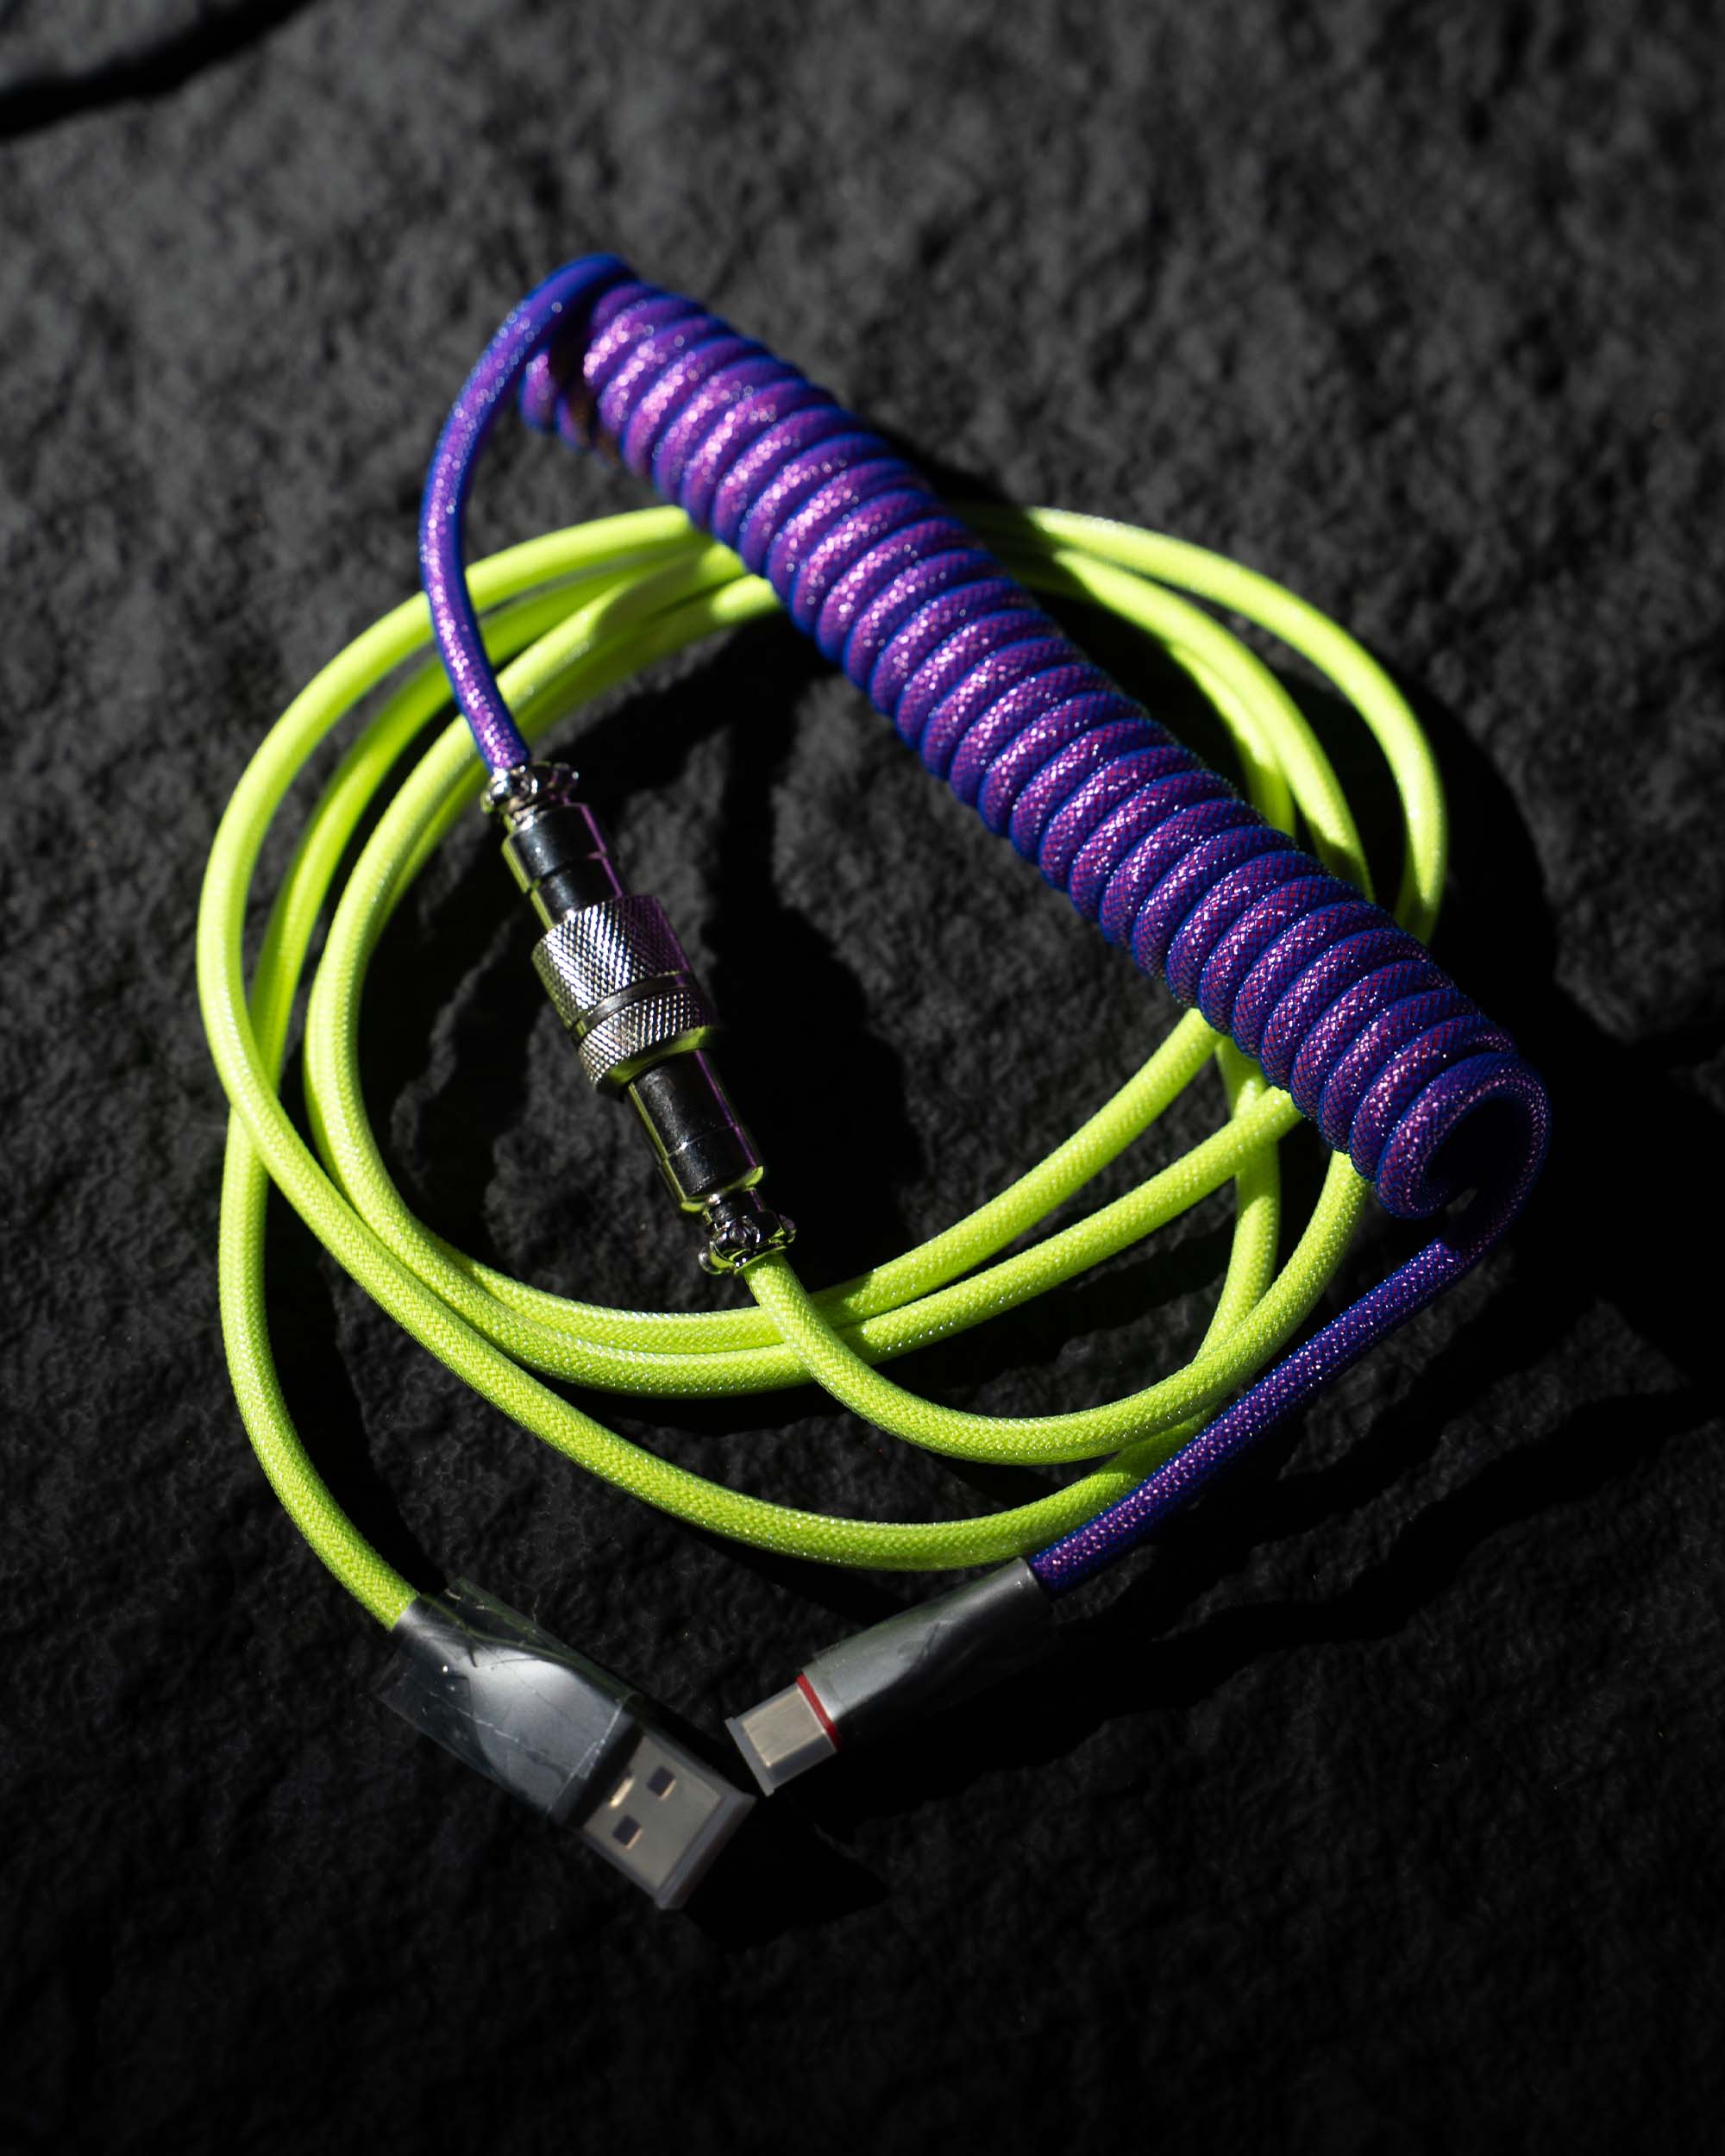
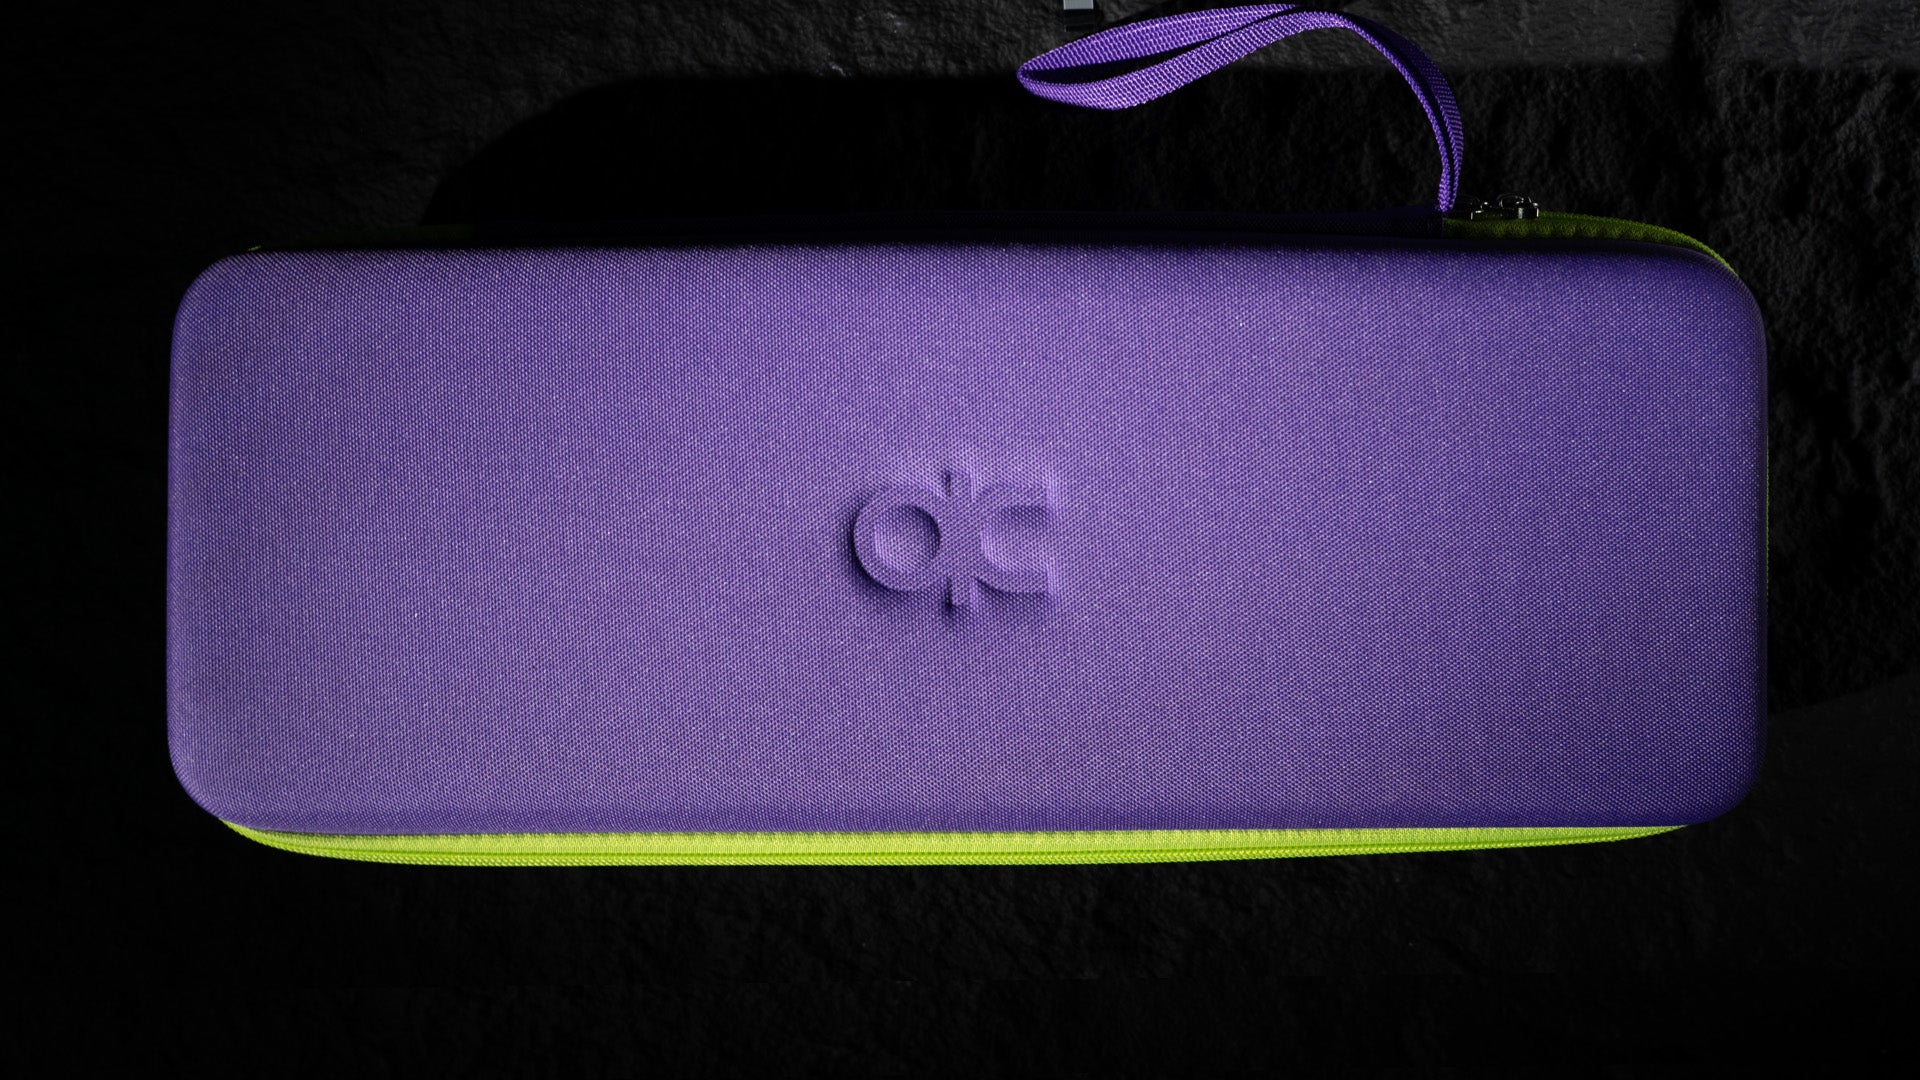
Accessories in the box in the same color tone
- Keyboard bag
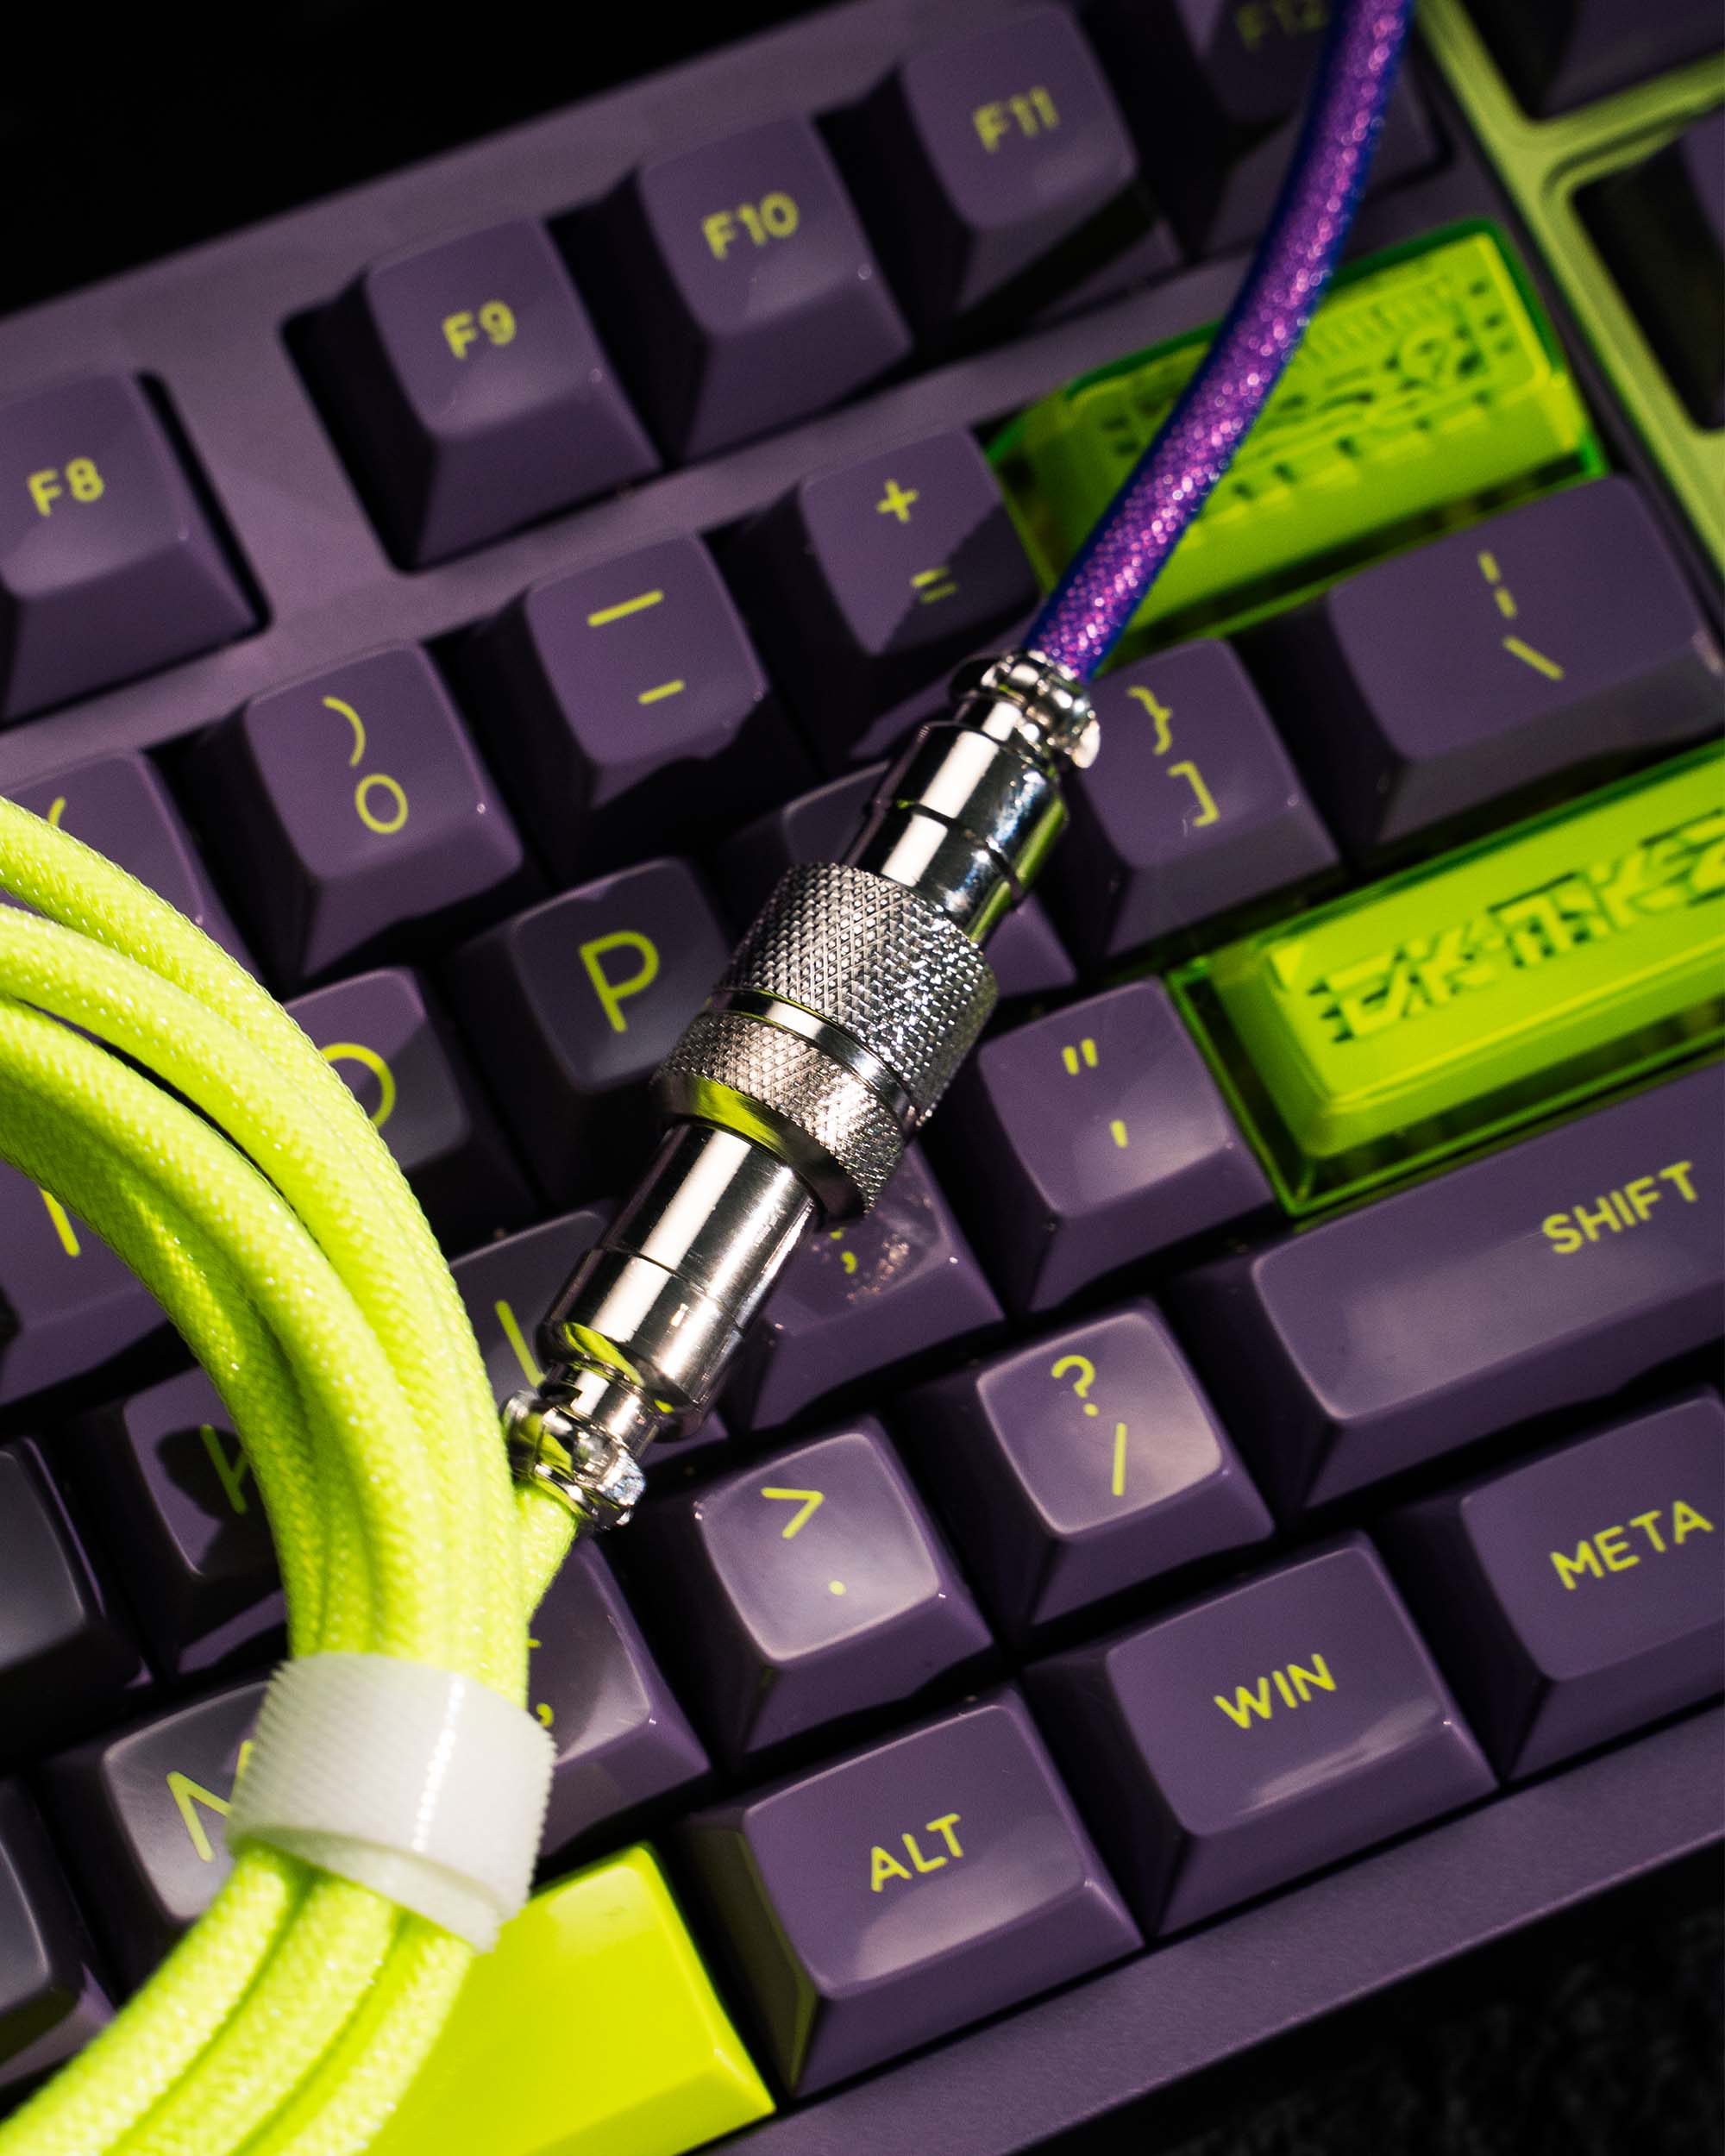
- coiled USB-C cable
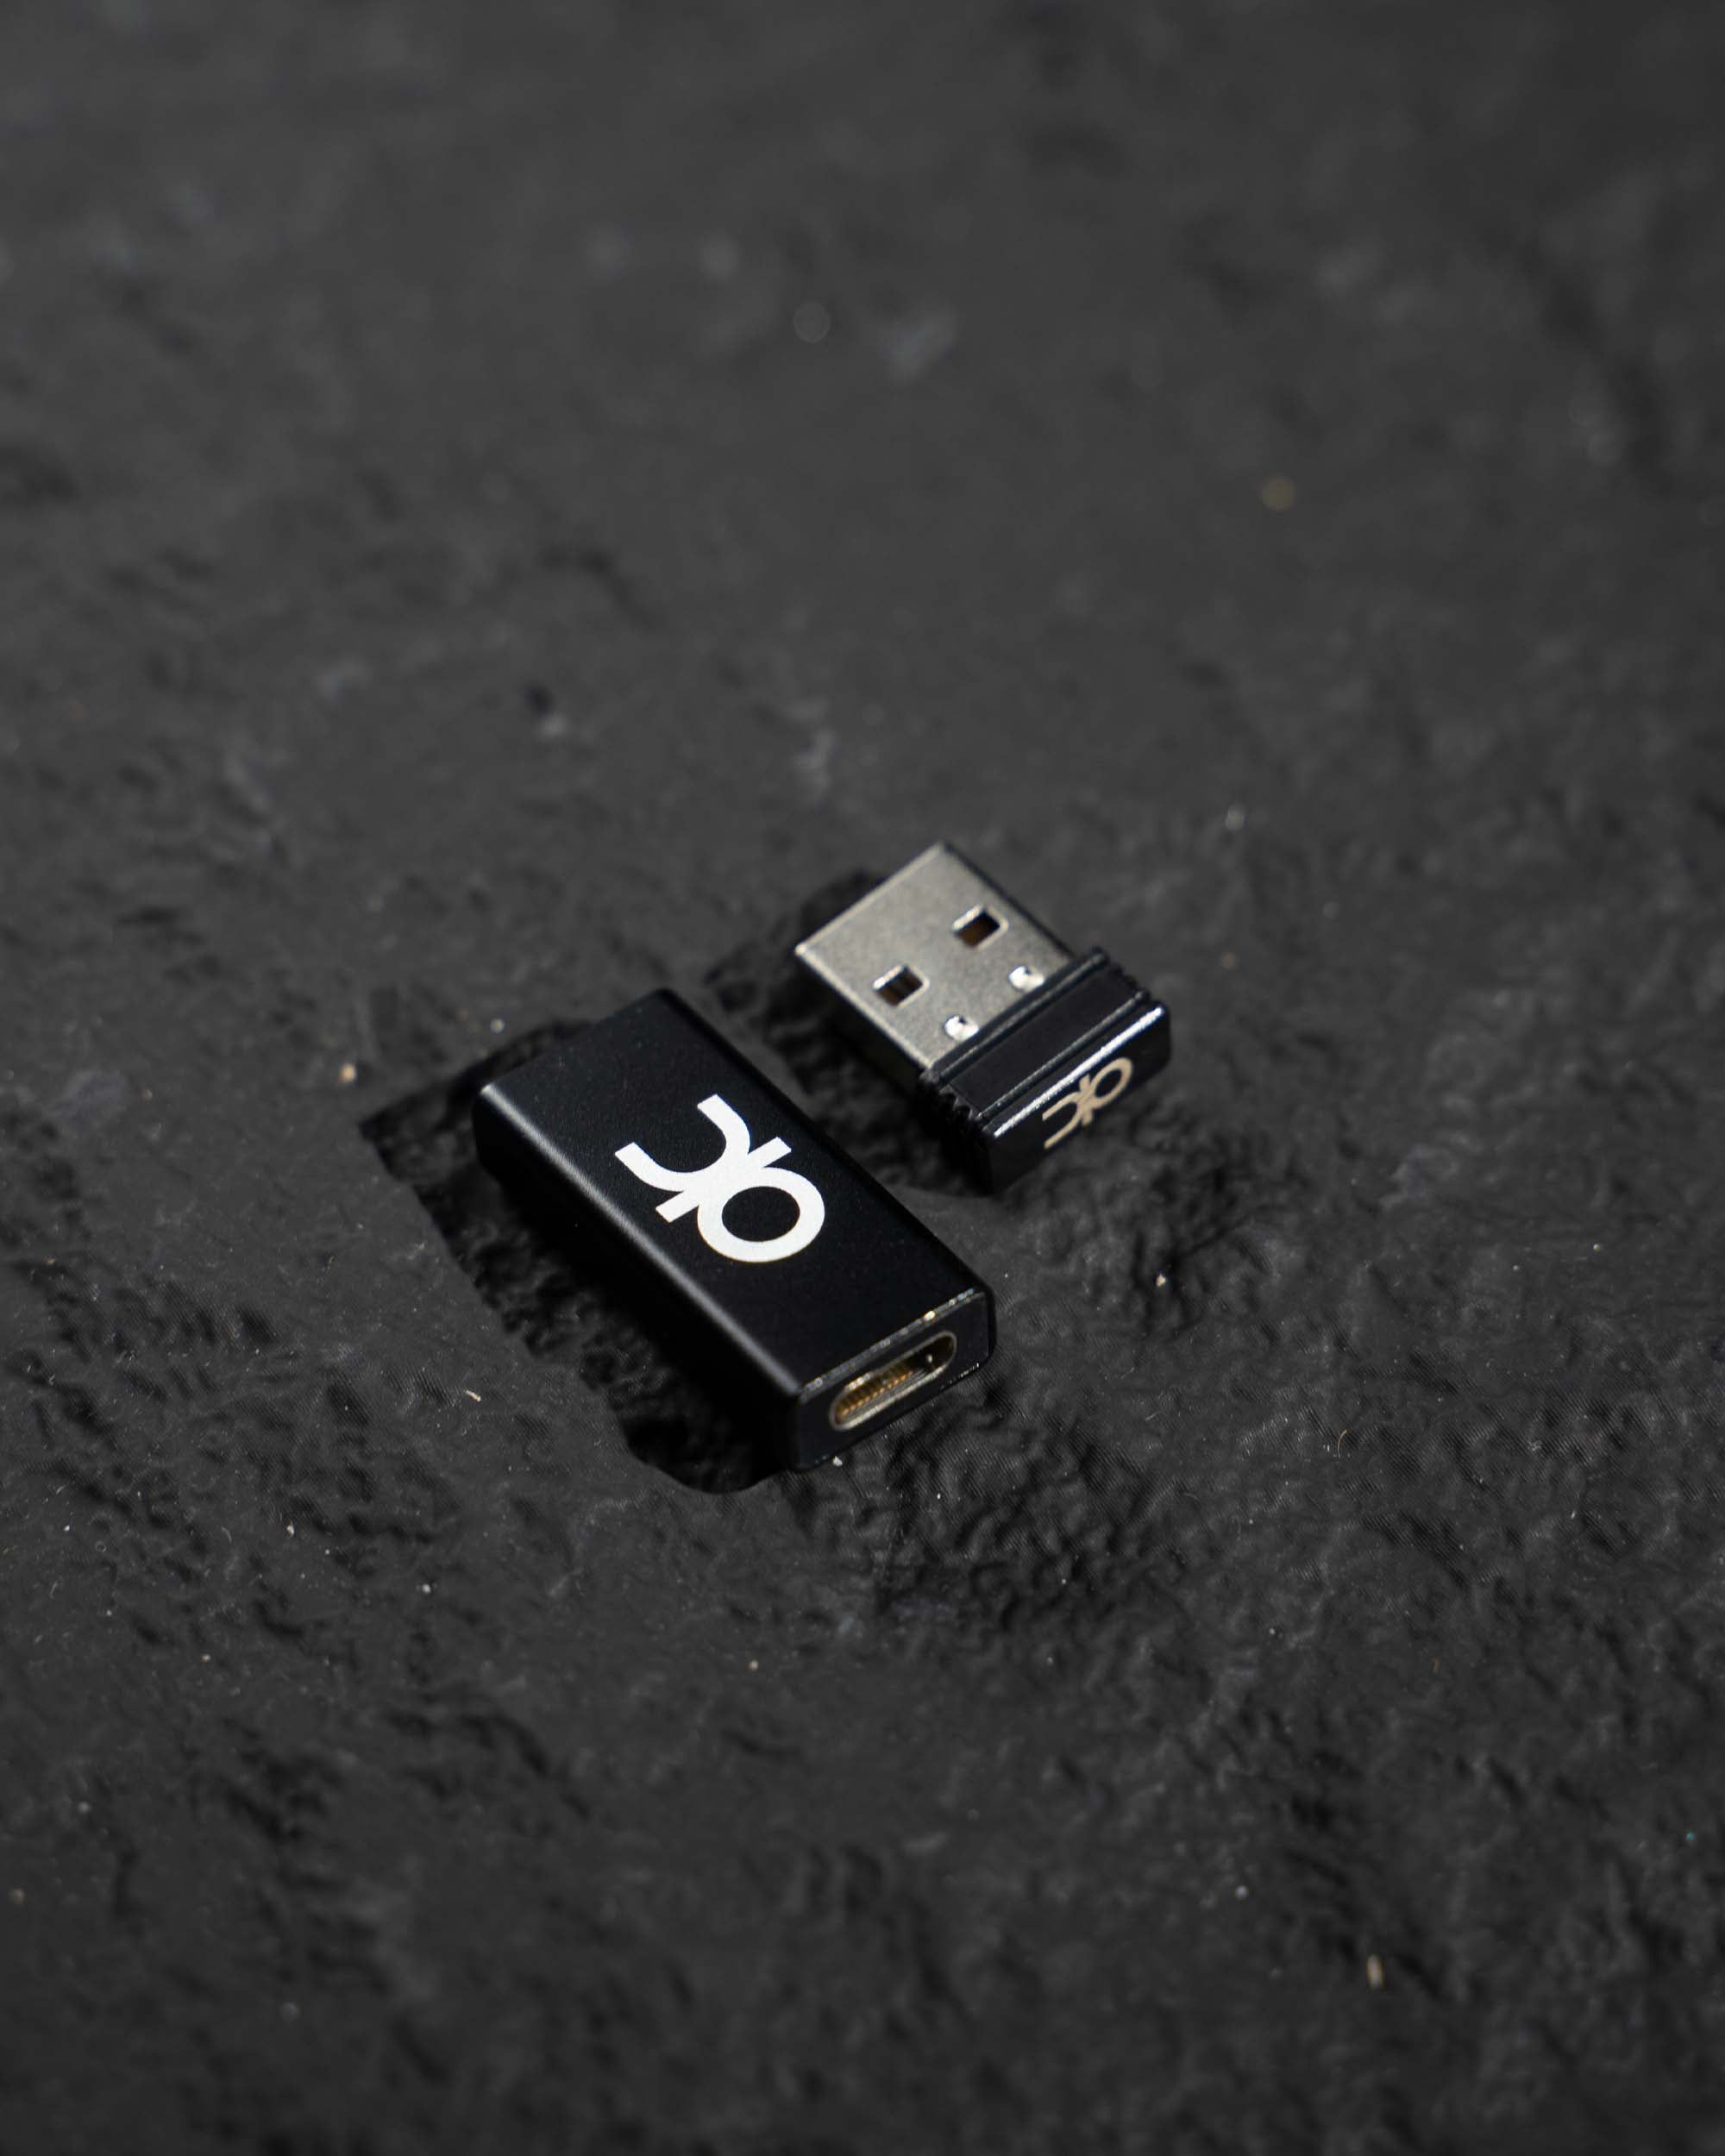
- 2.4G dongle
- Keyboard protective case
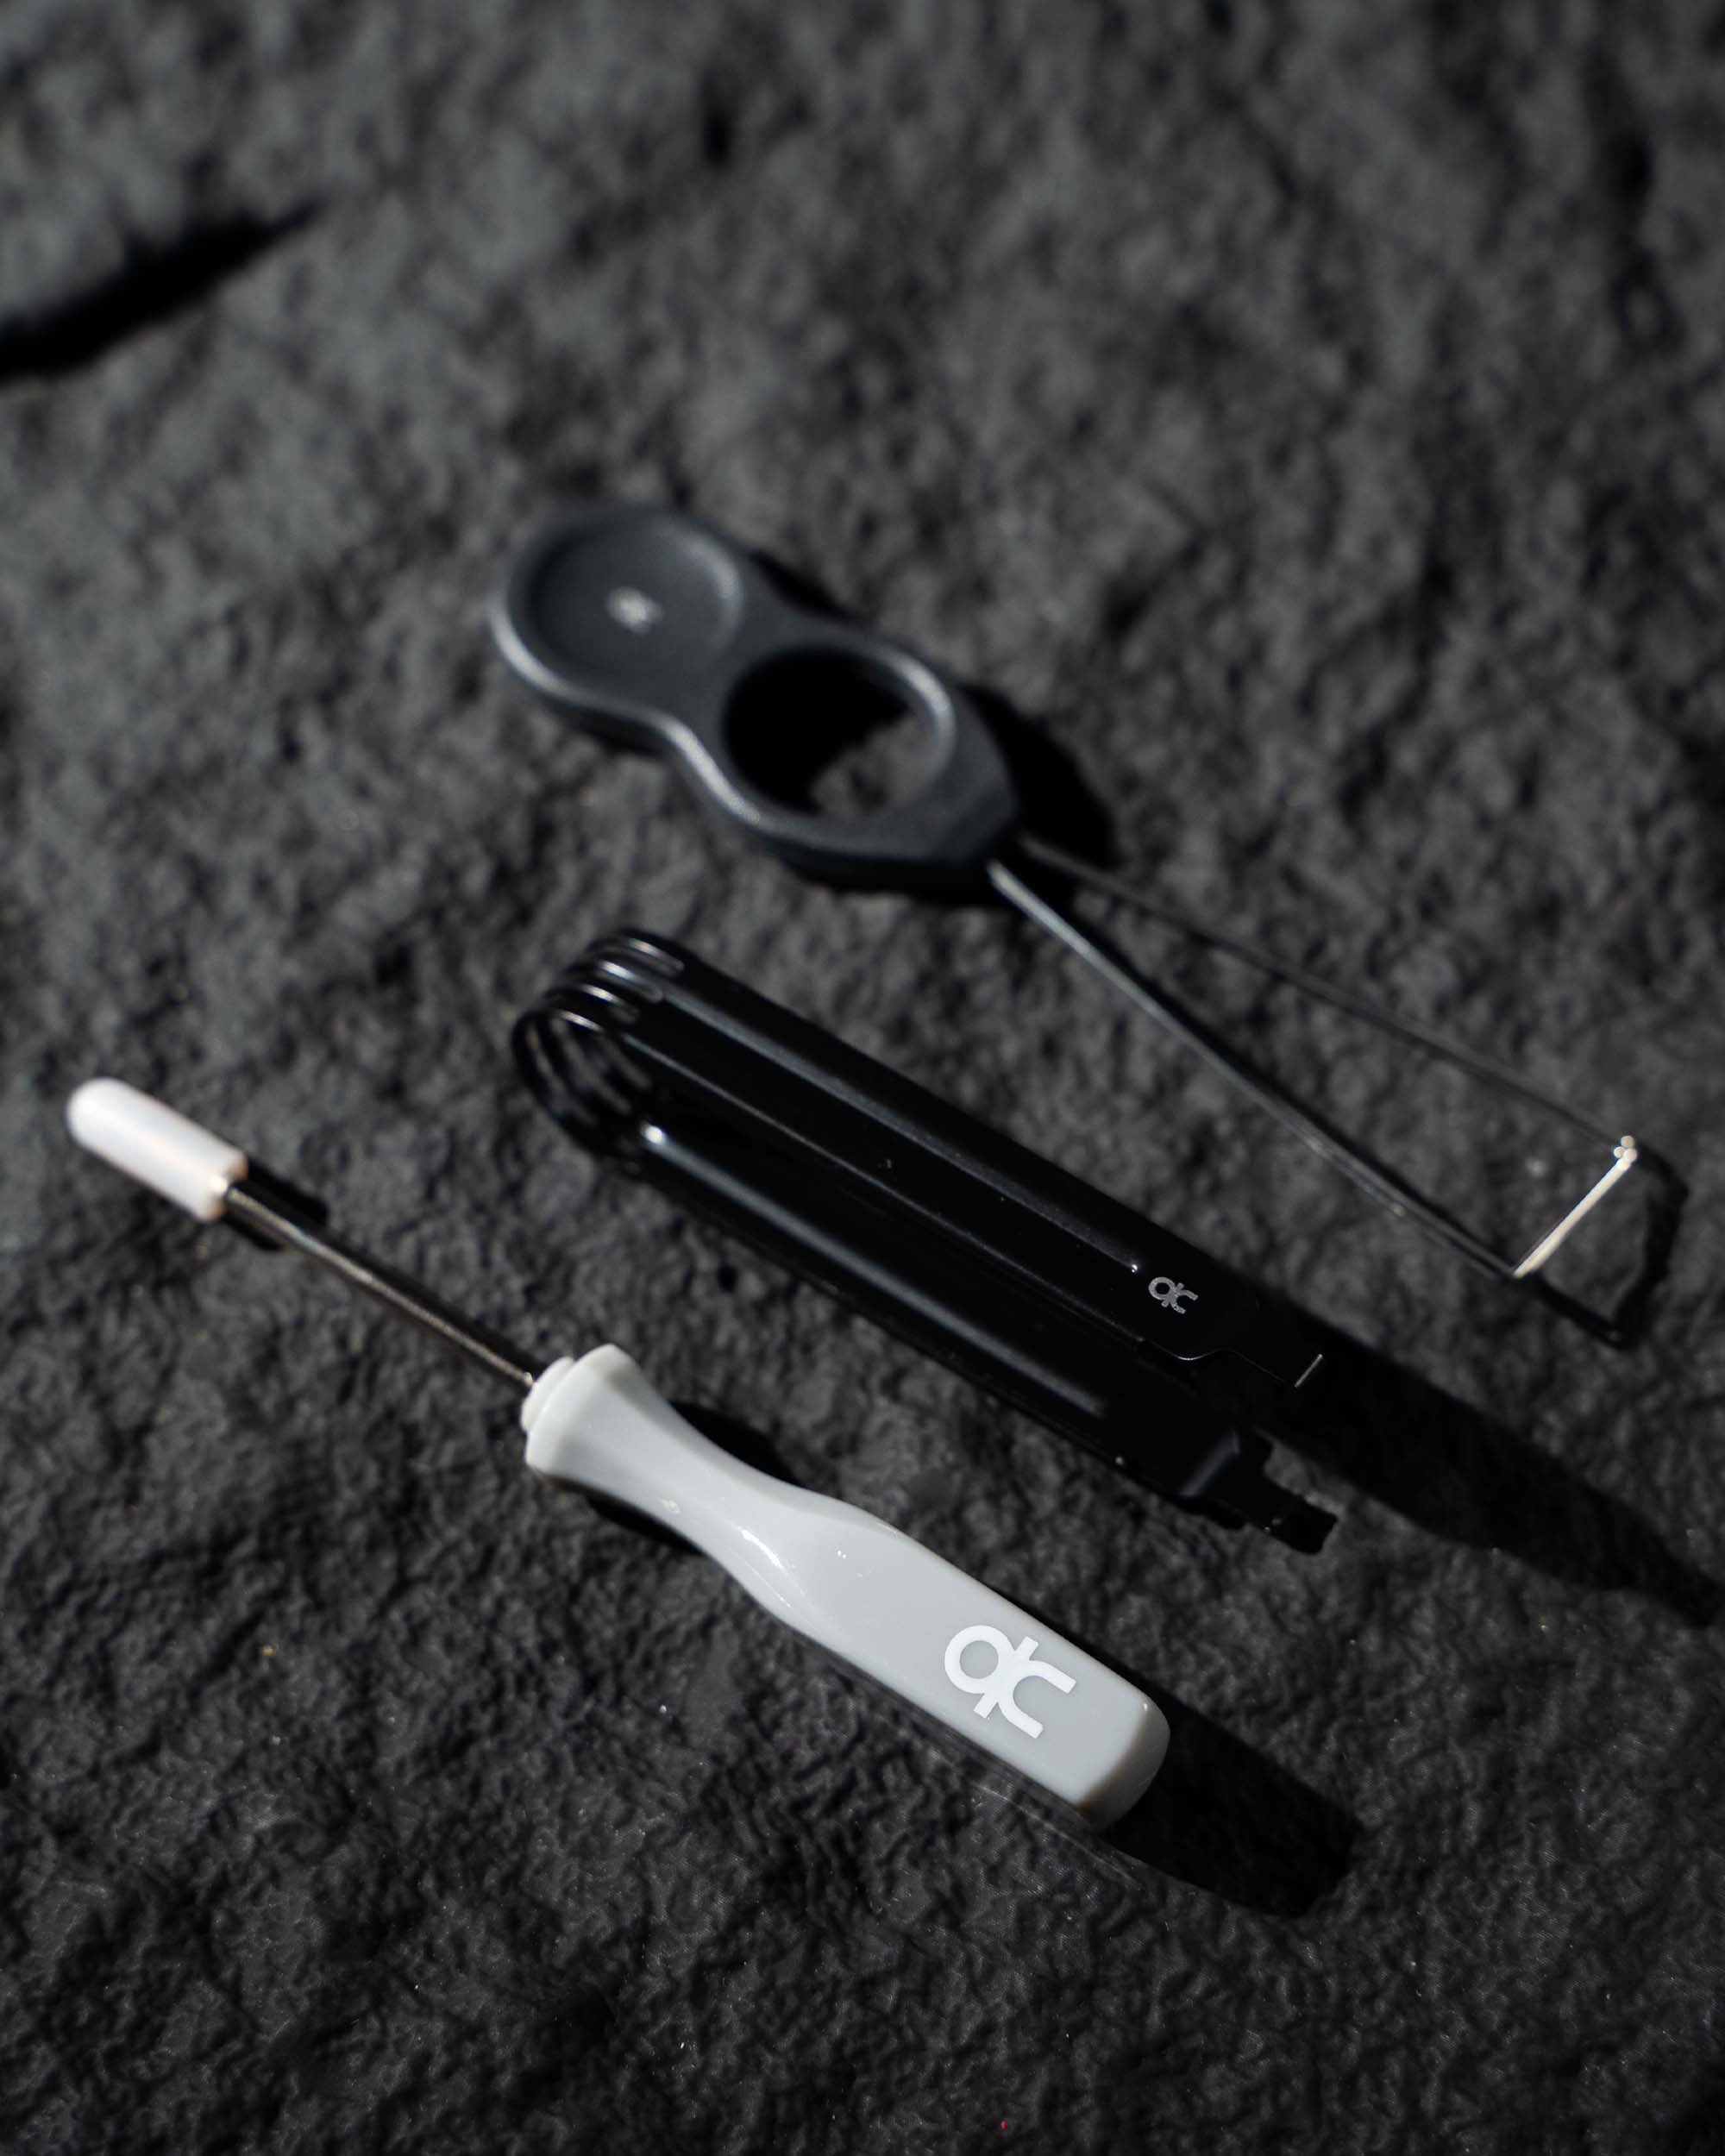
- Switch and keycap puller
- Screwdriver
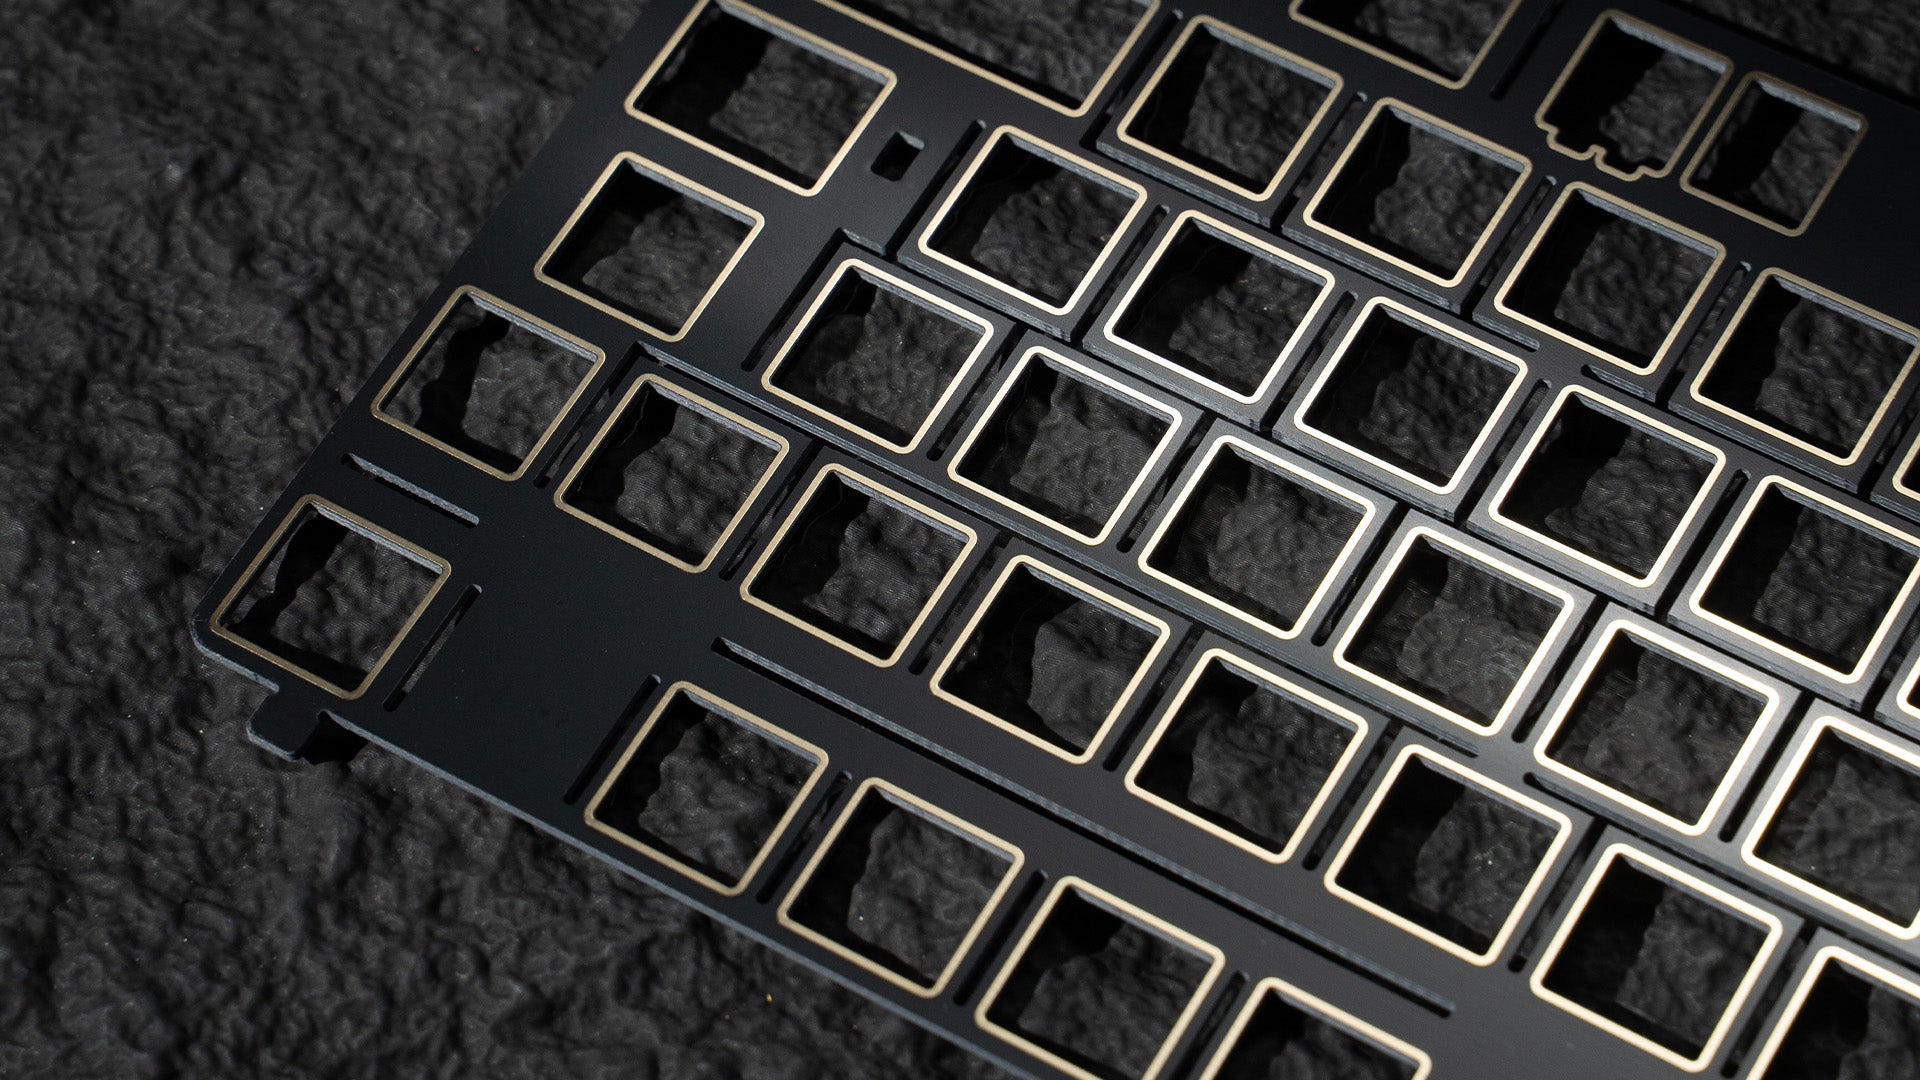
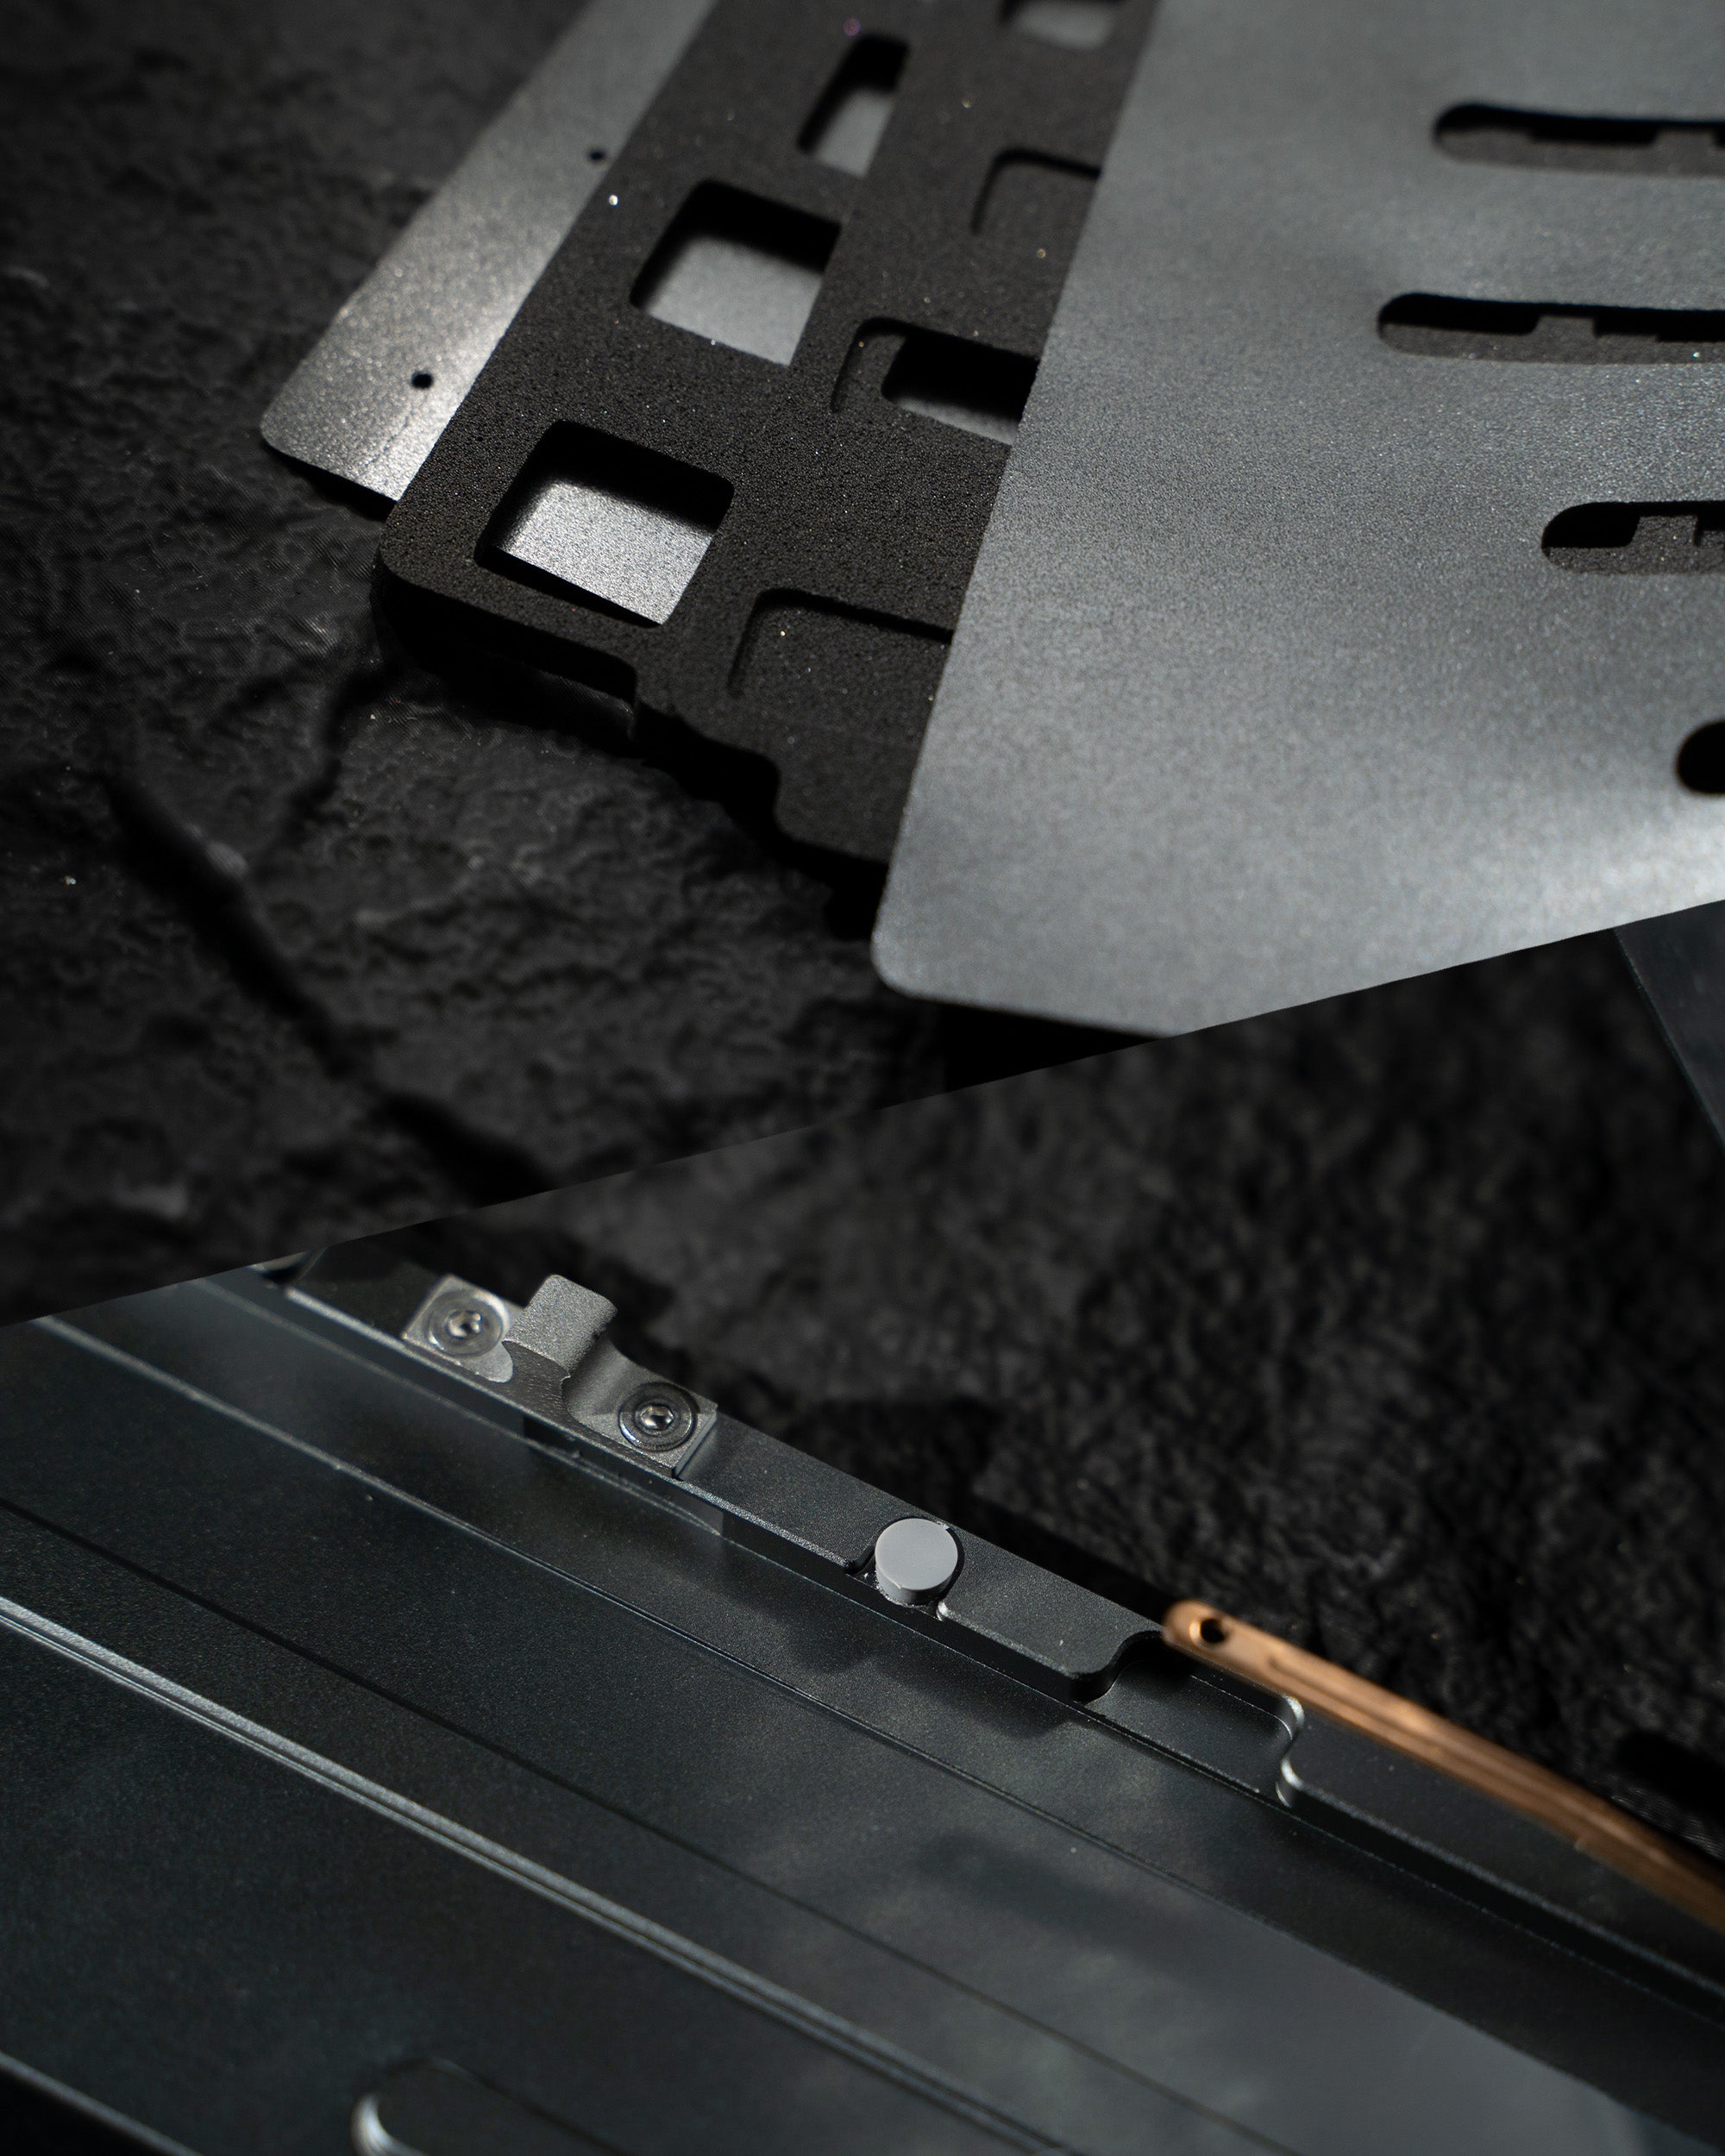
FR4 PLATE
FR4 plate with Flex-Cut for a clearer sound and a more bouncy feel when pressed.
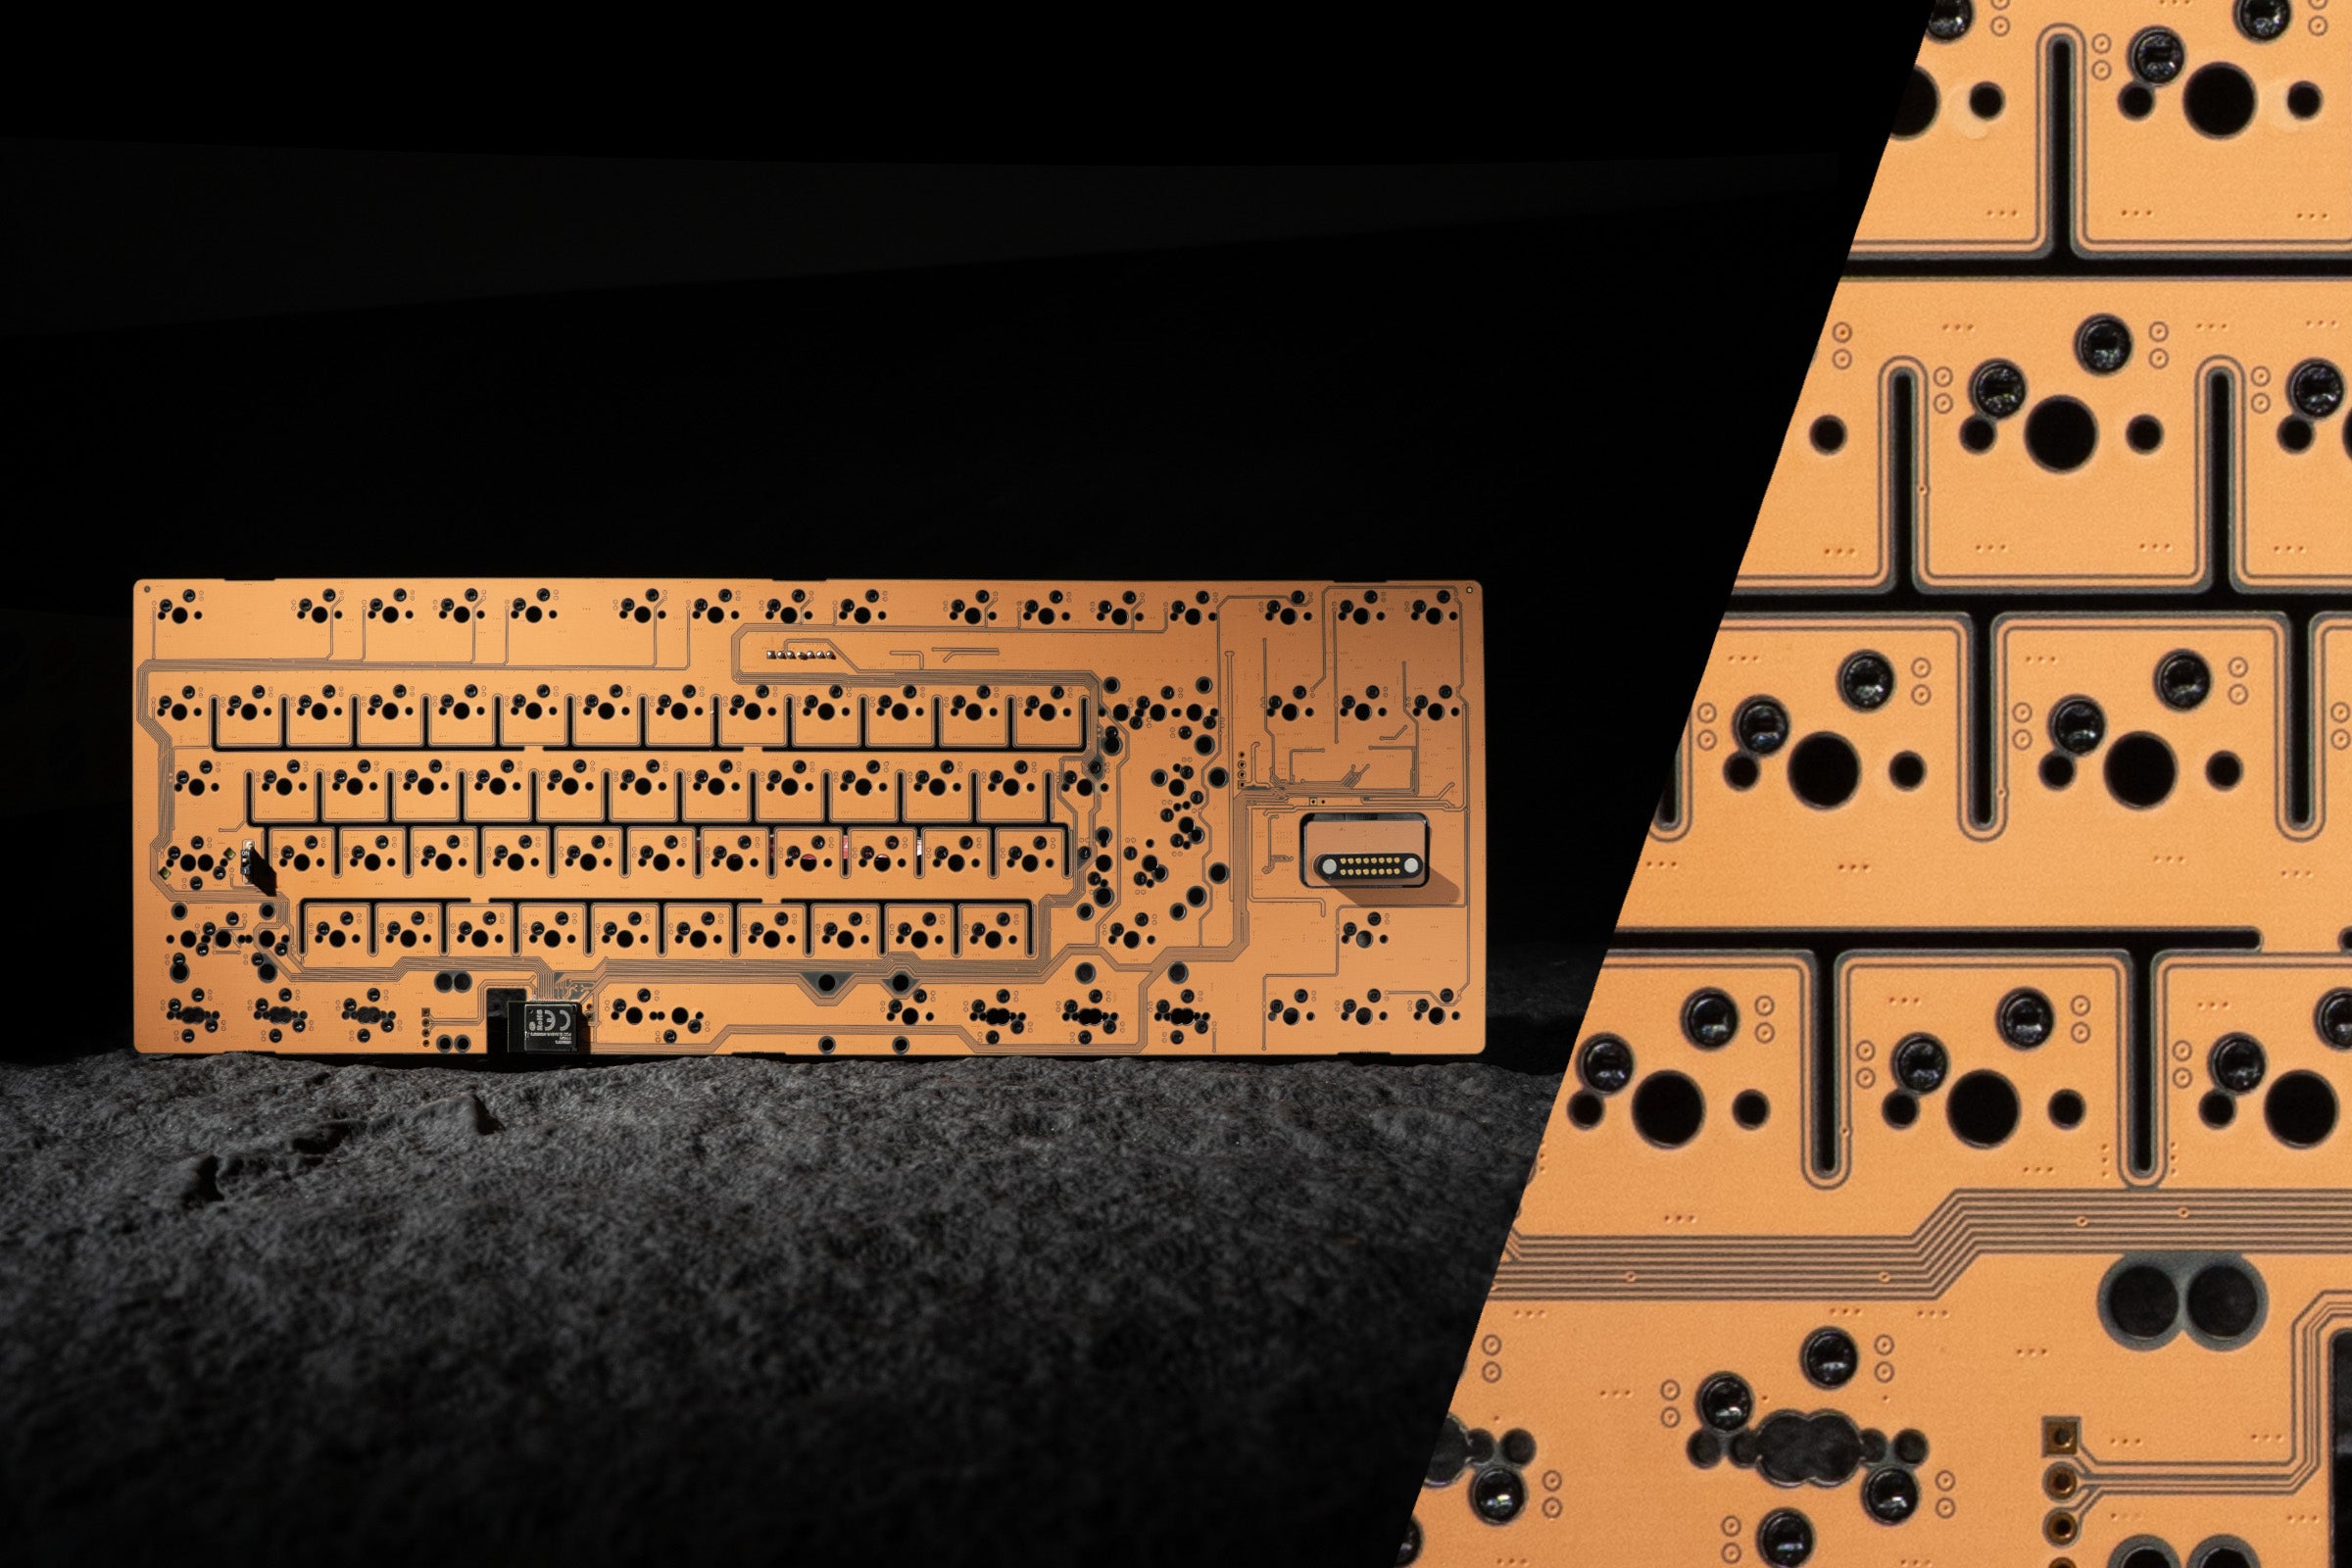
Tri-Mode Hotswap PCB
The PCB thickness is 1.2mm, it has three connection modes, including RGB lighting that adds color to the keyboard, and the switches can be replaced immediately without soldering.
Keycaps
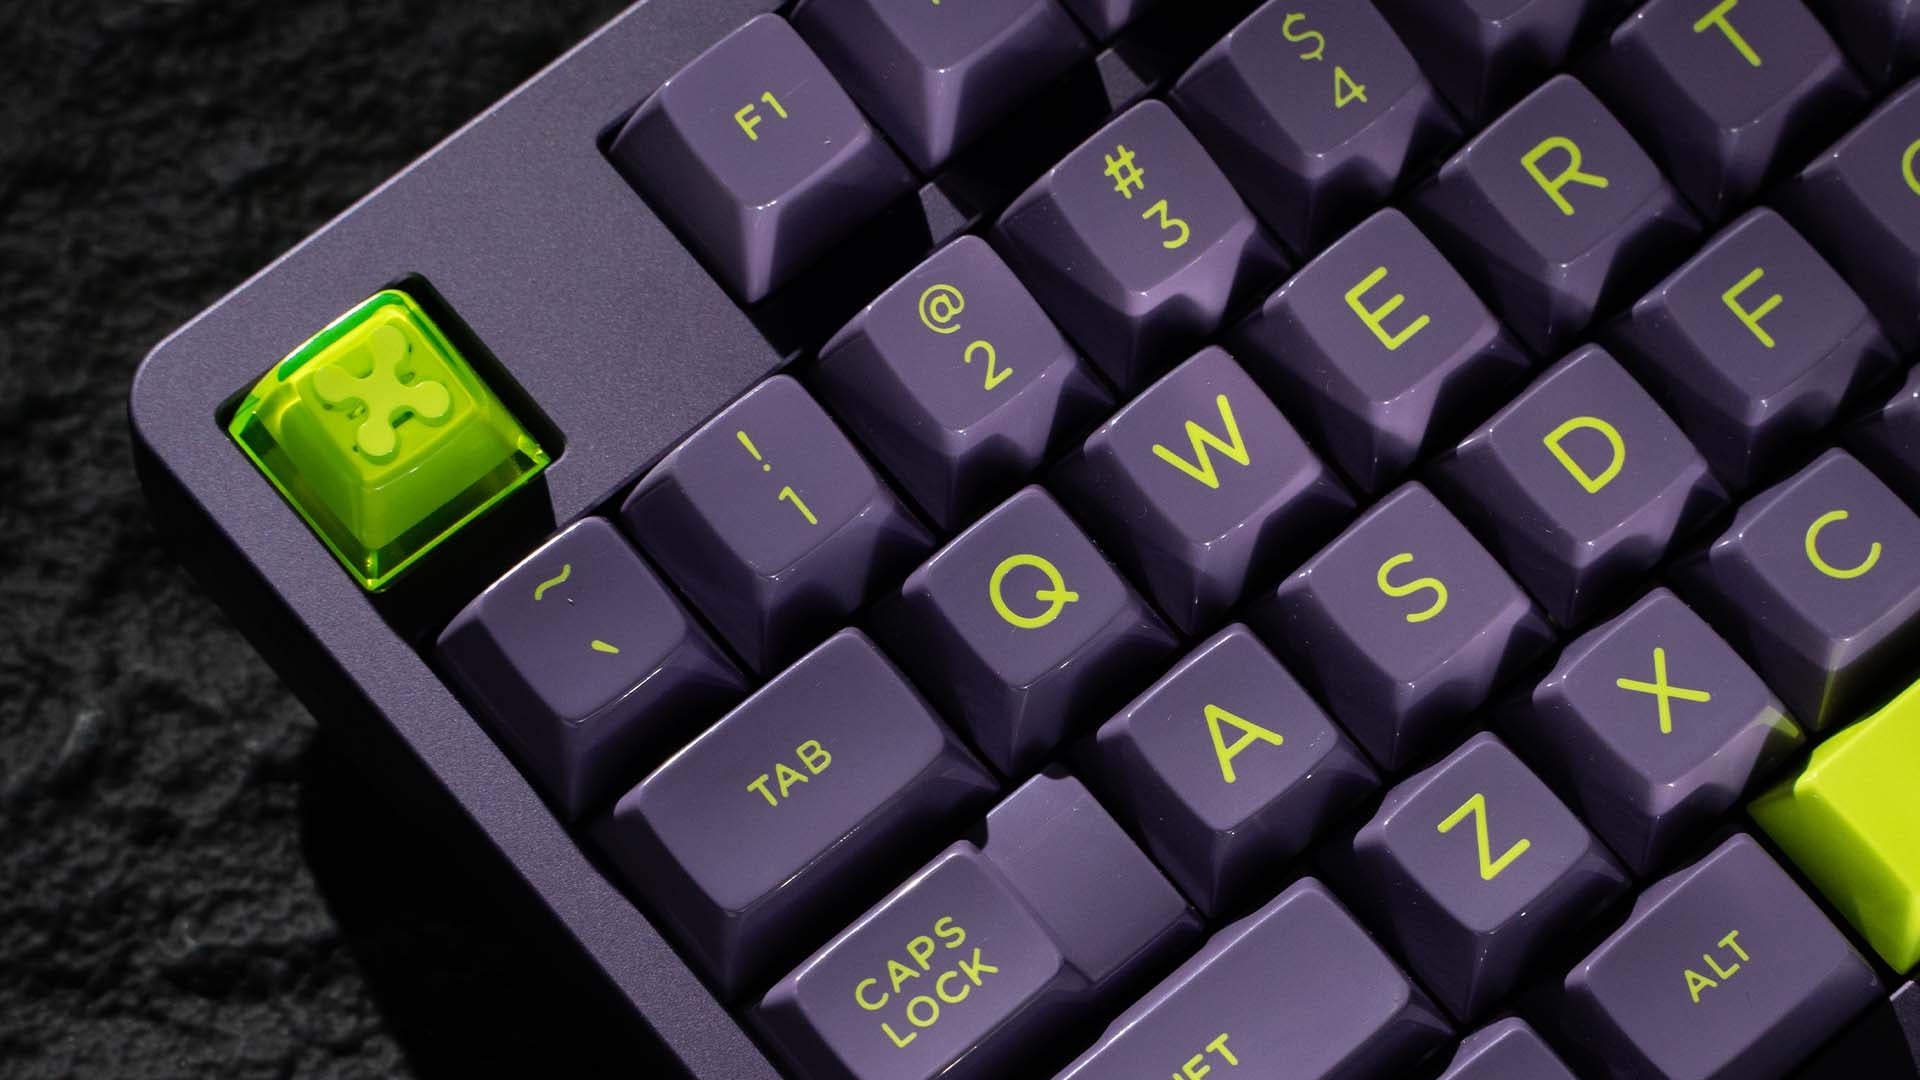
Shine & Glossy
The keycaps are glossy and have a similar feel to CERAMIC, and the feel is smoother than normal keycaps.
HSA profile keycaps
It is a keycap that is taller than Cherry but lower than SA PROFILE. The round shape fits the hand, similar to SA, giving a more comfortable typing experience.
ABS Doubleshot
Neon-Green keycaps are sharp and do not fade even after long-term use because they are made of ABS + Doubleshot, giving a more vibrant color tone.
A Perfectly Sound
Good sound right out of the box, no need to do anything more with HMX AZURE SWITH (Linear), giving a loud Clack tone, fun to type, and a comfortable press feel.
If you have any questions, you are always welcome to contact us. We'll get back to you as soon as possible, within 24 hours on weekdays.
-
Shipping Information
Use this text to answer questions in as much detail as possible for your customers.
-
Customer Support
Use this text to answer questions in as much detail as possible for your customers.
-
FAQ's
Use this text to answer questions in as much detail as possible for your customers.
-
Contact Us
Use this text to answer questions in as much detail as possible for your customers.

QK80 MK2 Limited Edition
Pre-Built Keyboard from QK
Quality + Features + Sound
Factory config, good sound right out of the box
Design
Design
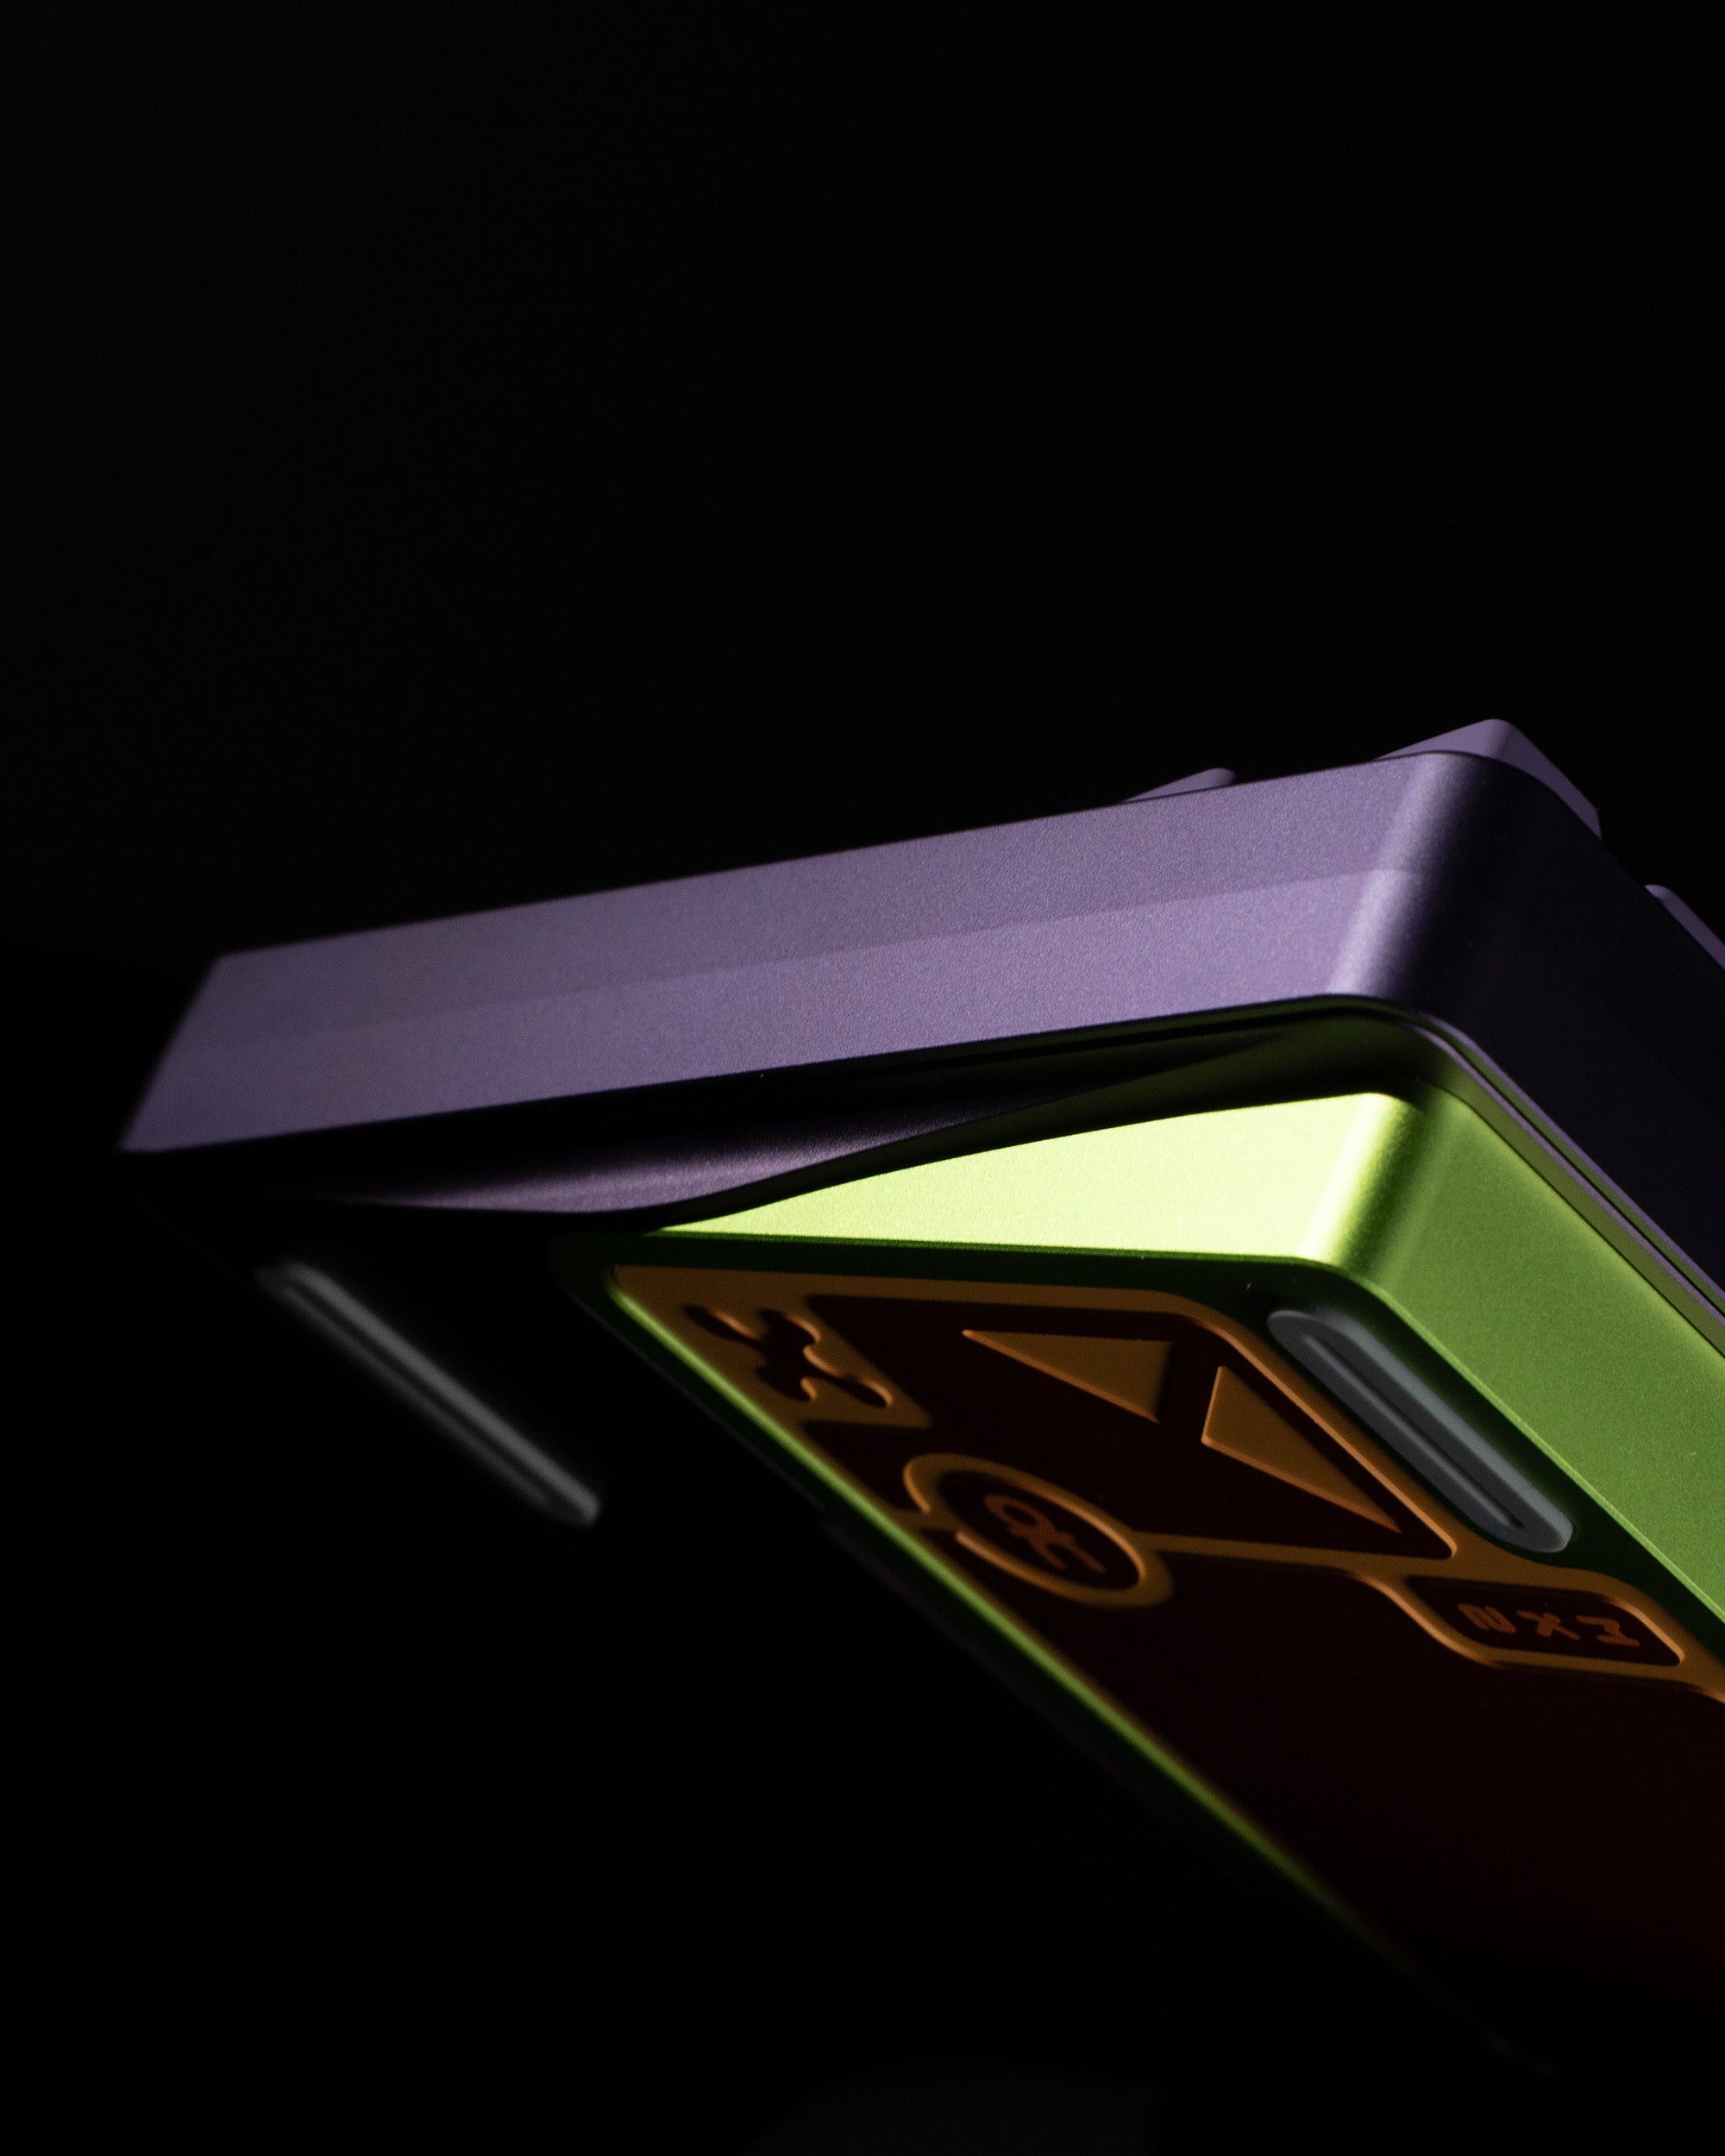
Unique & Elegance
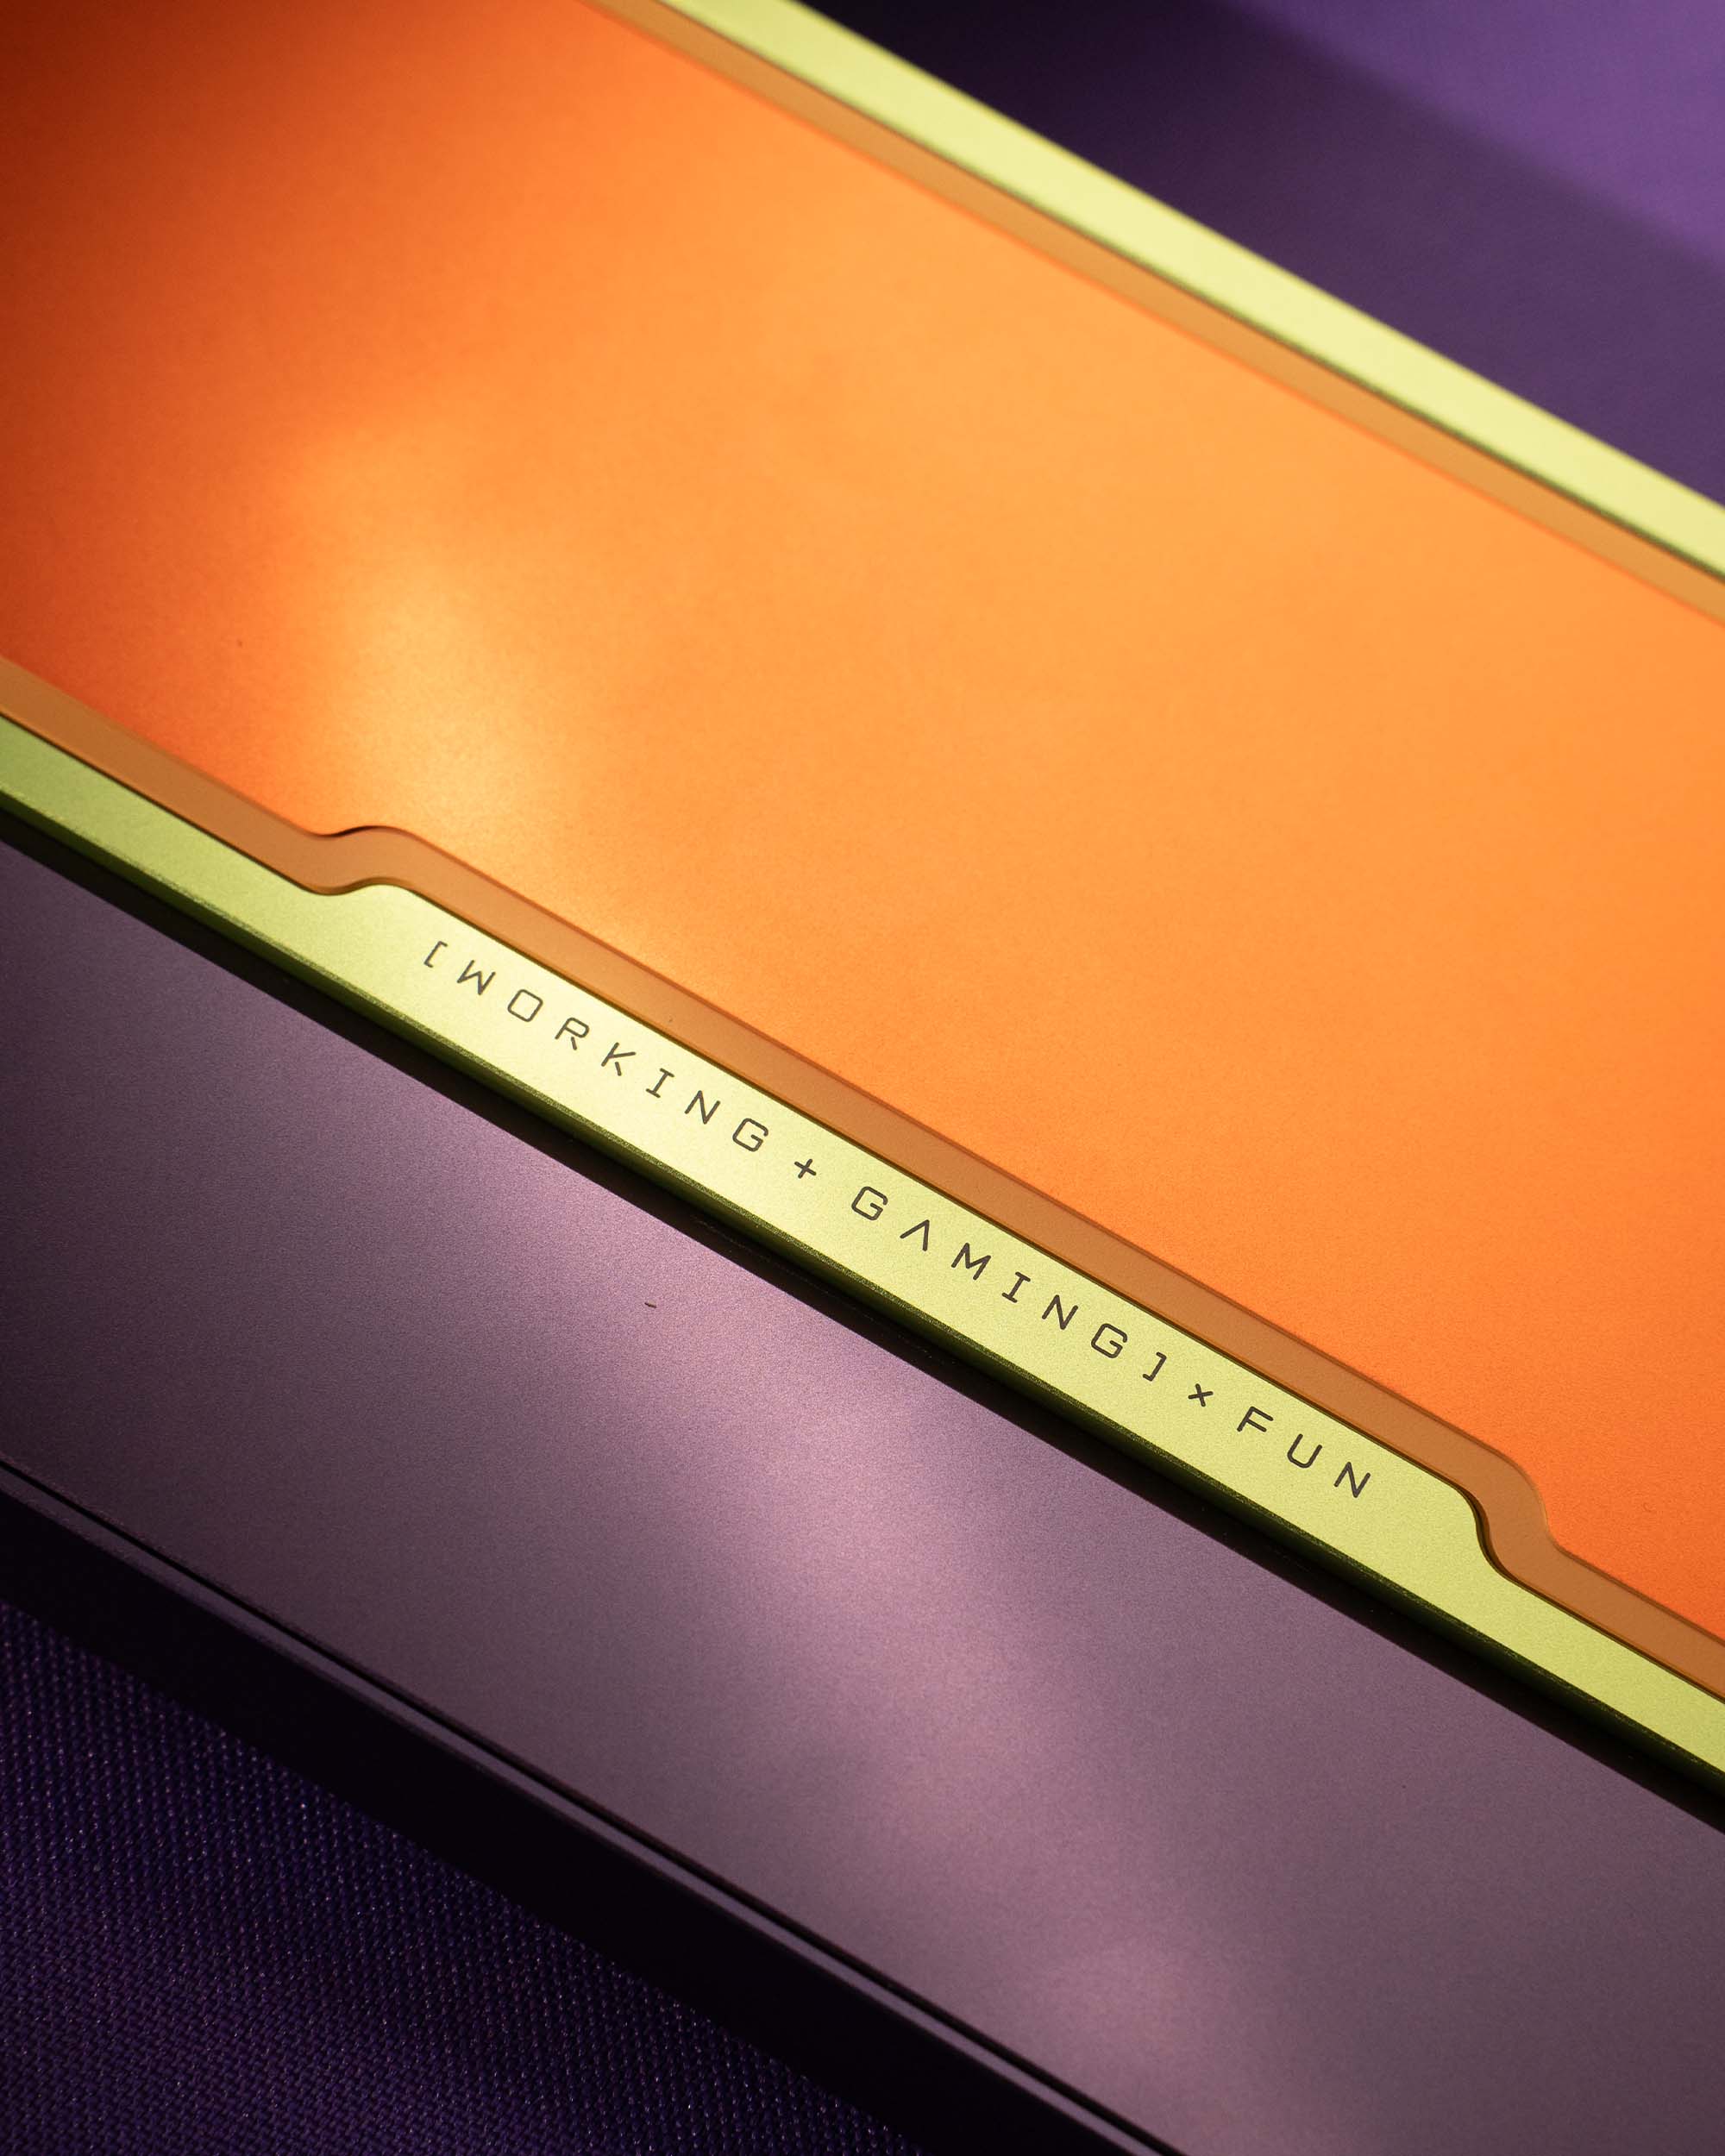
LIMITED EDITION design available only in this model, suitable for both work and gaming.
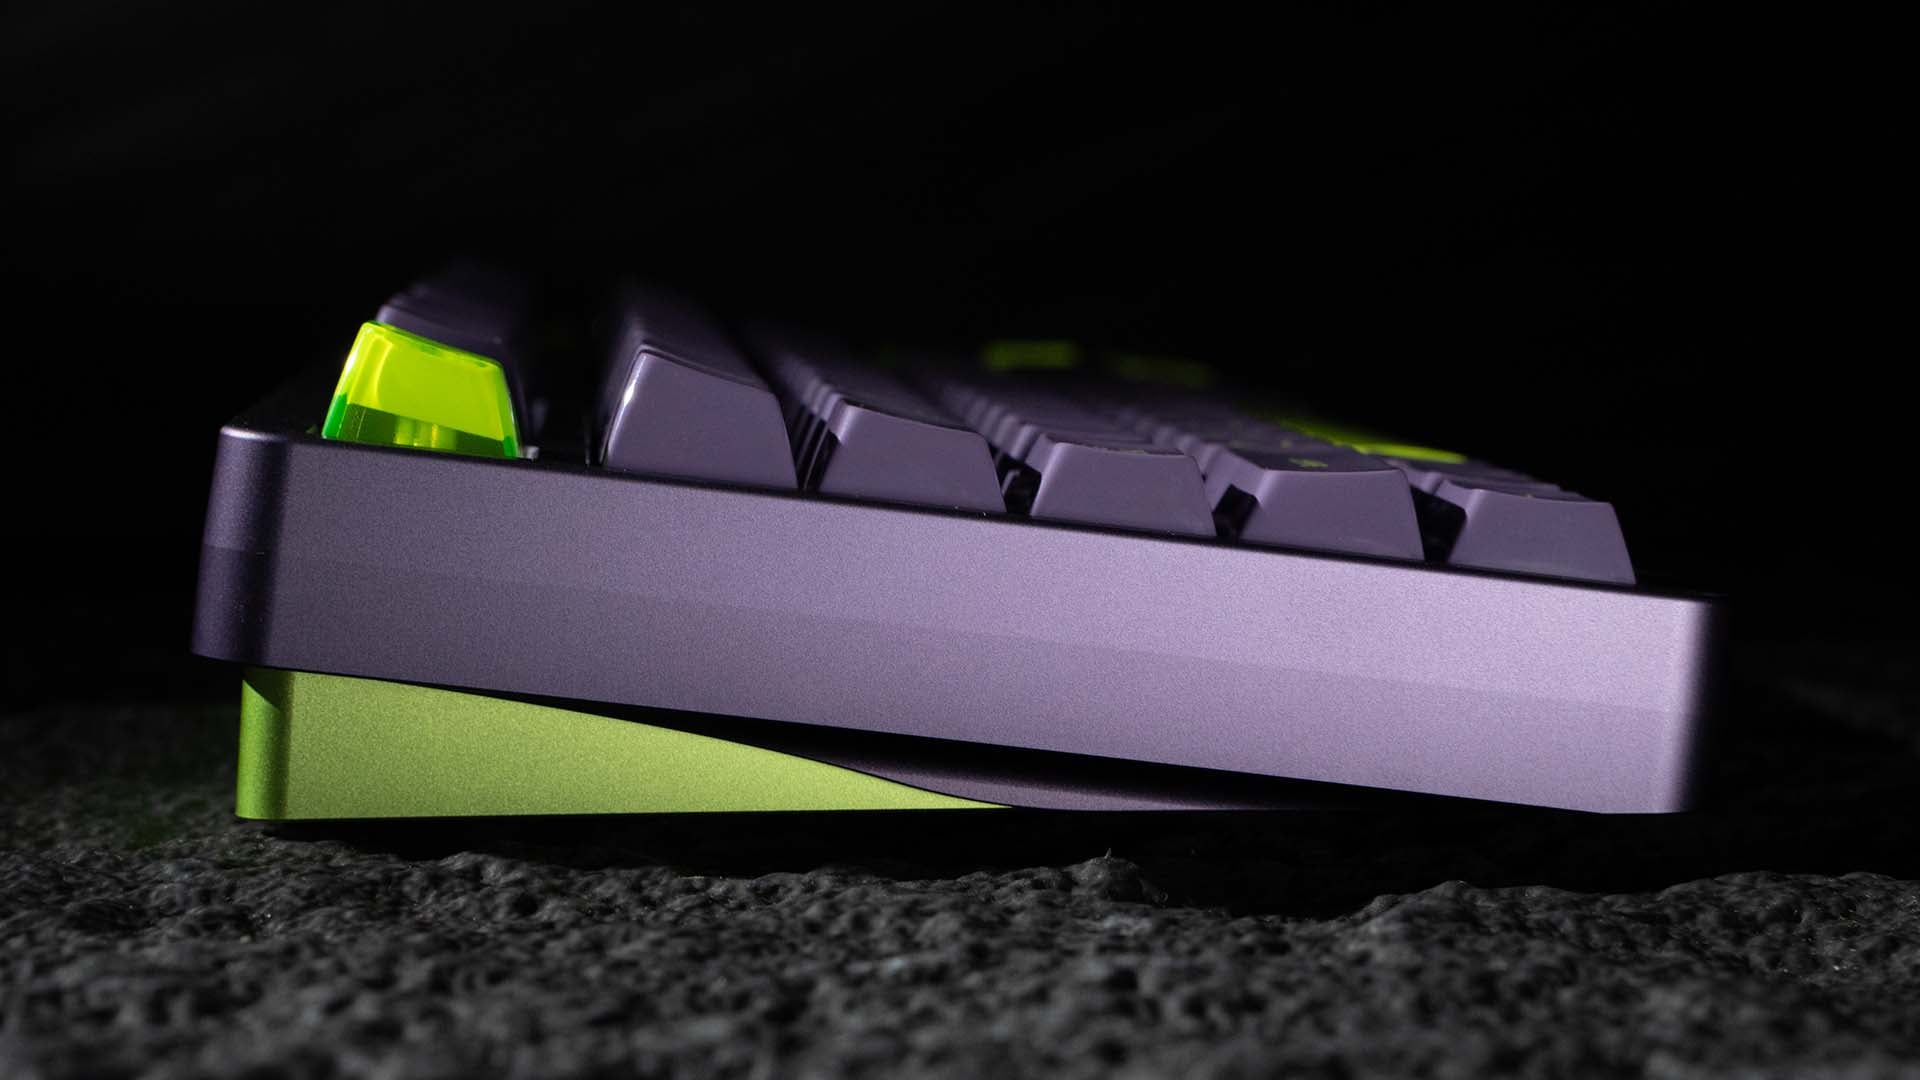
Elegance
Side Profile Usability
The unique and distinctive feature is that the Topcase + Bottom case are in two-tone colors that alternate back and forth, making it look even more unique.
comfortable
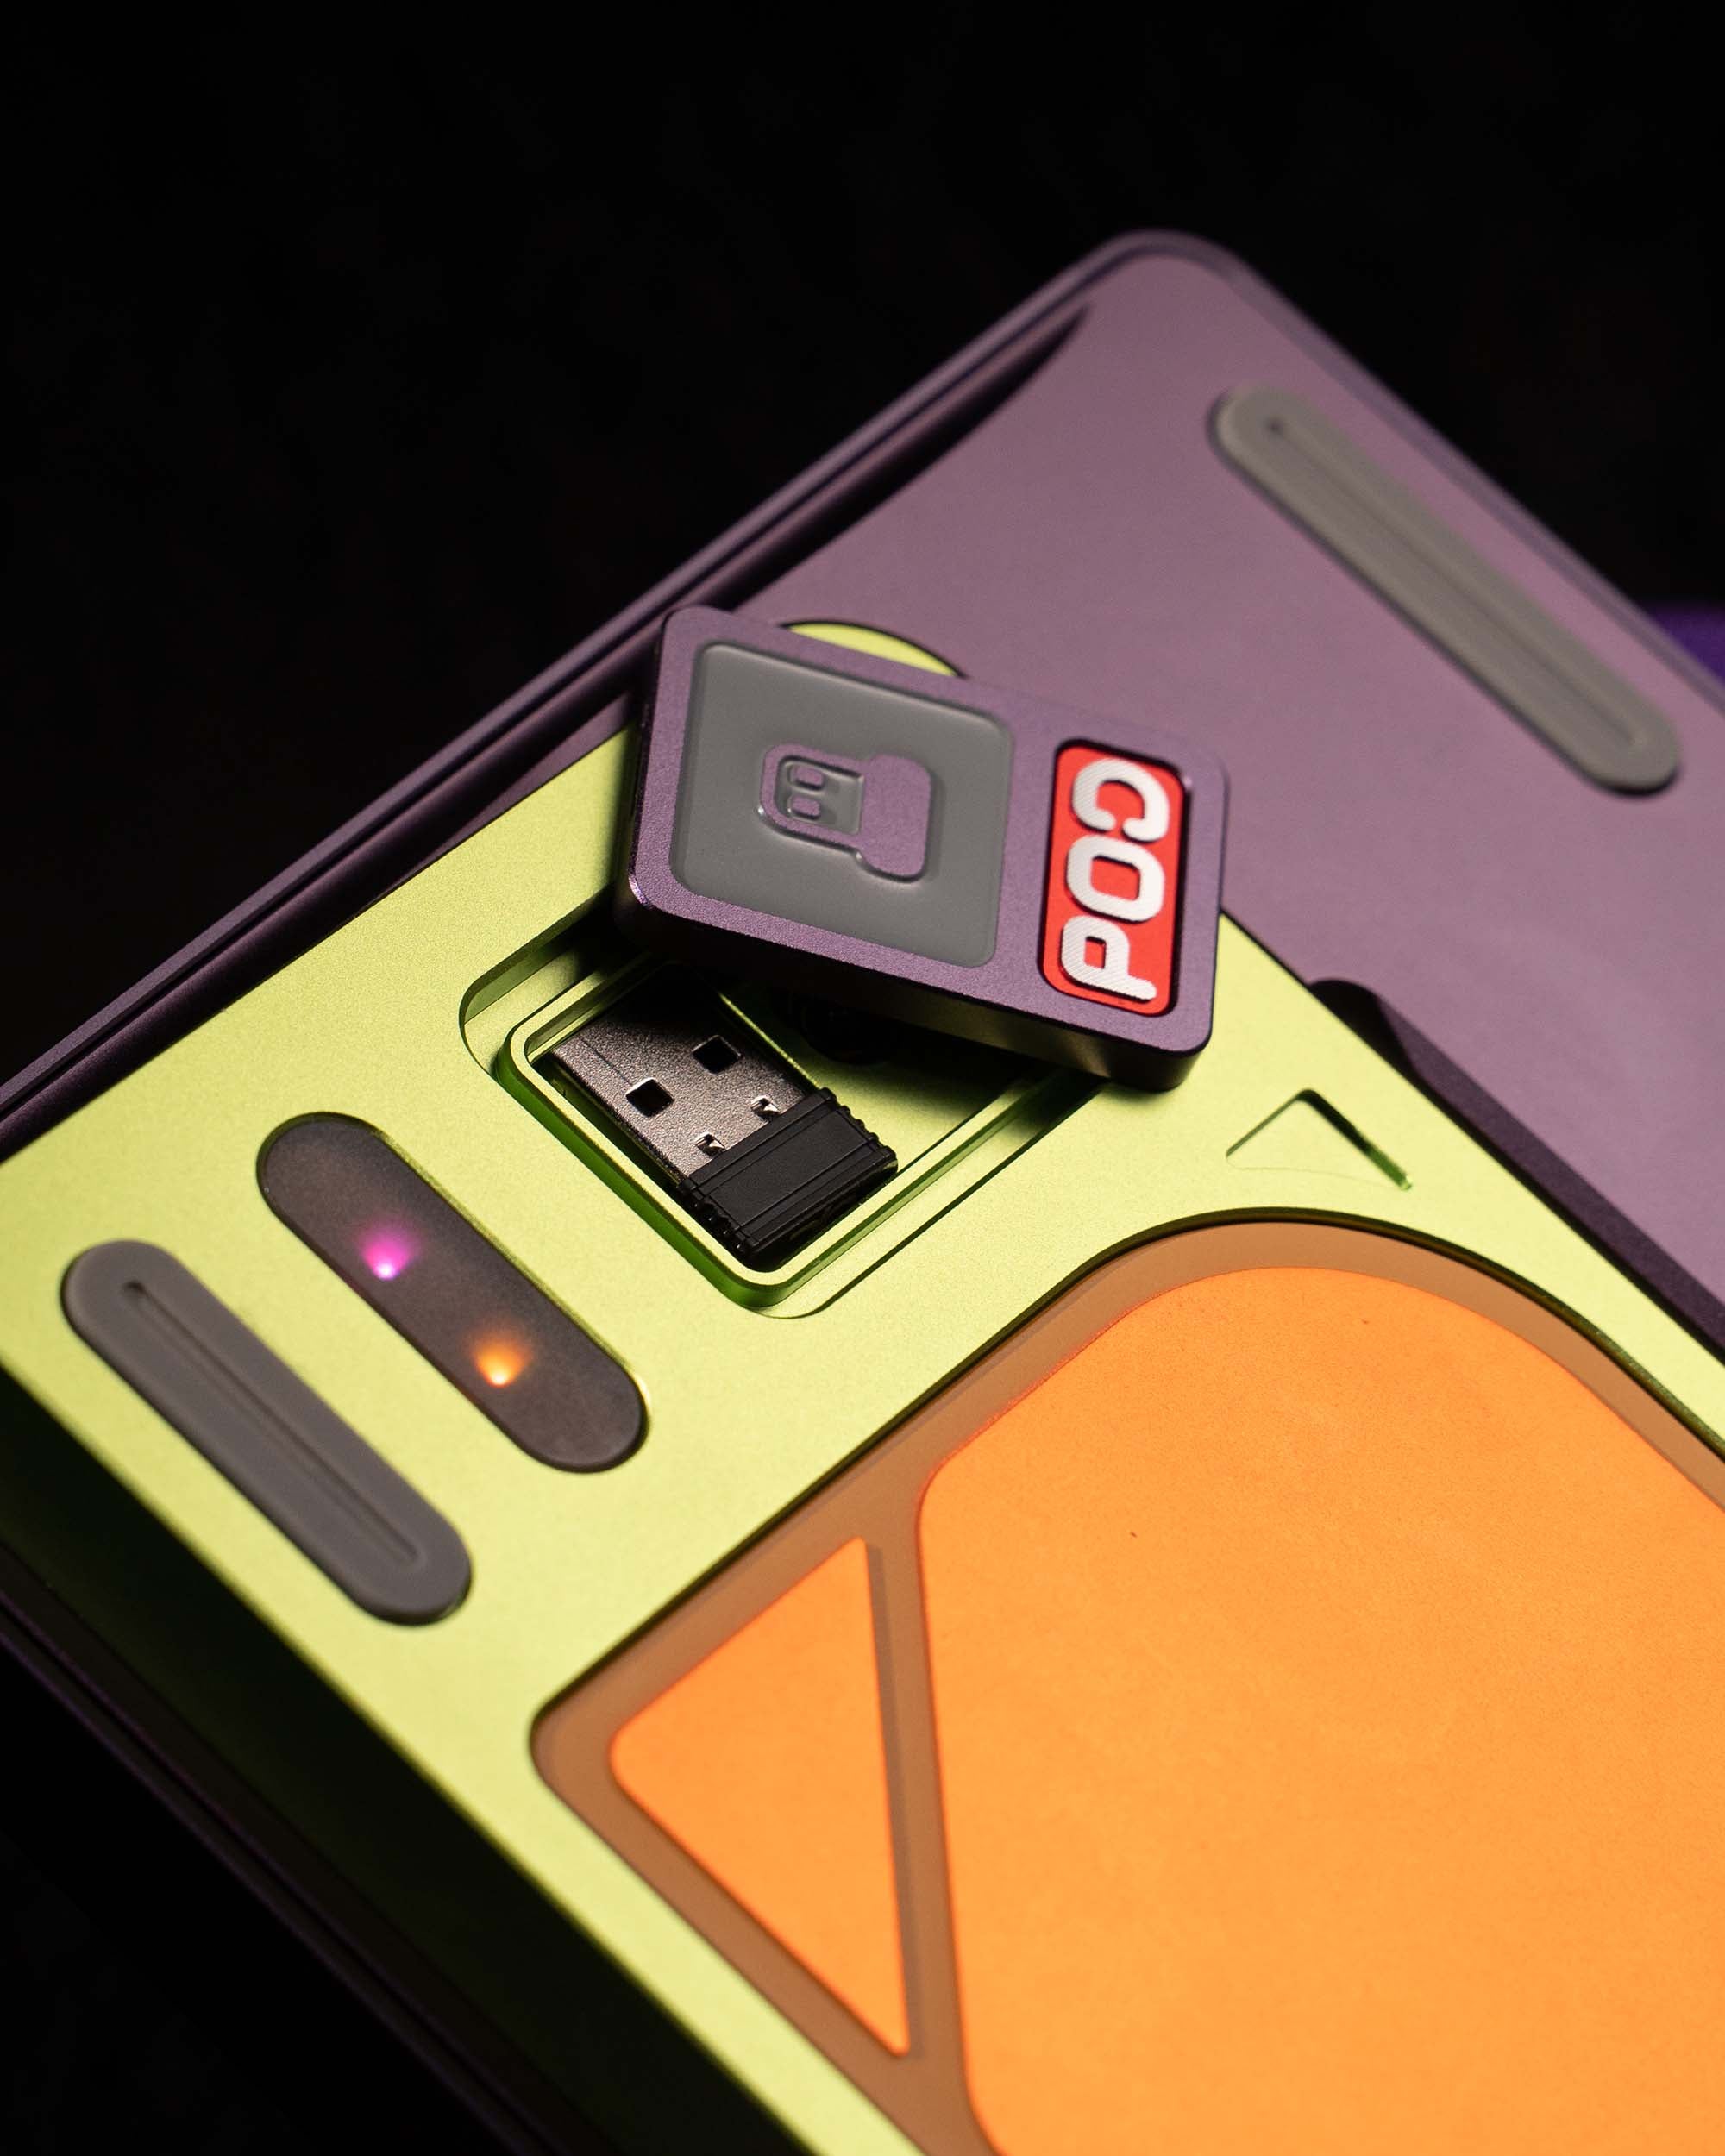
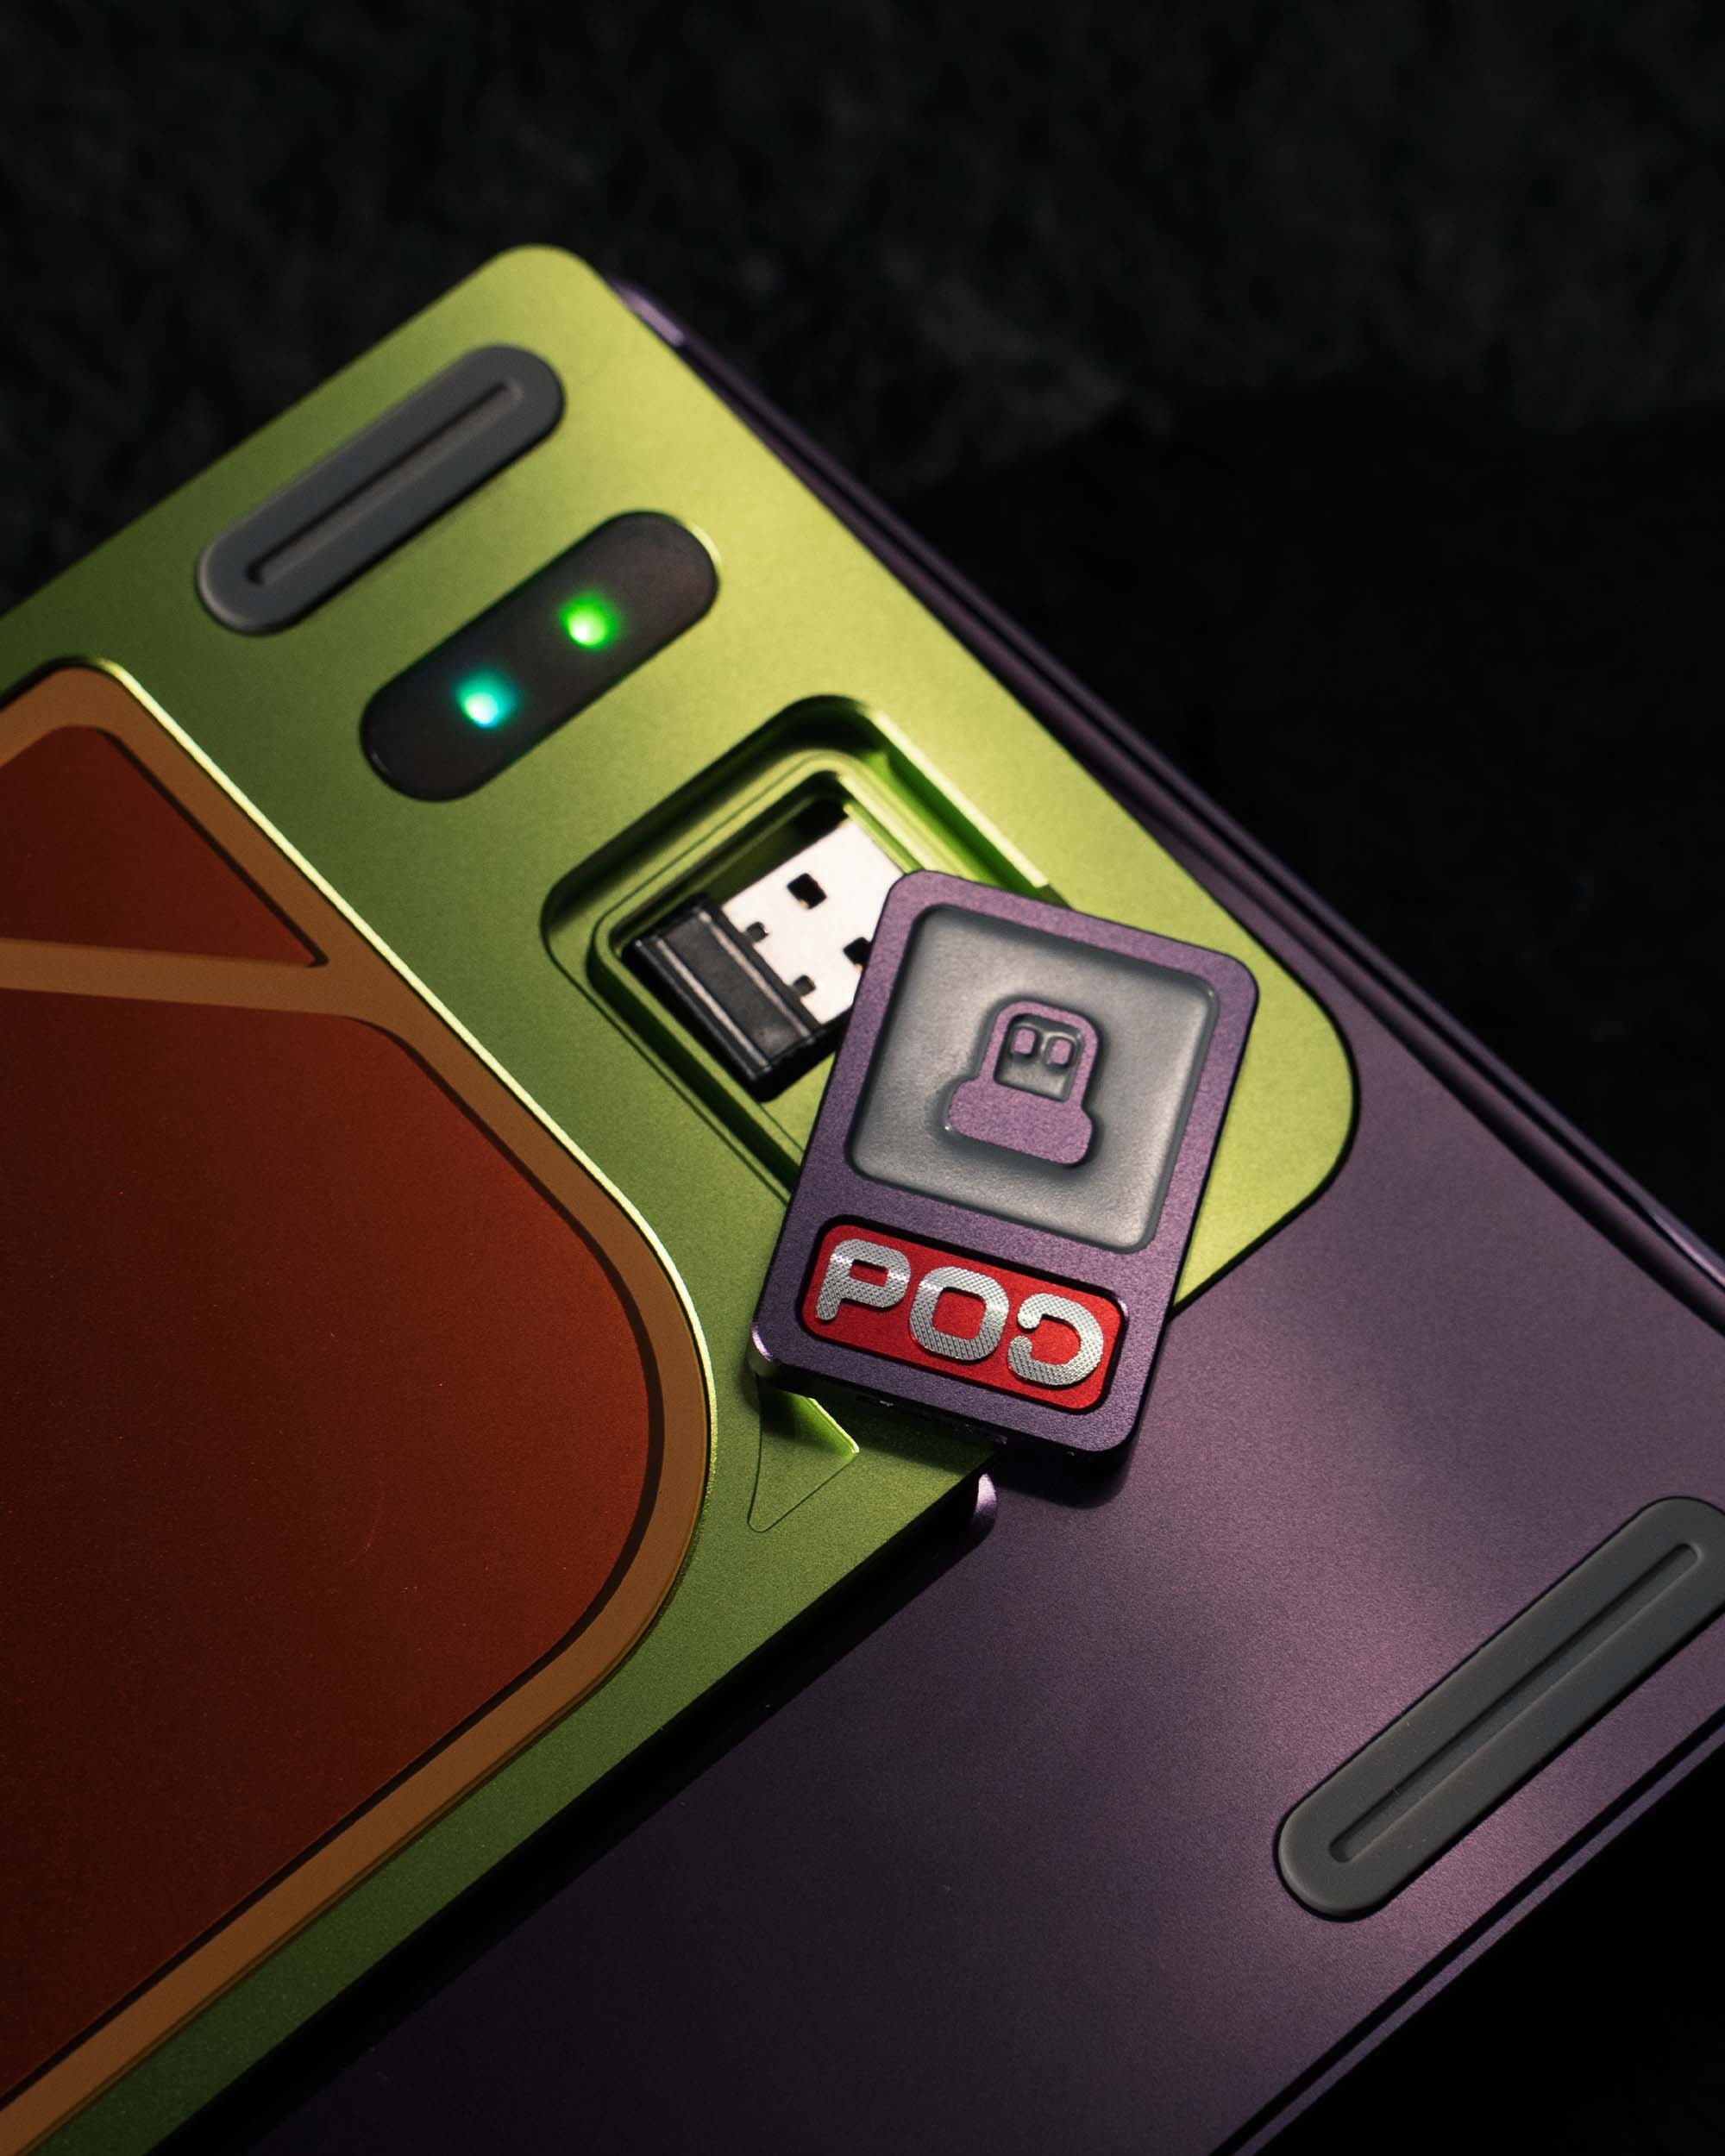
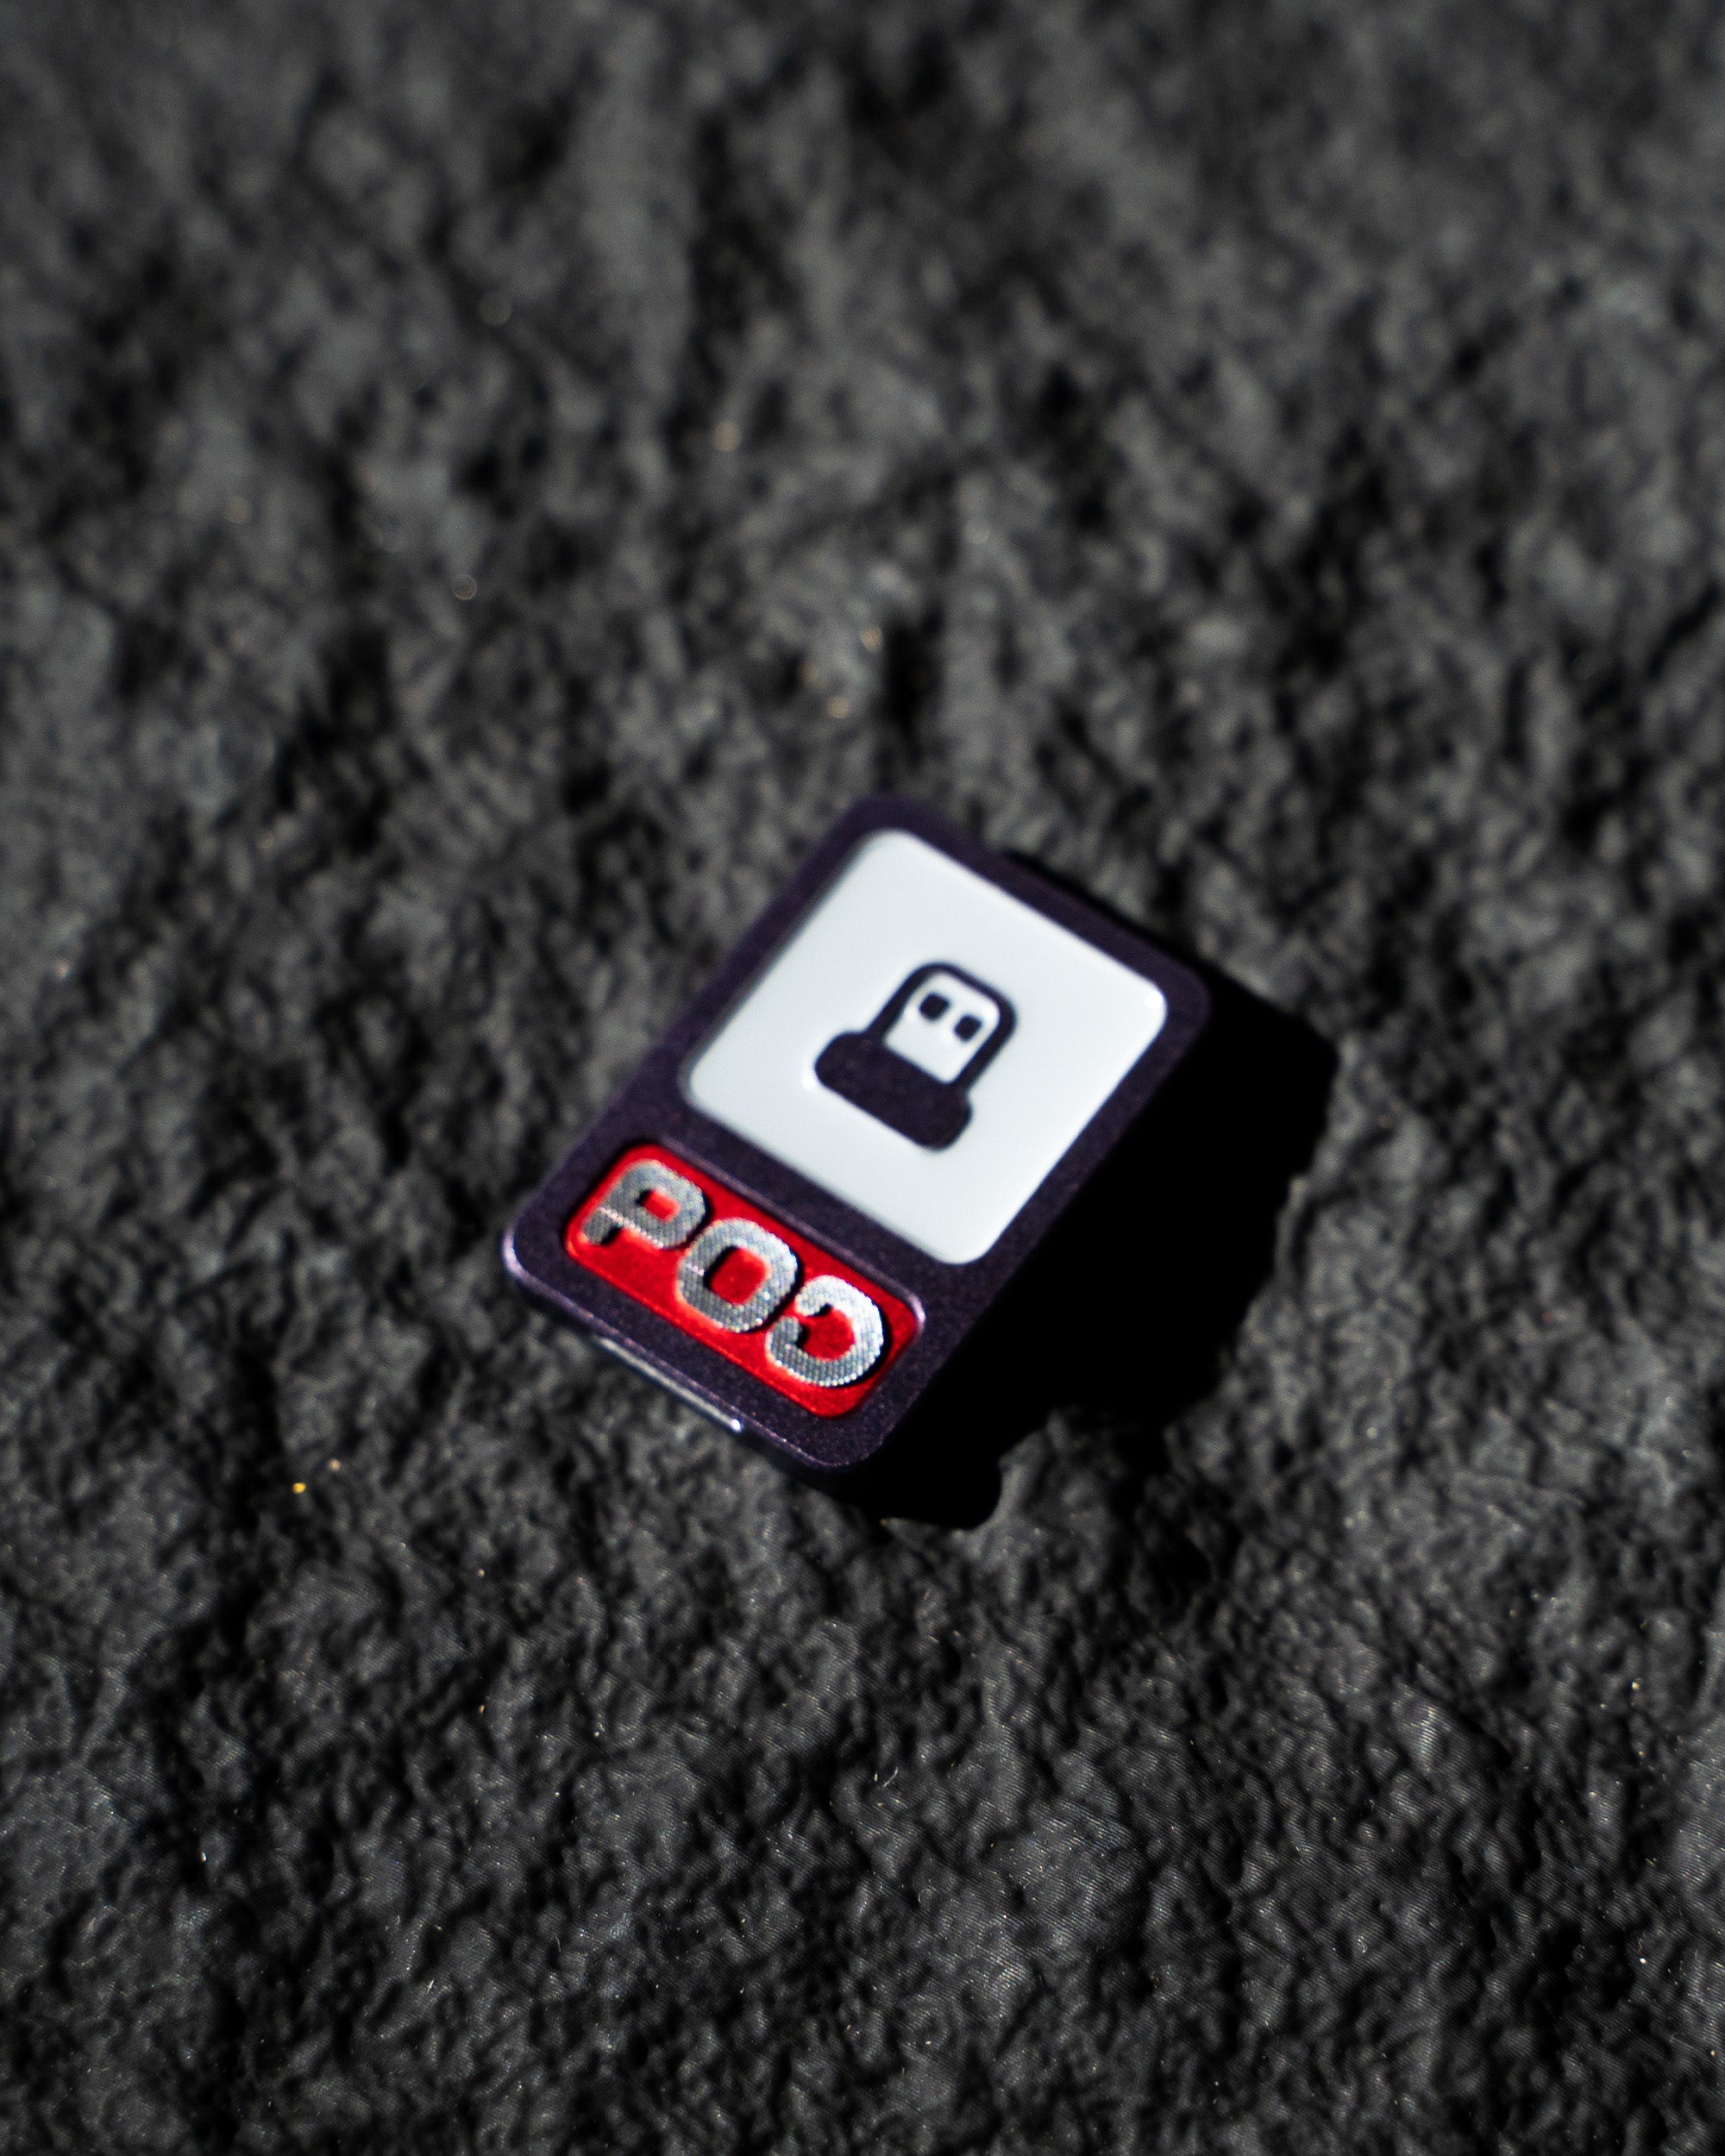
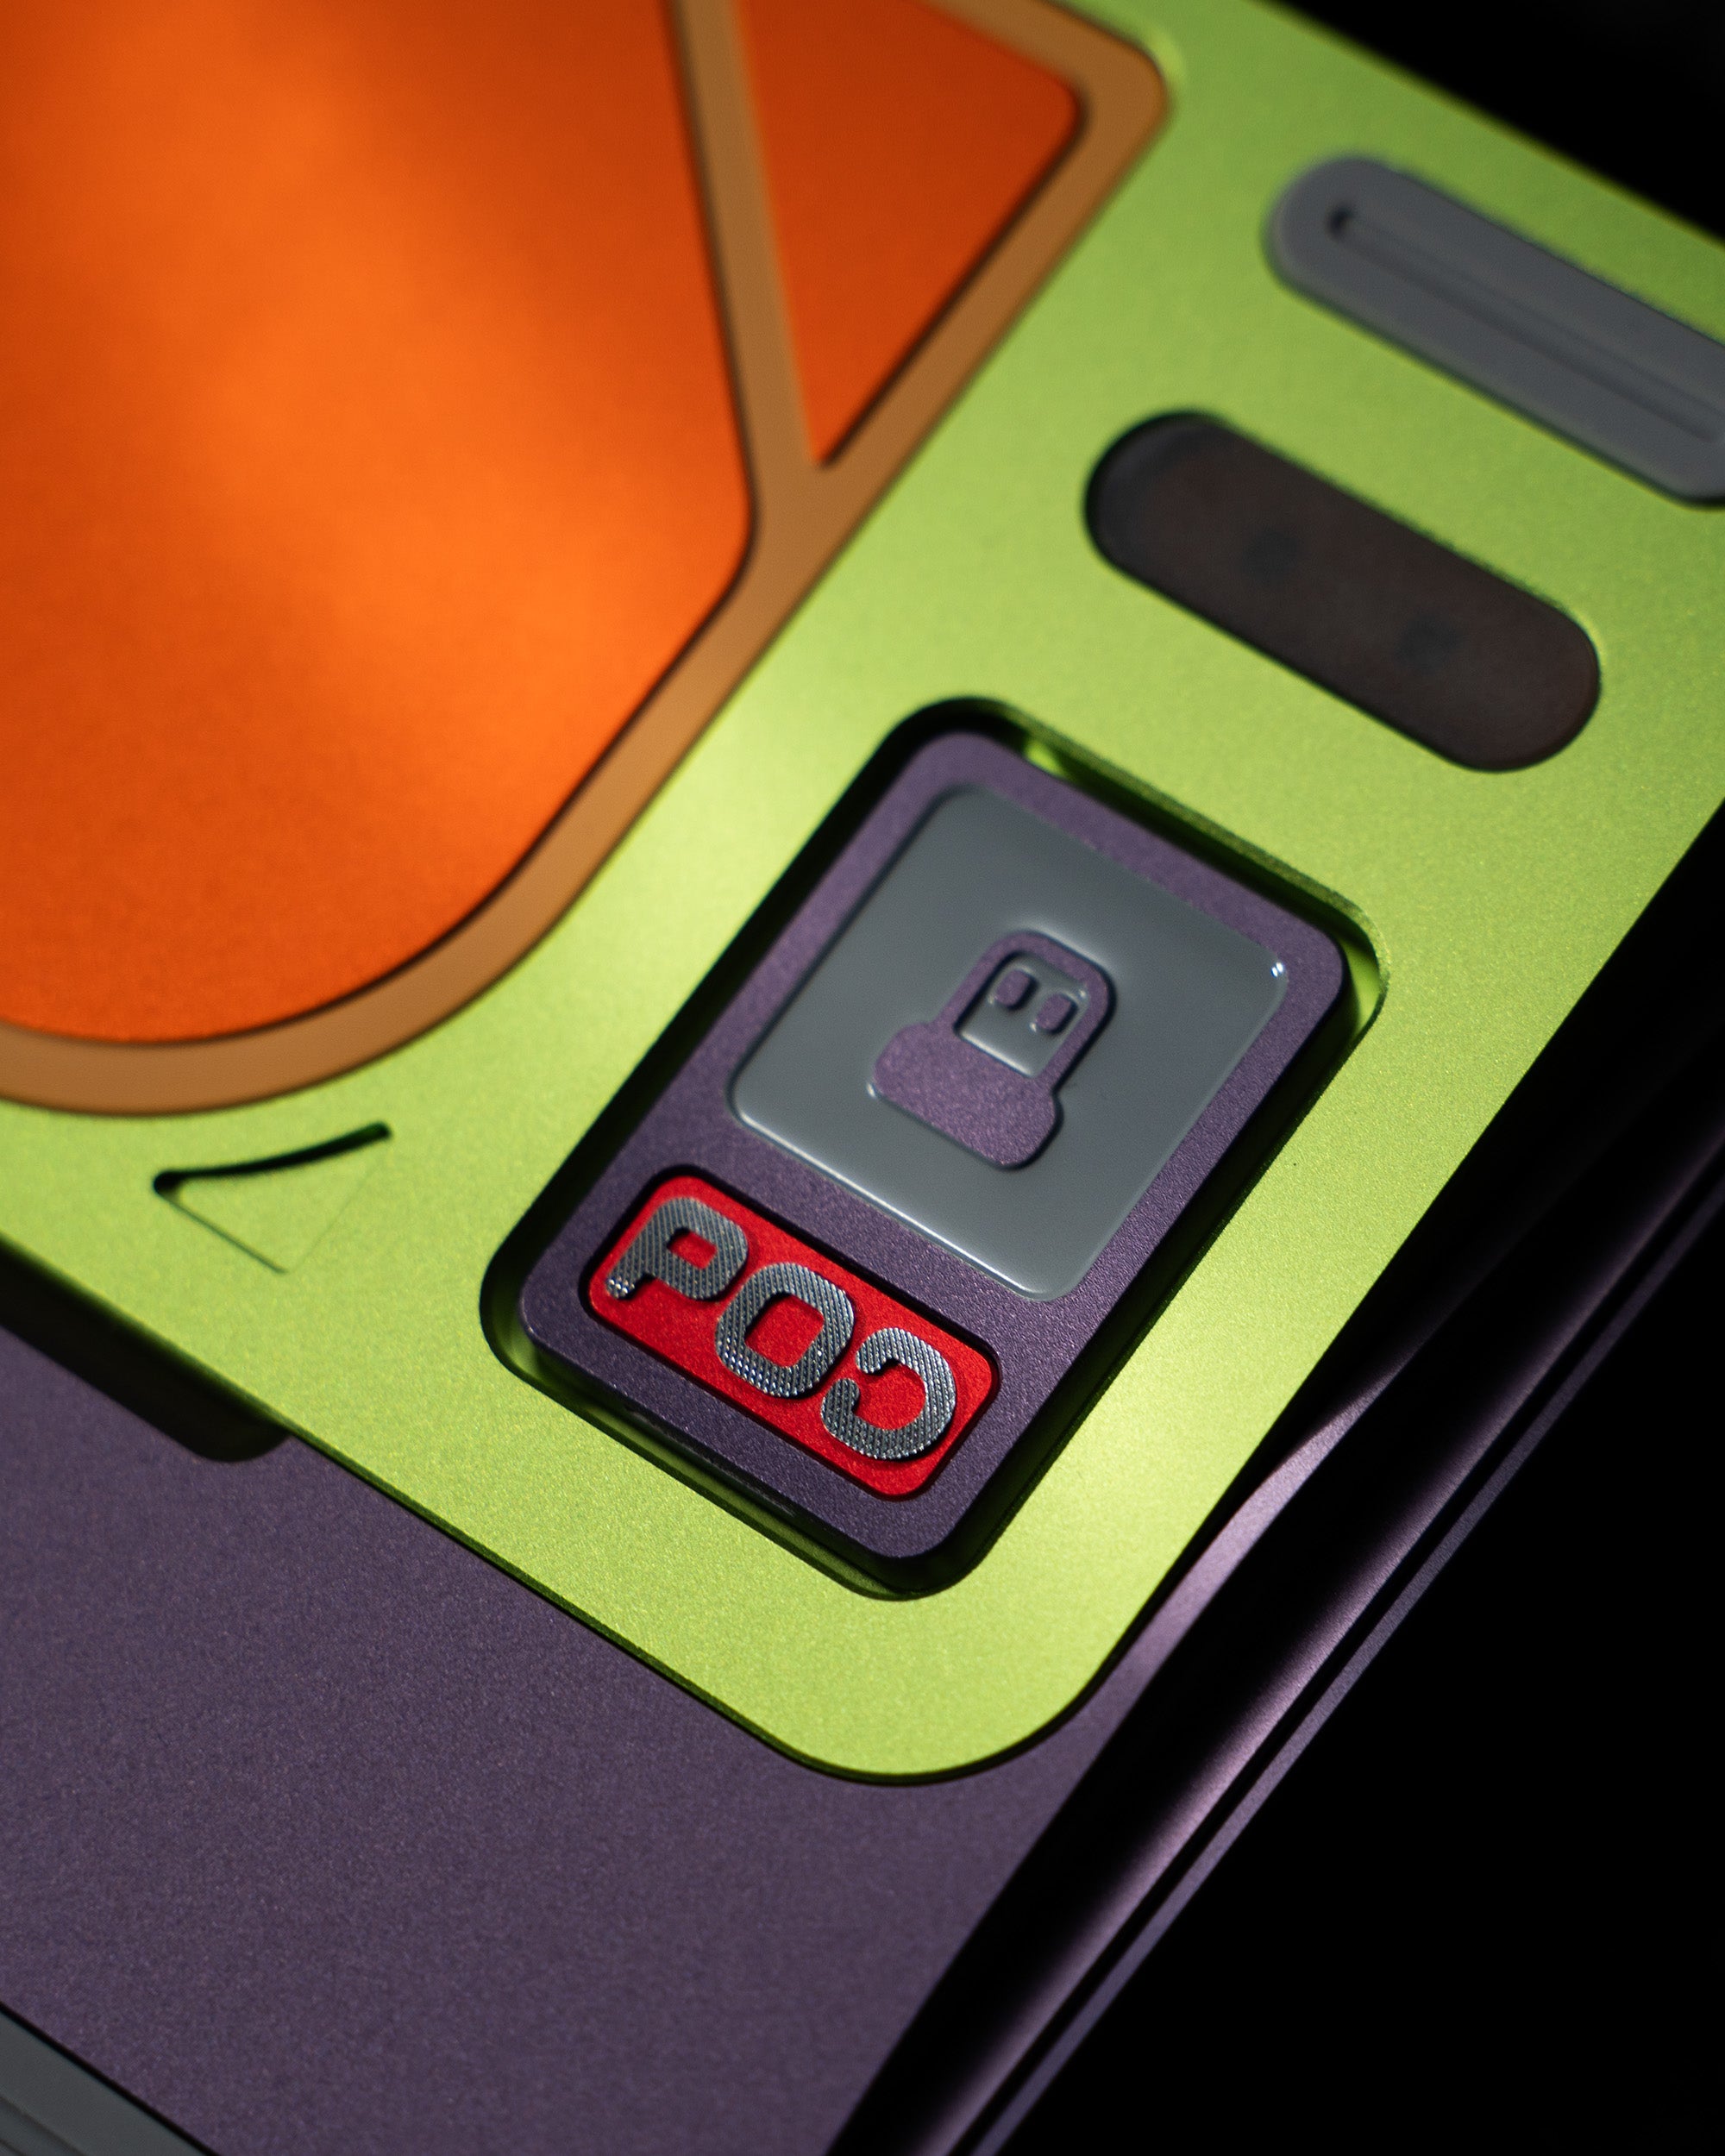
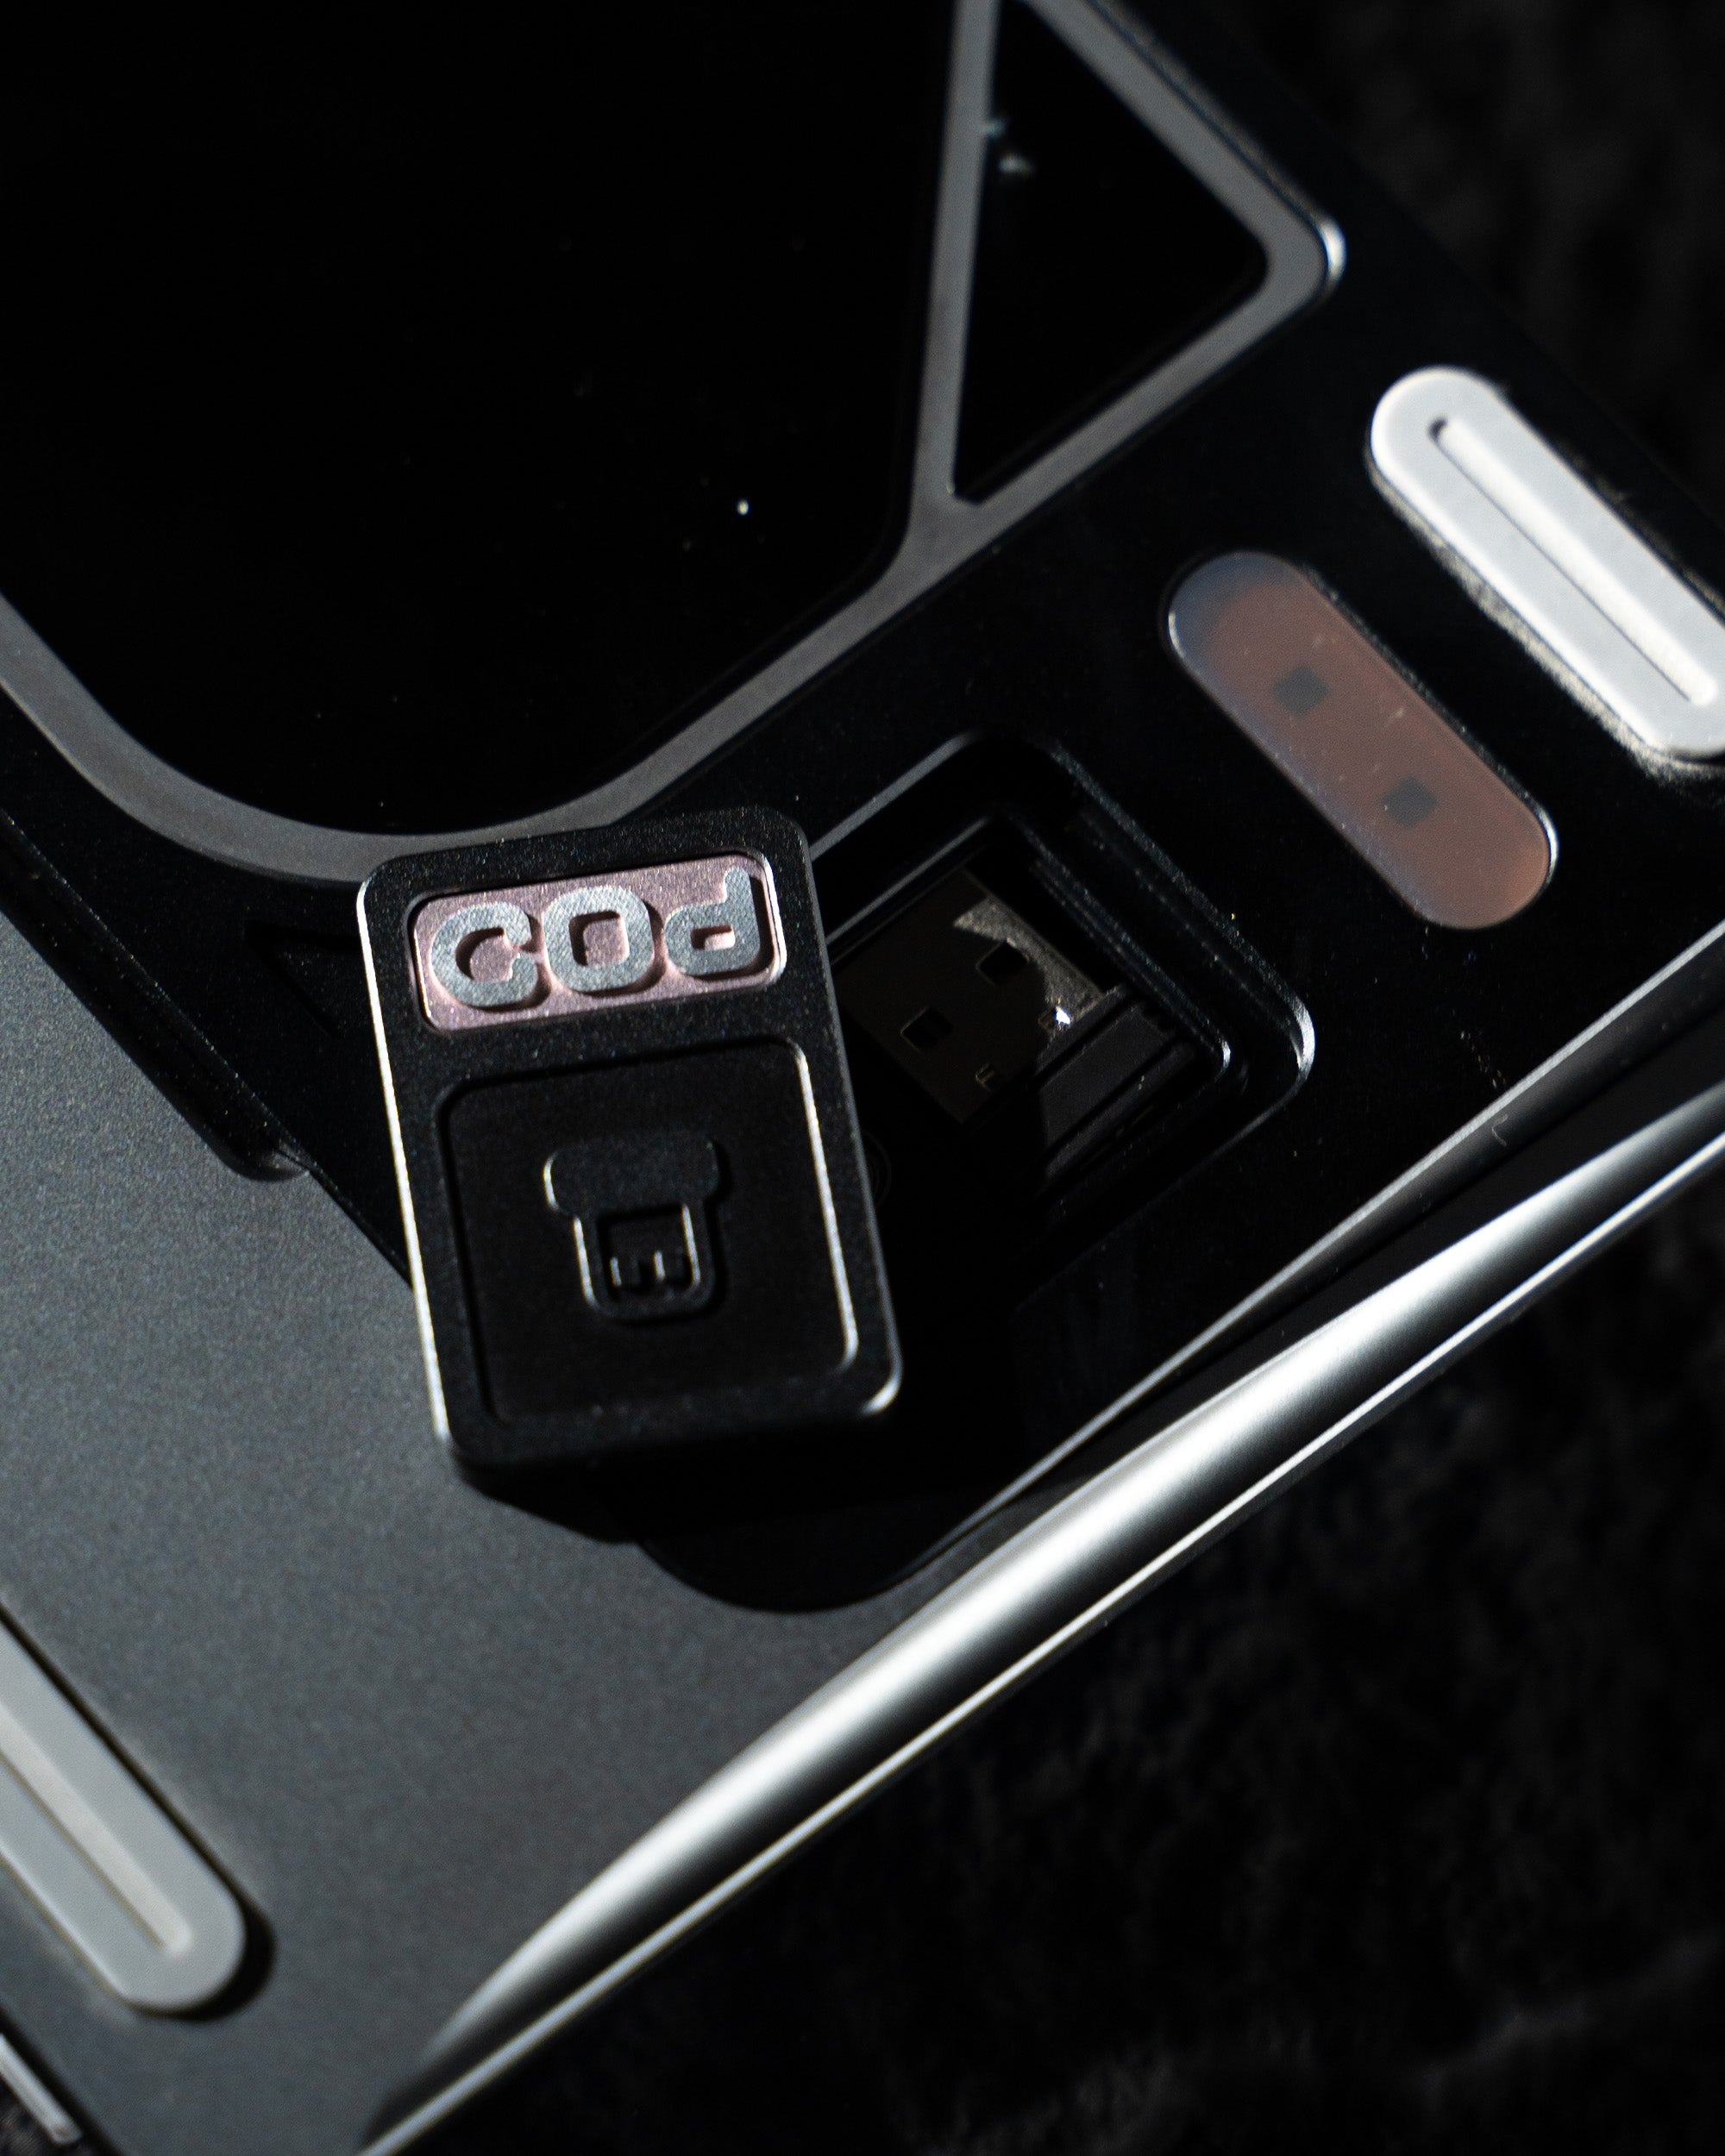
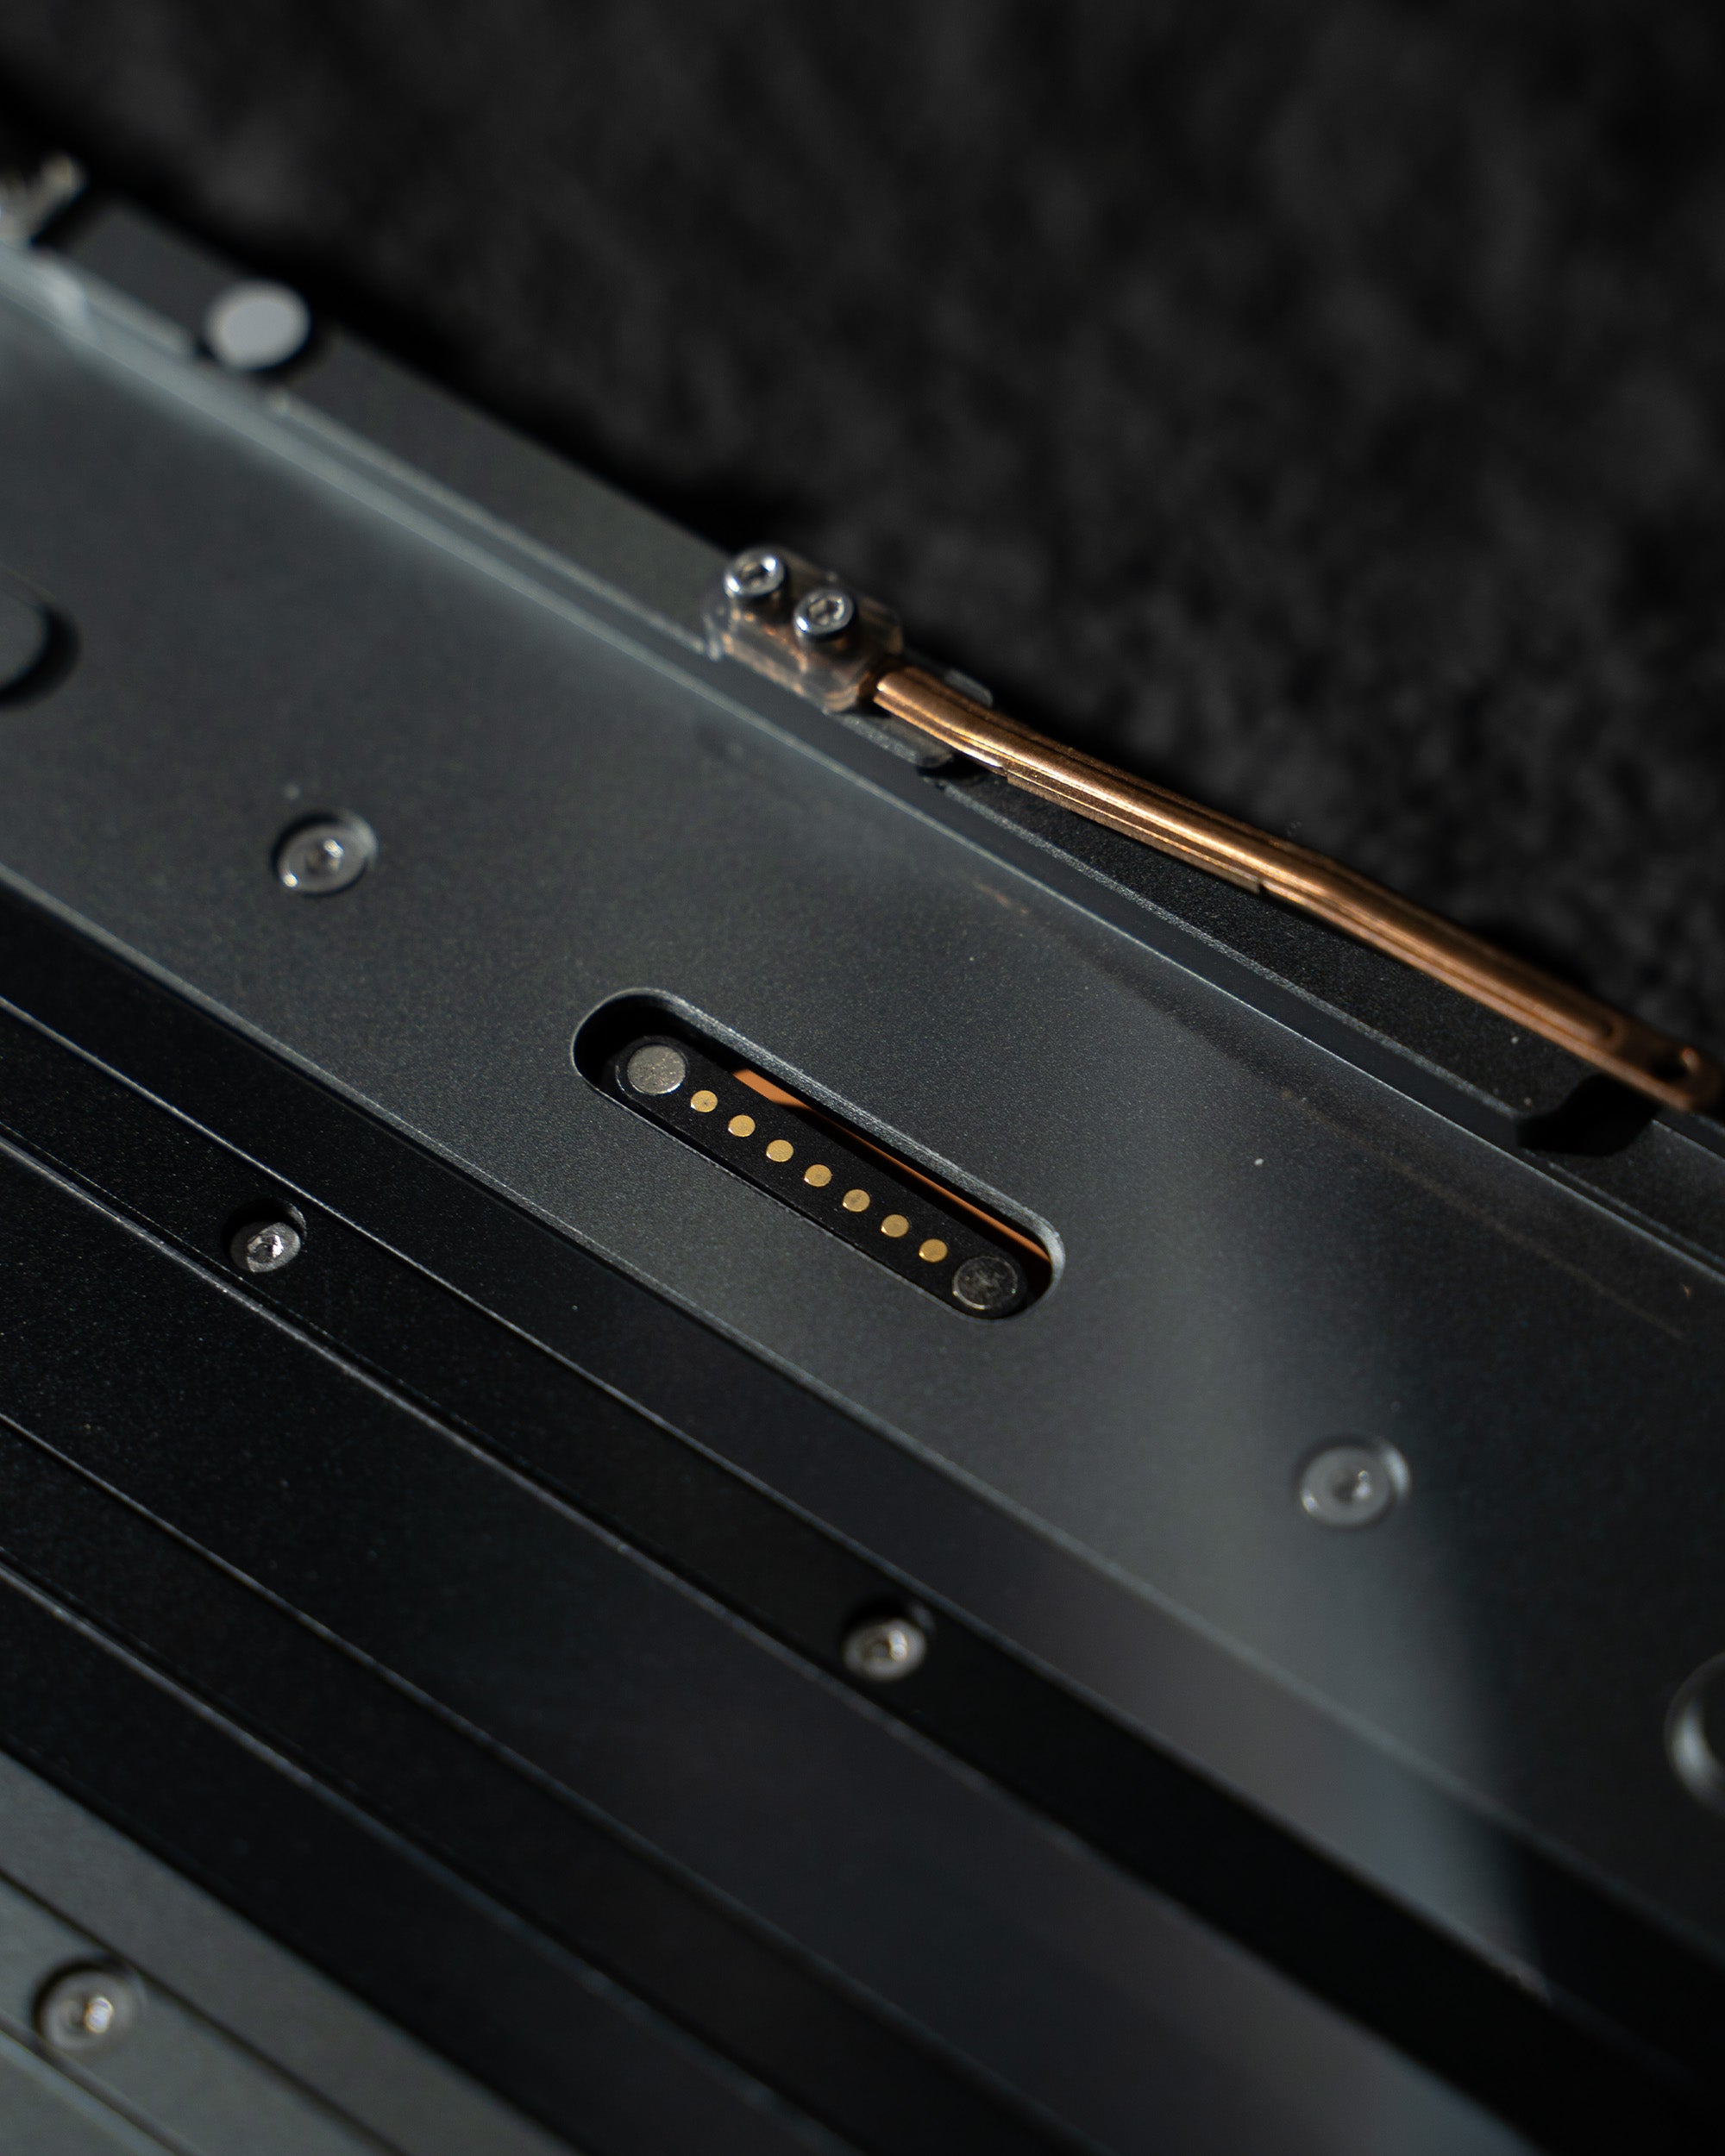
Built in Magnetic USB
Don't worry about losing your USB because it's more convenient with a USB storage slot with a badge to close the slot that can be swapped out.
Optimize
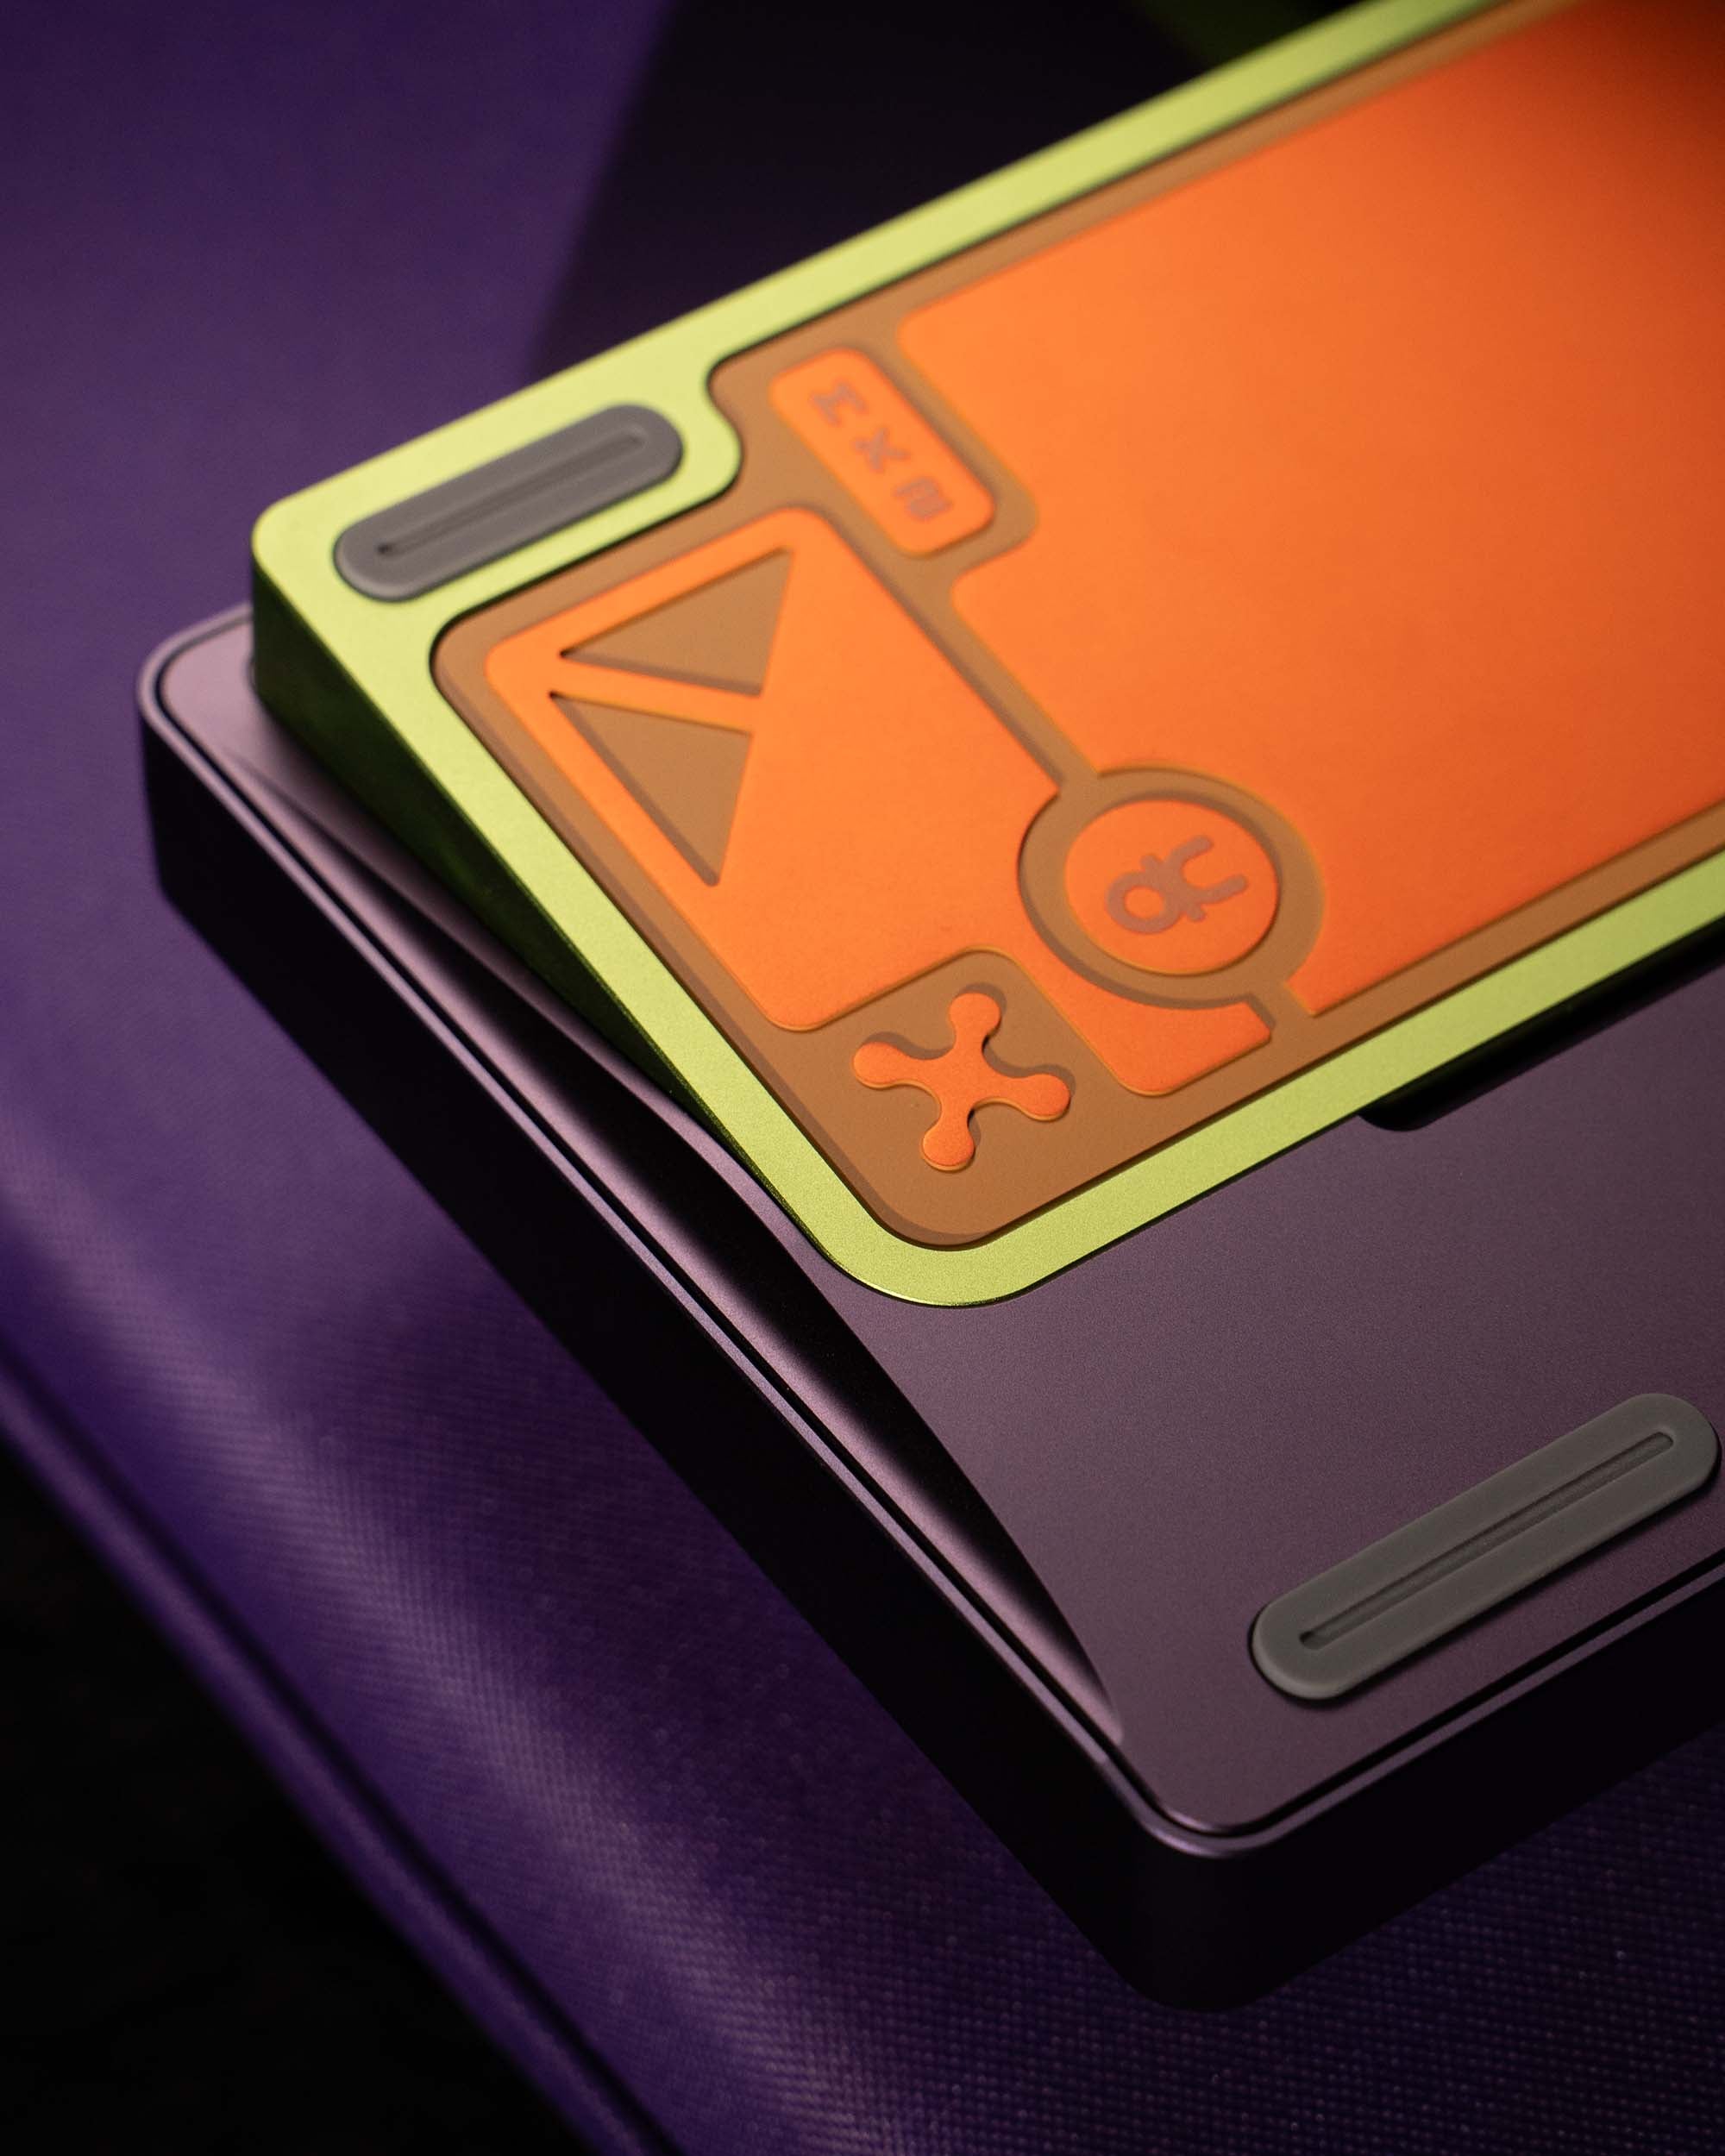
BADGE
Cool badge that matches the theme of the keyboard.

Your creativity , Unlocked Customize to your style
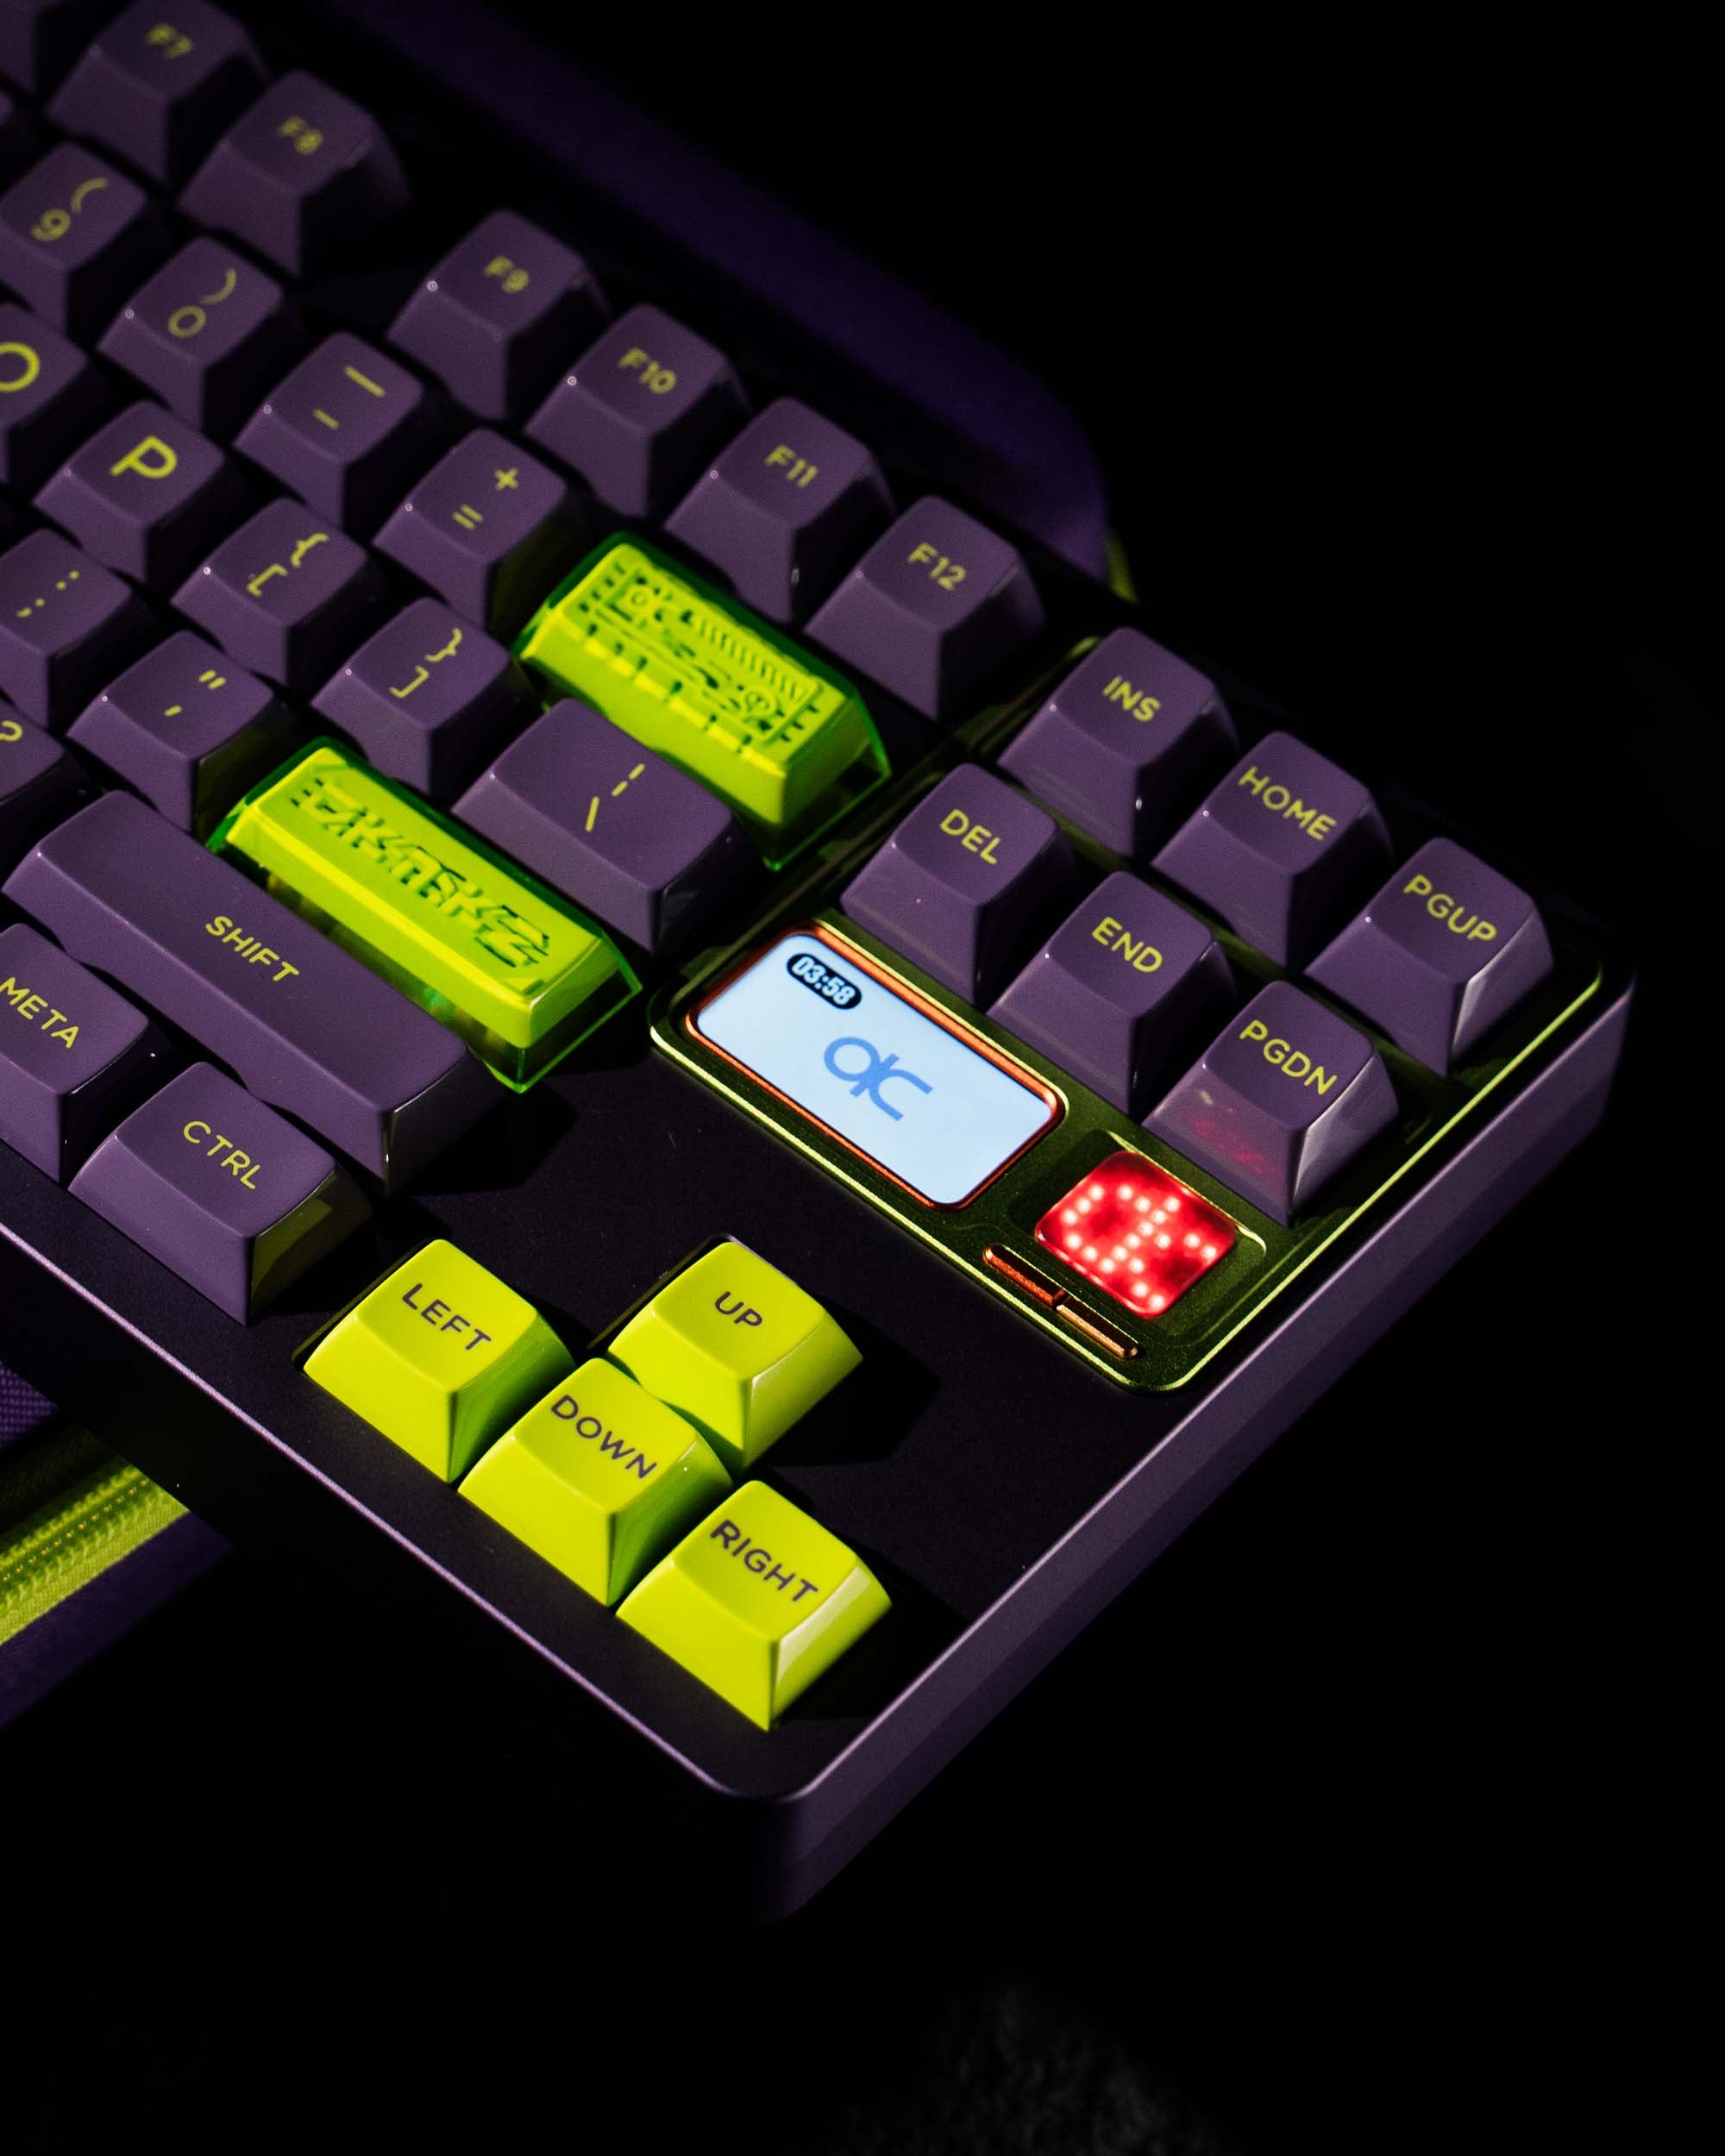
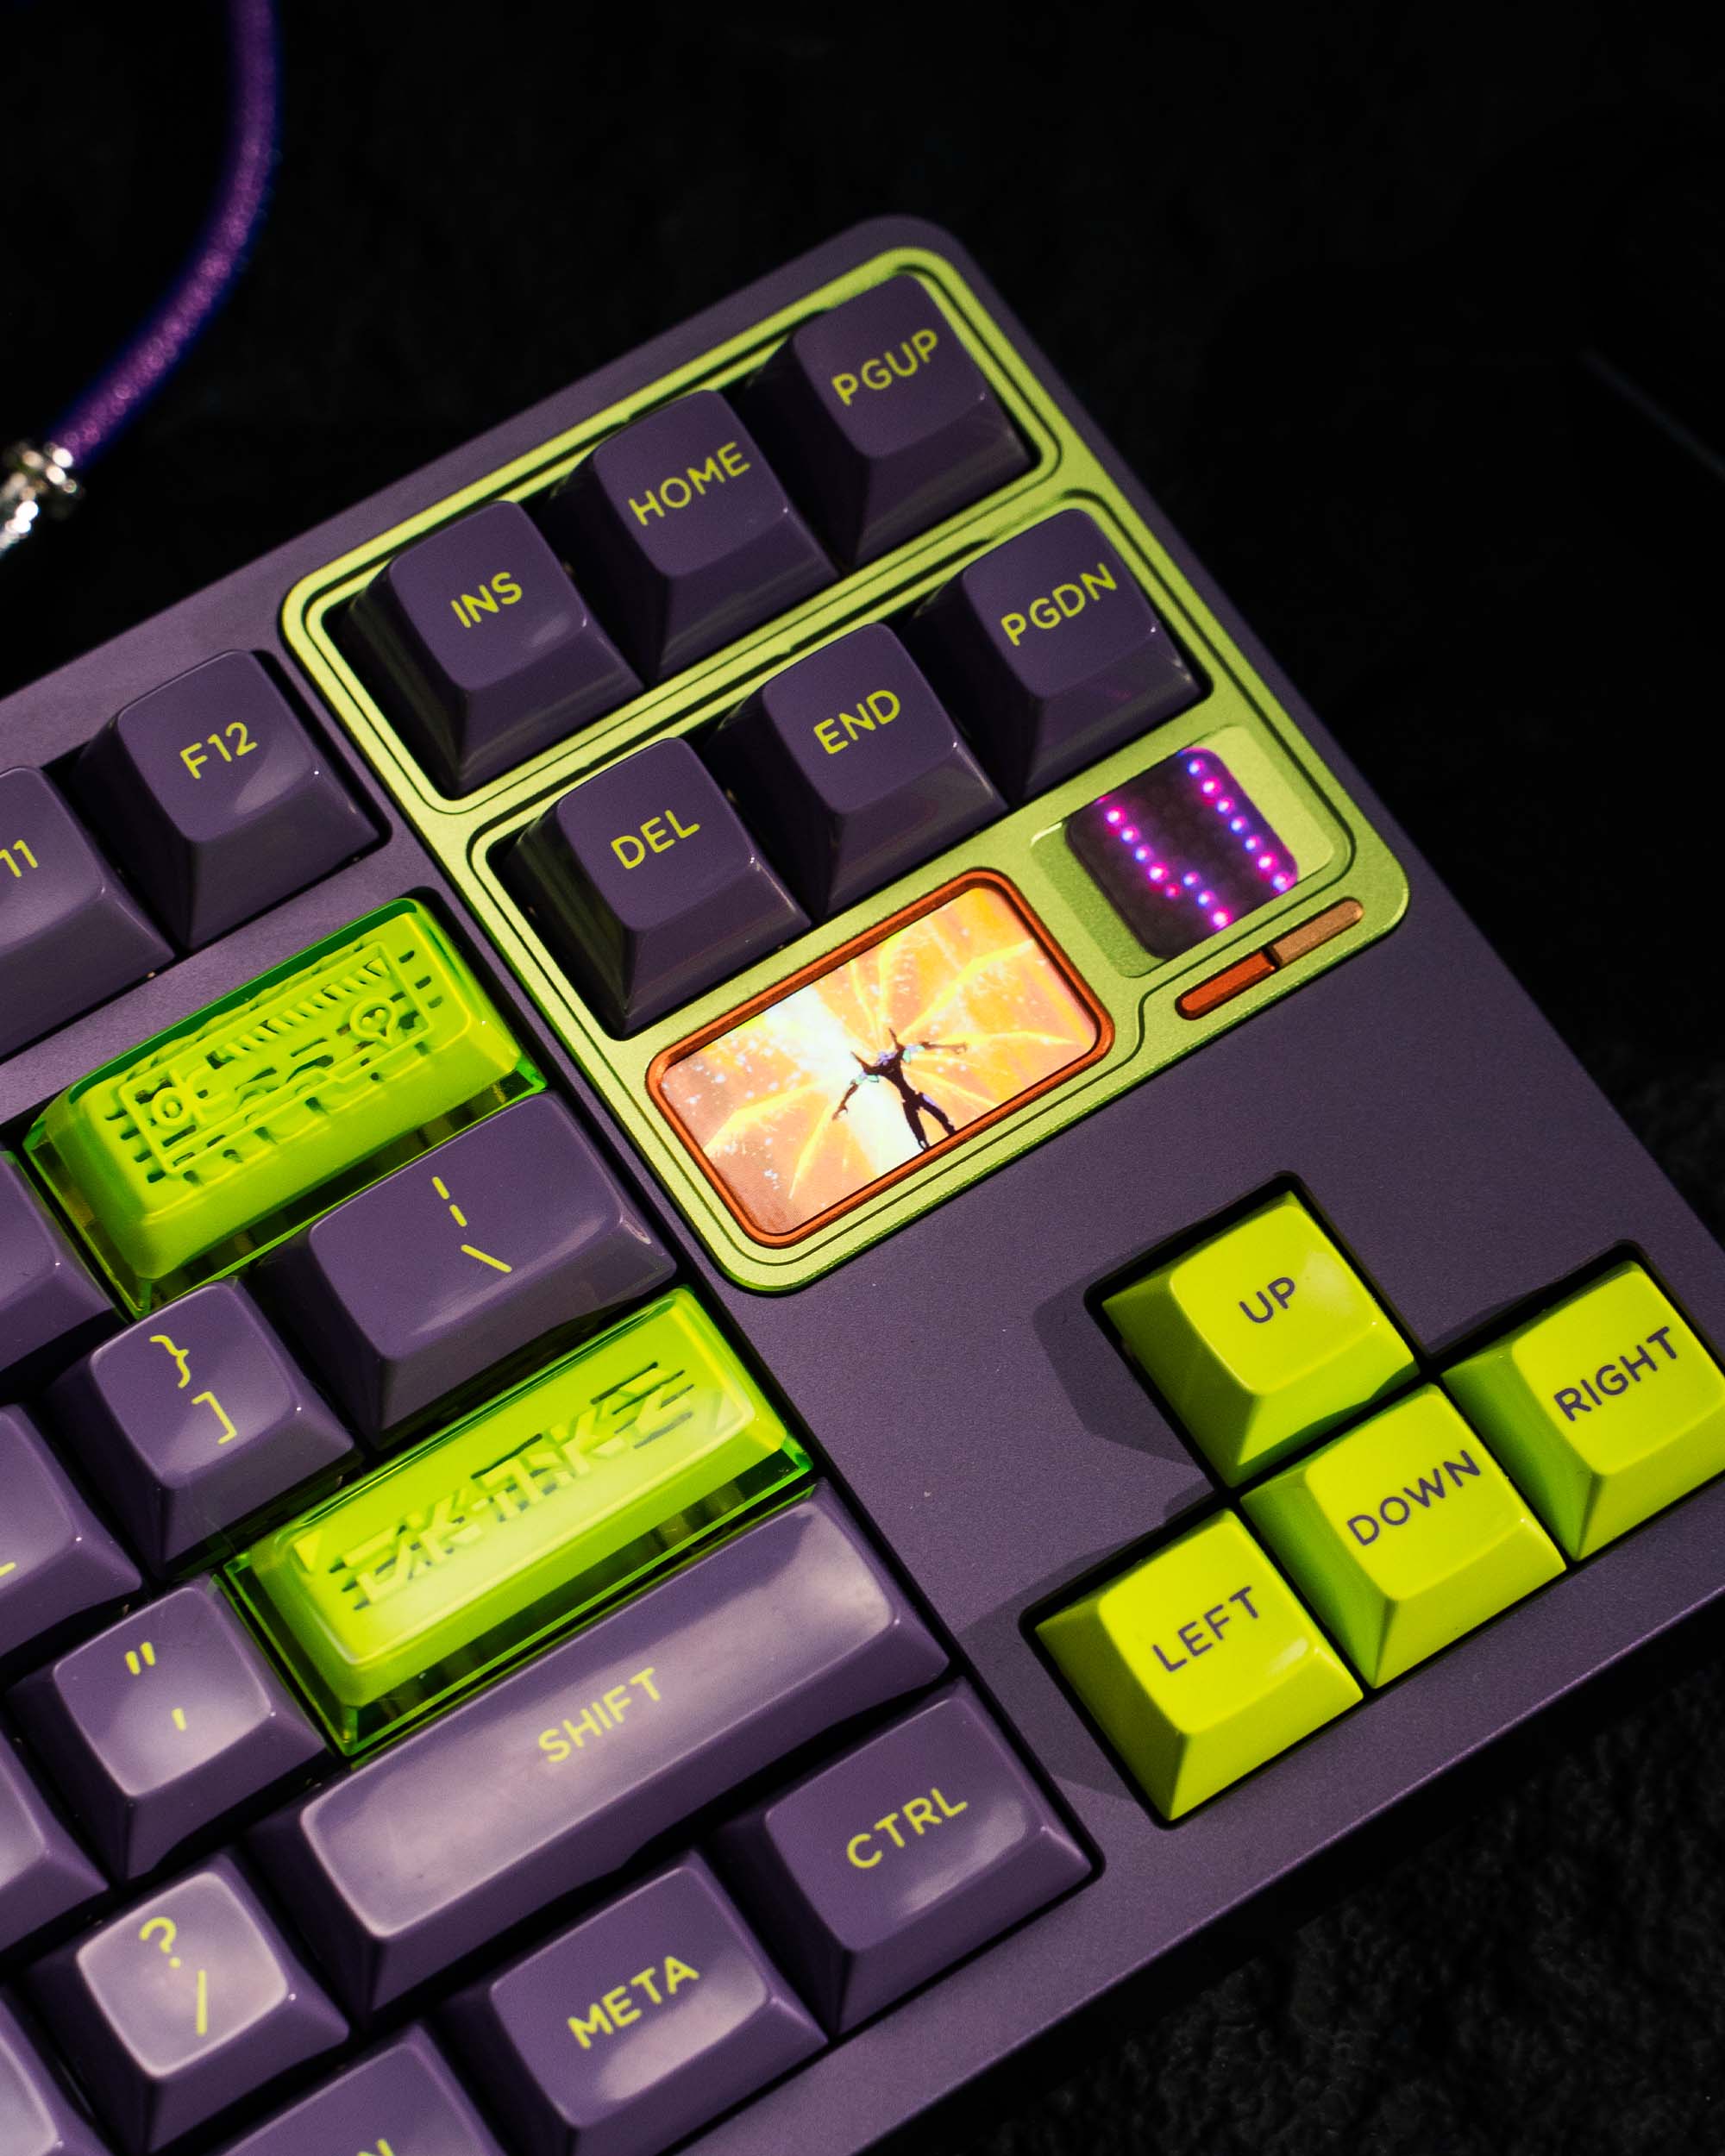
Upgrade LCD Screen Add more screen features from the first model. Create colors and customize your own theme. Also, add a mini game that was a favorite in childhood, "Flappy Bird".
Dot Matrix is fun to type every time.
The small screen on the right can be adjusted via buttons to 4 modes, including displaying letters while typing.
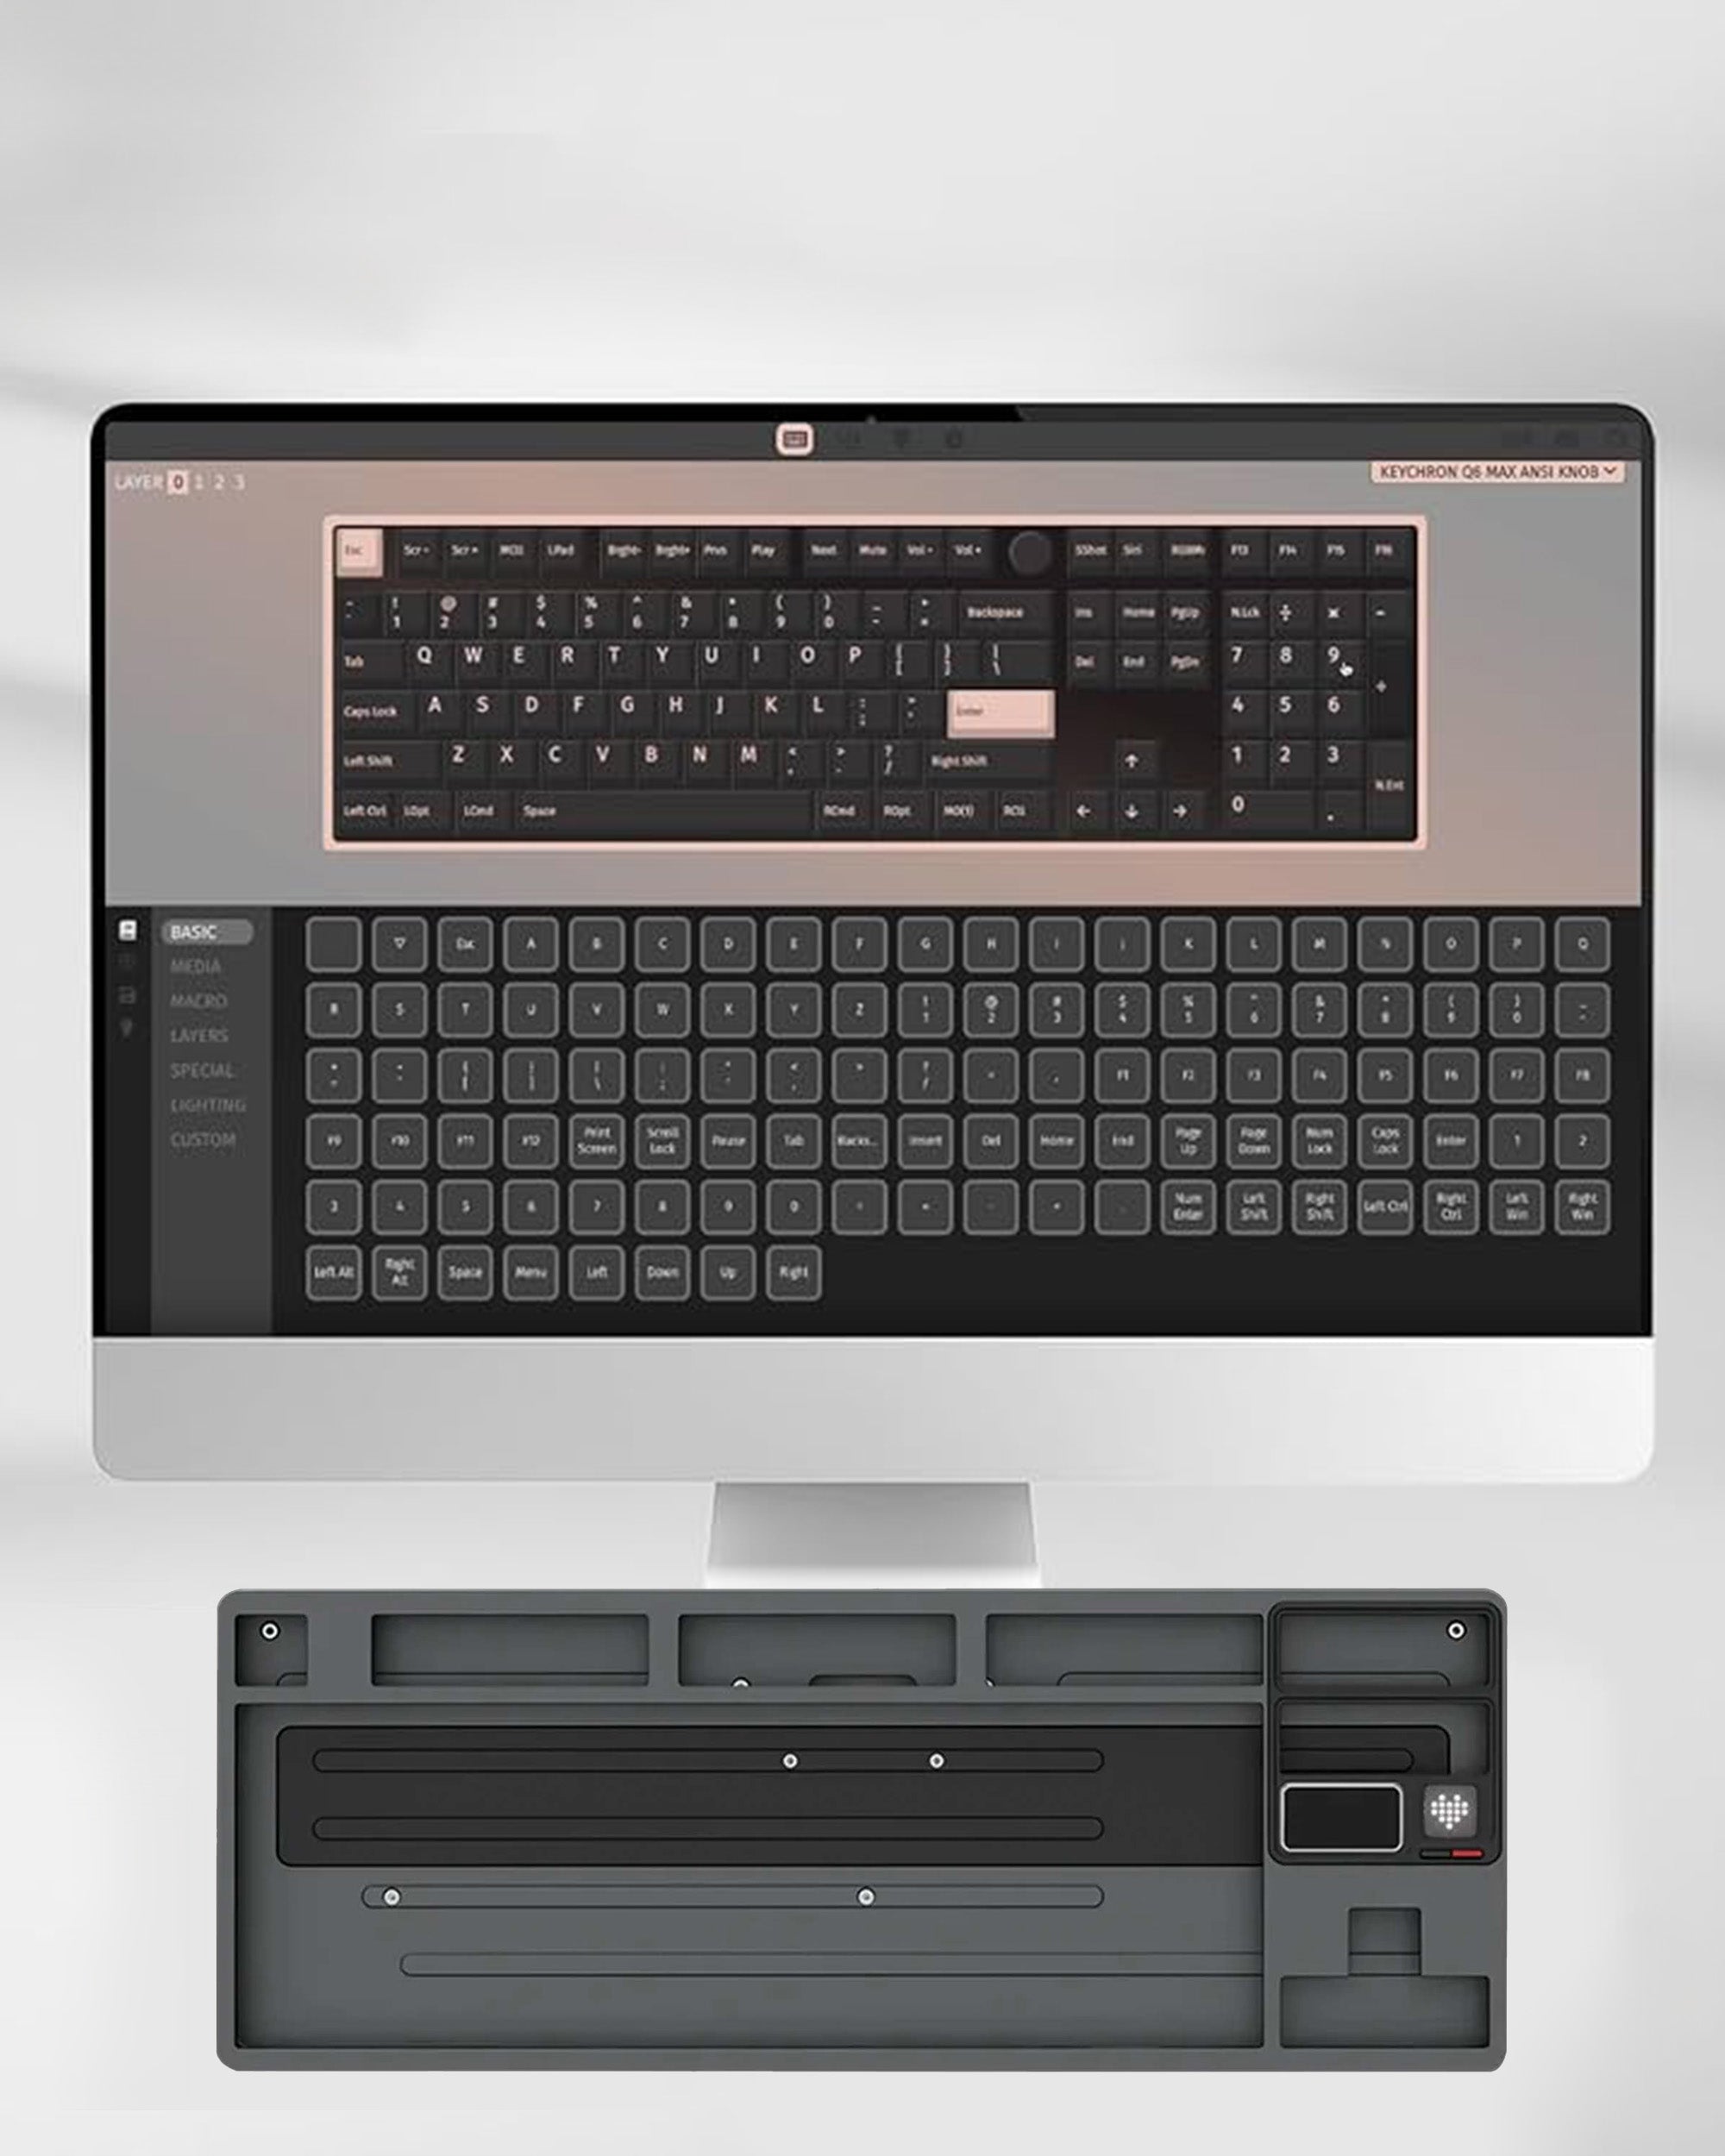
Make your keyboard work smarter with "VIA"
Customize everything…your way
Change the button position as you wish through VIA, which is designed to be user-friendly and immediately usable without using JSON.FILE.
Tri-Mode Connecting
No matter how many devices you have, you can connect them freely.
WIRED
Connect instantly, just plug in the cable (Type C)
BLUETOOTH
Wirelessly connect up to 3 devices, supports macOS / Windows
WIRELESS
Seamlessly connect via 2.4 Ghz
Premium Structure


Product details
Specification
- Aluminum case 6063 Aluminum
- The back is made of stainless steel.
- Can connect in 3 modes
- HOTSWAP remove, change switches without soldering
- Battery 8000mAh
- Ball Catch Quick Release System
- Dual Screen for display
- Typing angle: 7 degrees
- Front height: 19mm
- Size: 137mm * 362mm
Weight before assembly: 1.6 Kg. Weight after installing switches and keycaps: 2.2 Kg.
VIA SUPPORT

FAQs
Please read our FAQs page to find out more.
What are WK/WKL layouts?
- WK stands for WINKEY. There is a WIN button.
- WKL stands for WINKEYLESS, no WIN key.
Both are different in the bottom row of keys, CTRL, WIN and ALT. The most popular layout in Thailand is WK.
What are the differences between PCBs?
- All PCBs: All 3 modes are available.
- Supports both 6.25u and 7u length spacebars.
There are 3 types to choose from.
- 1.2mm Tri-mode (Flex-cut/with RGB light)
- 1.2mm Tri-mode (Flex-cut/no RGB light)
- 1.6mm Tri-mode (Non Flex-cut/no RGB light)
difference
The thickness of the PCB affects the sound and printing feel. A 1.2mm PCB gives more Flex and a deeper sound (Thock) than a 1.6mm PCB, which is thicker and more rigid, which gives a more Clack tone.
How to choose a plate
The QK80 MK2 plate comes in a total of five material options.
Rank from hardest to softest
- Carbon Fiber (Non Flex)
- Aluminium (Non Flex)
- FR4 (Flex-Cut)
- POM (Non Flex)
- PC (Non Flex)
- The FR4 is the only plate option that features a Flex-Cut cutout, giving it a soft, bouncy feel and can be easily built into a THOCK tone.
- Creammy Sound recommends choosing PC, POM + ALL FOAM.
- Clack Sound recommends choosing Carbon fiber, Aluminium.
How to connect Connecting
To use wireless mode
Pull out the CAPSLOCK button and you will see a hidden switch inside. You can slide it up to ON to turn on wireless mode and down to enter wired mode (sliding the switch requires tweezers to slide it up because there are no switch legs sticking up).
Press and hold for 3 seconds.
FN + ~ | Enter Wired mode
FN + 1 | Connect Bluetooth device 1
FN + 2 | Connect Bluetooth device 2
FN + 3 | Connect 3rd Bluetooth device
FN + 4 | Connect mode 2.4G USB
FN + Win | Switch macOS/win mode
FN + Esc | Reset to factory settings
How to use the Screen Control screen
For pressing the LCD SCREEN
FN + Delete: Toggle the display screen on/off.
FN + Enter: Select to enter that mode.
FN + Backspace: Cancel button
FN + →: Next
FN + ←: Previous
For DOT MATRIX screen
- You can press the button immediately without having to press the shortcut function. There are 5 modes to choose from. The color cannot be changed.
How to customize buttons and additional functions
QK80 MK2 supports VIA SOFTWARE and can be used immediately without downloading JSON.FILE.
You can access it immediately through this link and just press FN + ~ to enter wired mode.
MENU displayed for selection on the LCD screen
- Open the main menu
- Go to the next menu level.
- Confirm your selection
From left to right, you will see a total of 4 options:
- THEME
- Available in Default, Meow, Code.
2. APP application
- There is a "Flappy Bird" mini-game that comes with the device to play by controlling the bird's flight by pressing only the Spacebar button, which will show a score show.
- Custom Animation The screen of this model can be filled with images and GIF files, which can be customized and selected by yourself through settings in VIA.
3. Help HELP
- It will be displayed as a QR CODE that connects to the QUICK GUIDE from the factory.
4. Set the Setting
- Set time
- Turn off RGB lights
How to change RGB MODE lights
FN +Tab | Toggle lighting mode, both DOT MATRIX and RGB lights on the letters.
FN + Q | Next Lighting Effect
FN + A | Previous Lighting Effect
FN + W | Lighting Brightness +
FN + S | Lighting Brightness -
FN + E | Lighting Hue +Hue range: 0° to 360°, in order of red, yellow, green, cyan, blue, and purple.
FN + D | Lighting Hue -FN + RLighting Saturation +
FN + F | Lighting Saturation -
FN + T | Lighting Speed +
FN + G | Lighting Speed -